TL;DR
Pottery trimming tools are not interchangeable. A medium loop tool, a narrow loop or ribbon tool, and a pointed detail tool cover most routine foot-ring, profile, and cleanup work. To judge edge life, inspect the cutting edge under good light, test it on leather-hard clay, and check whether it removes a controlled shaving rather than scraping or tearing.
What does each pottery trimming tool do?
A tool's shape determines how it contacts the clay. Start with the job, not the handle color or the number of pieces in a set.
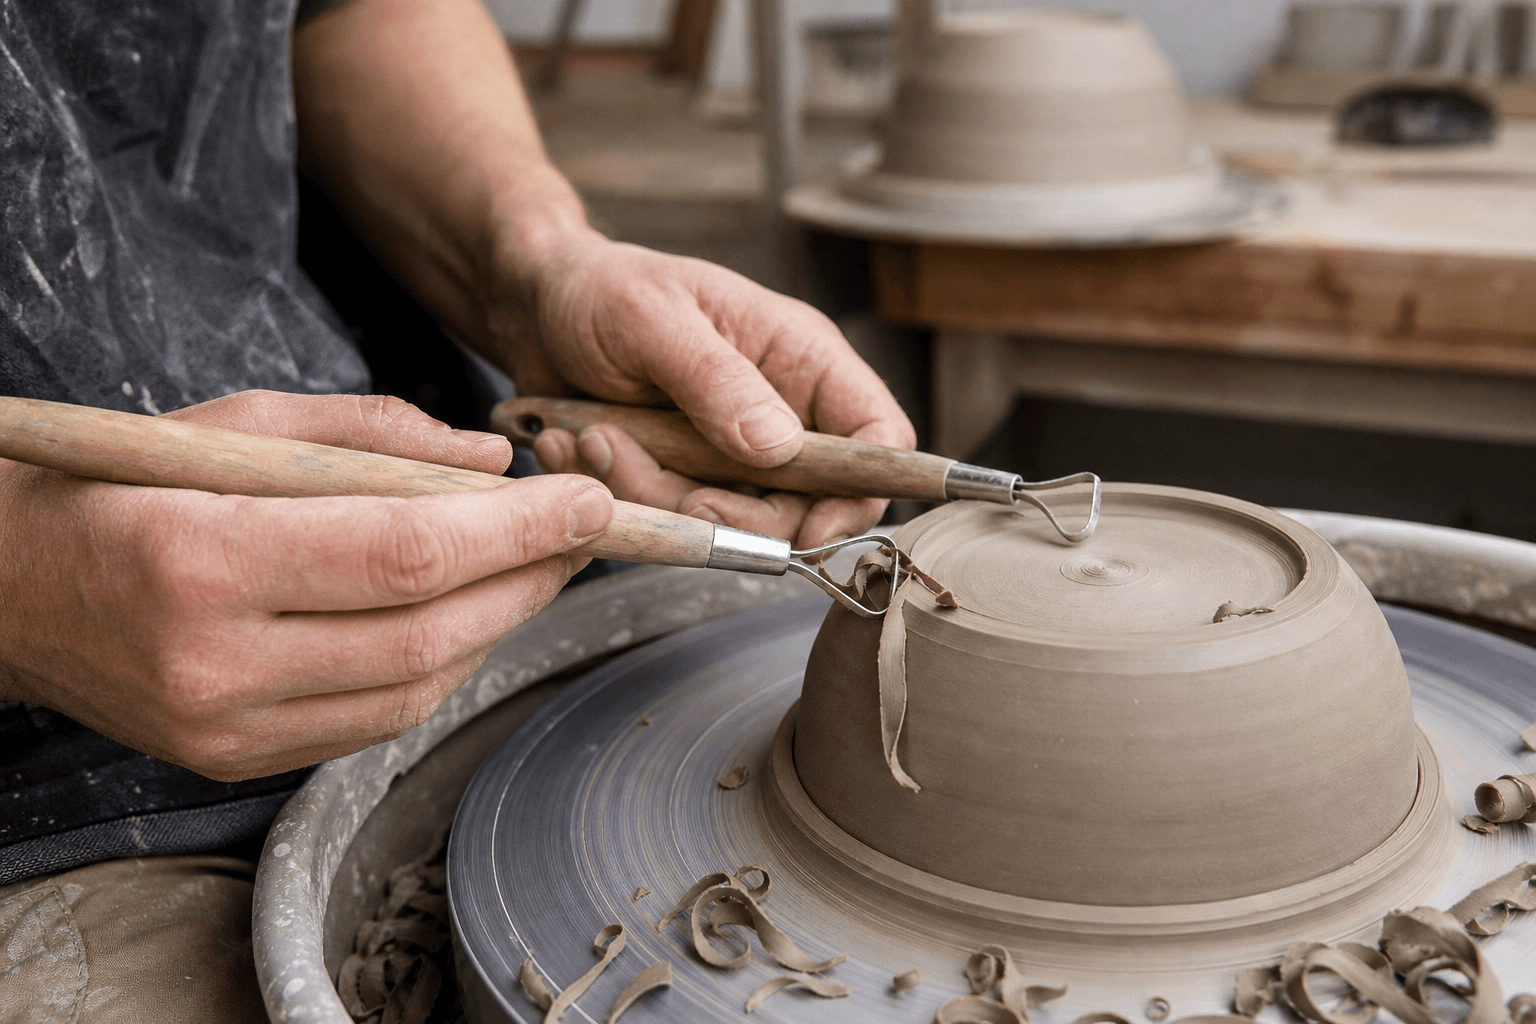
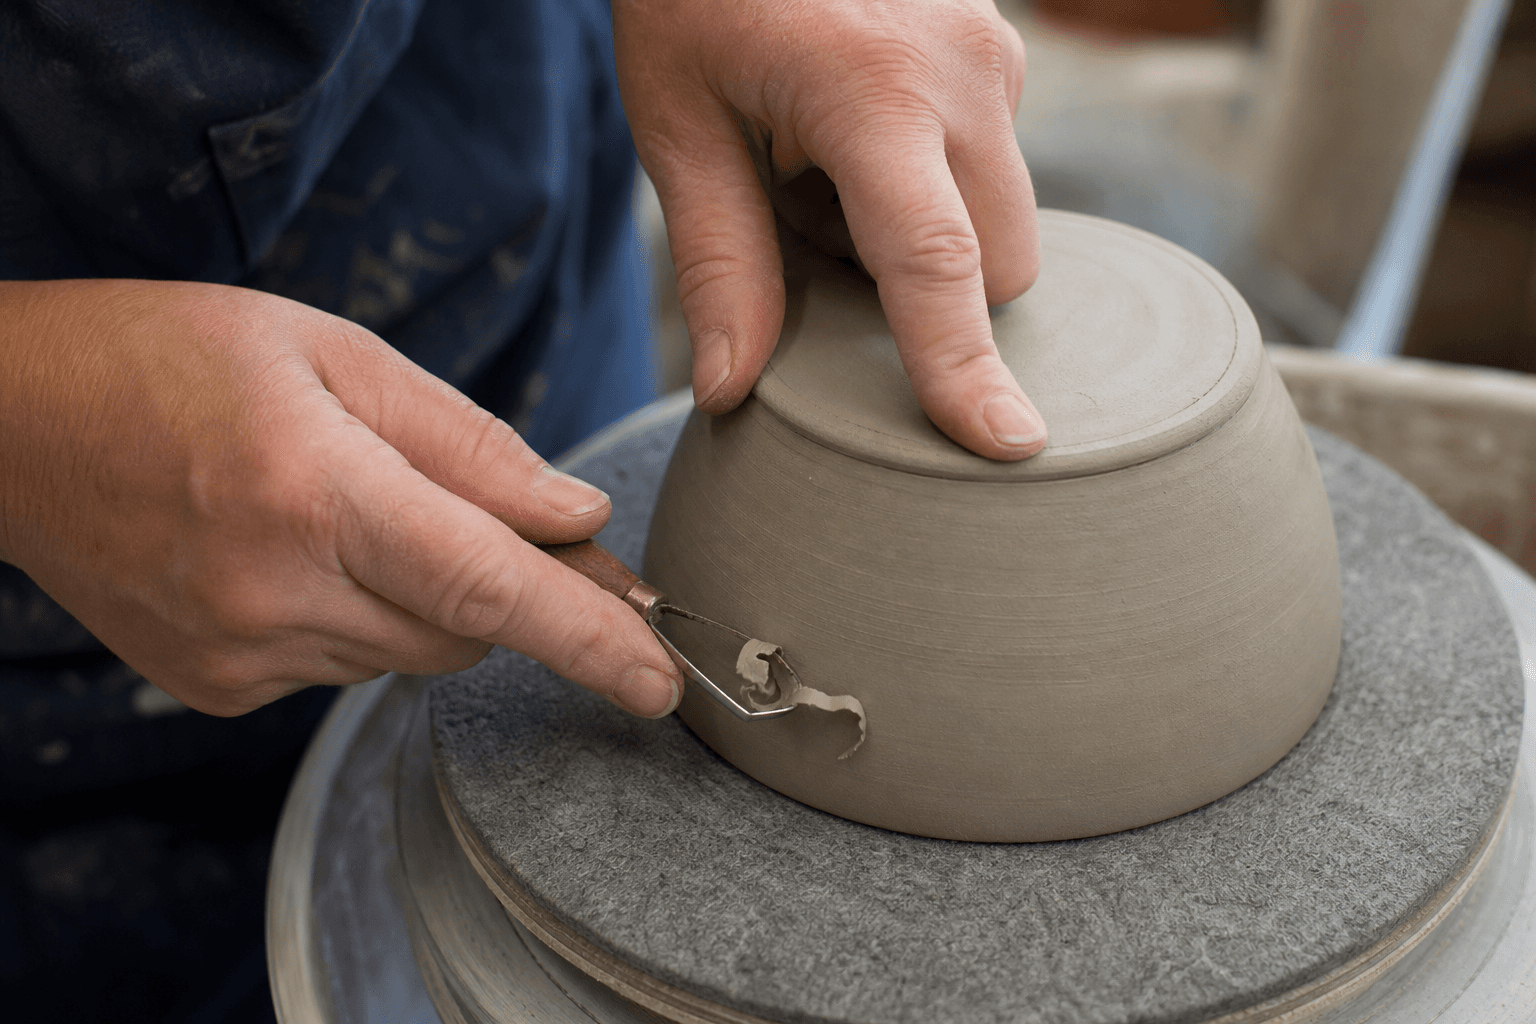
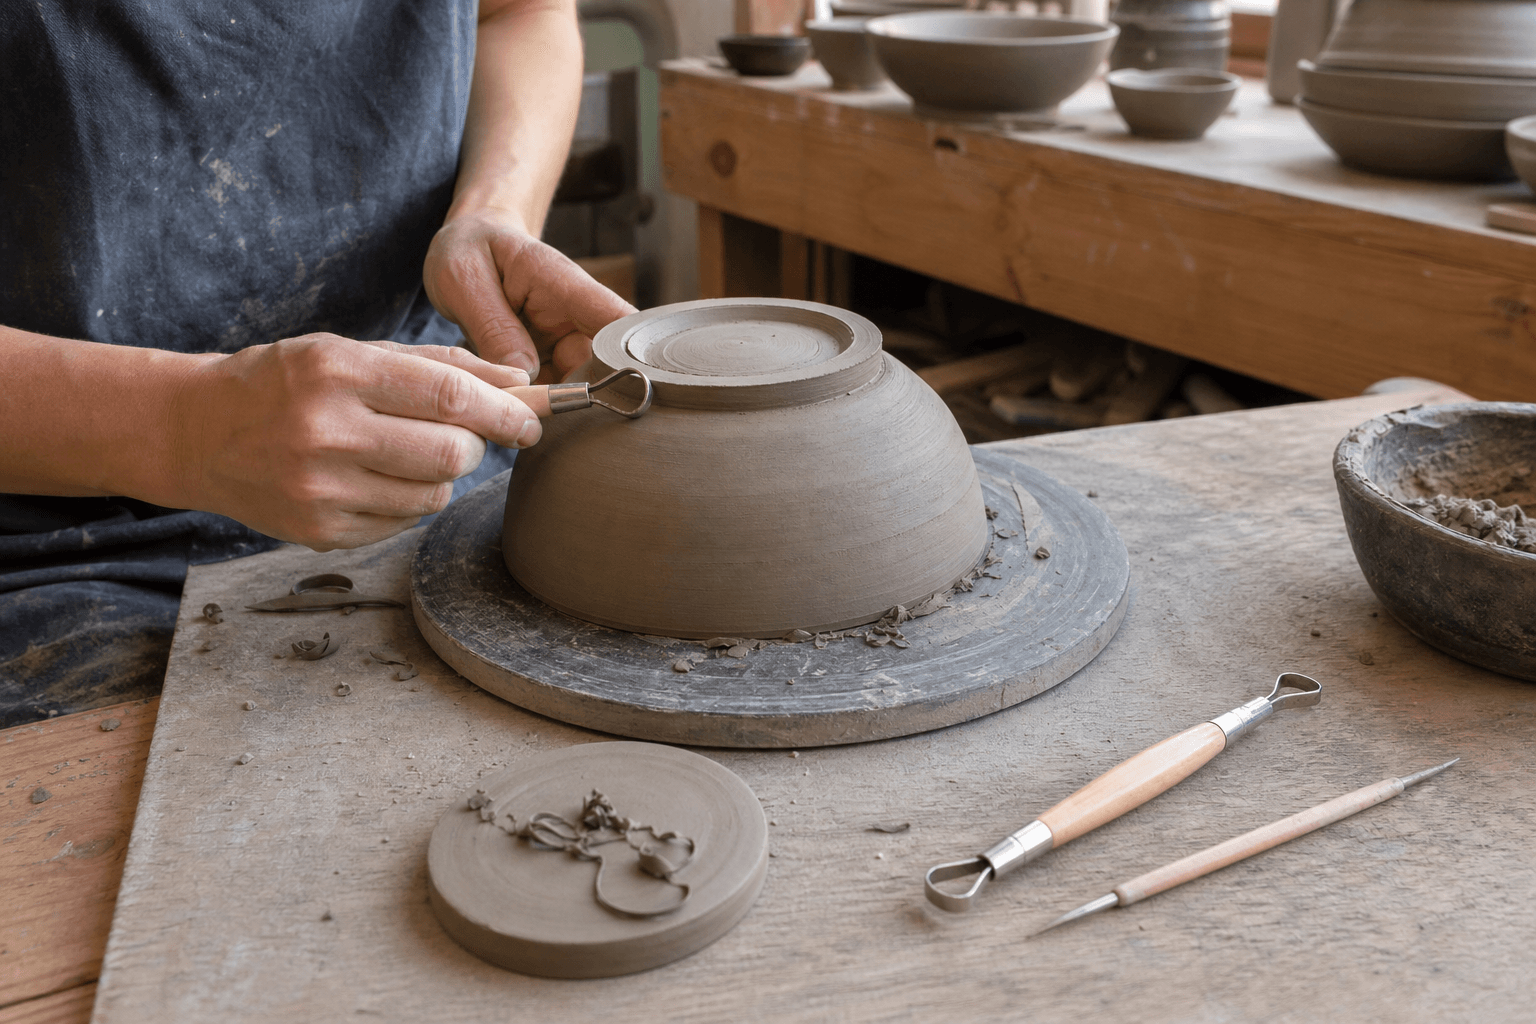
- Loop tools: A loop removes a defined strip of clay. A medium loop is useful for opening a foot ring, reducing a thick base, and making broad profile changes. A smaller loop reaches into tighter curves and cleans corners.
- Ribbon tools: A ribbon has a flatter cutting edge and often gives more control when you want to skim a surface. Use one for refining a curve, evening a foot, or taking off a thin layer without digging as deeply as a loop can.
- Diamond-shaped and pointed tools: These suit narrow grooves, inside corners, small attachments, and localized cleanup. They are detail tools, not the best choice for removing a large amount of clay.
- Carbide-edged tools: A carbide edge is useful for fine trimming, scraping, and smoothing when the clay is firm. It can remove a small amount cleanly, but it is less forgiving if you press hard or use it to force a major shape change.
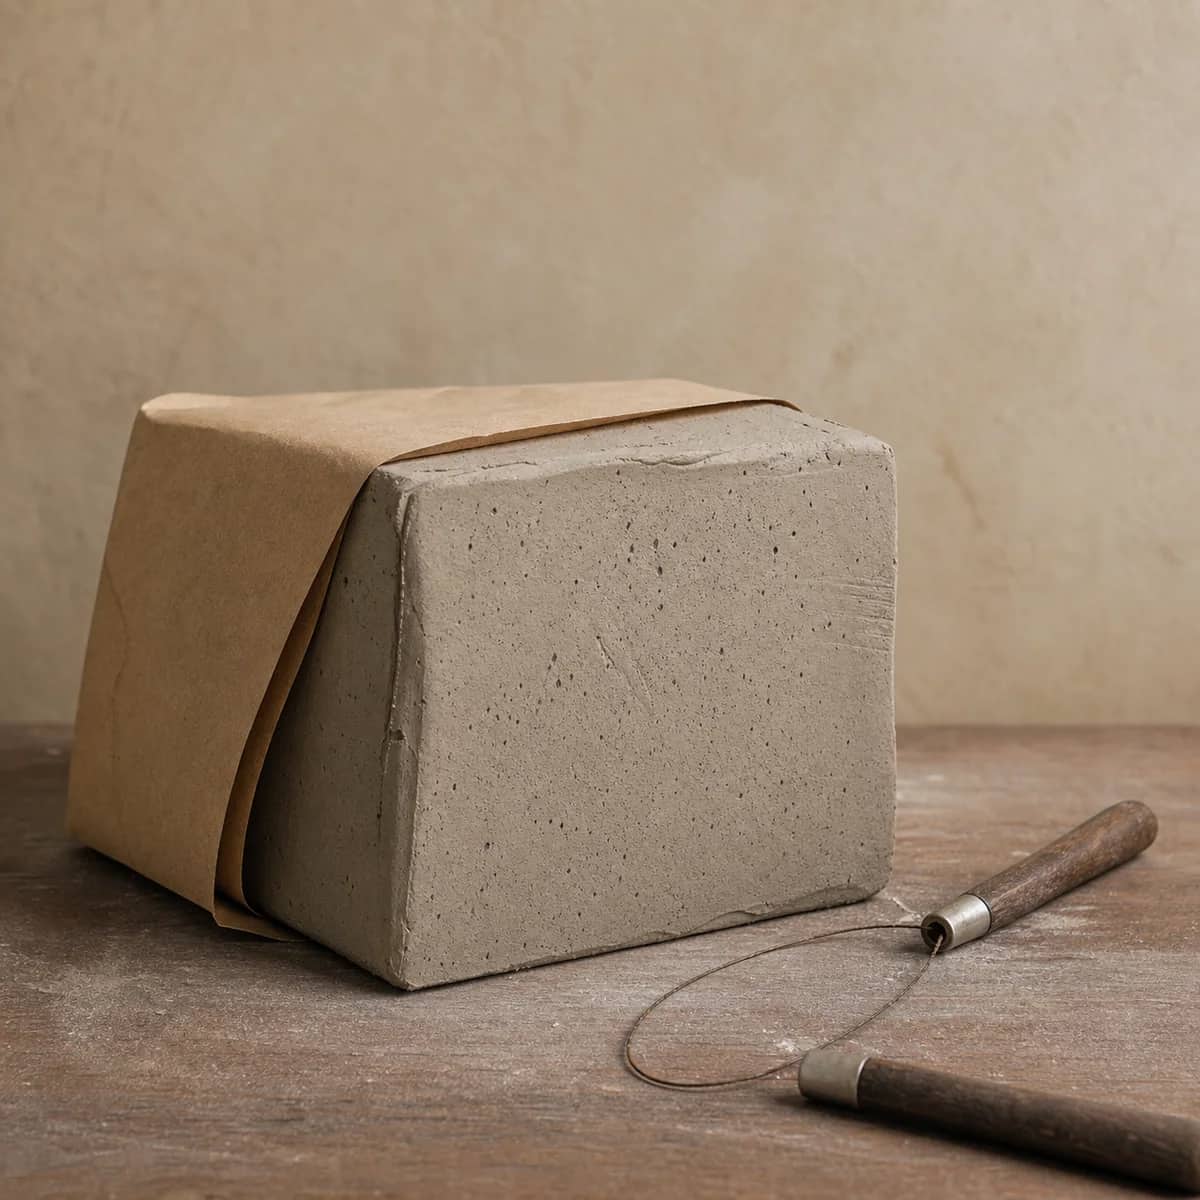
- Wire and blade tools: These are better for separating, cutting, or slicing than for ordinary foot-ring trimming. A blade can refine a flat area, but it does not replace a loop's ability to remove material from a curved base.
For a broader beginner inventory, see Pottery Tools for Beginners: The Starter Kit. It helps separate tools you will use immediately from tools that can wait.
Which three pottery trimming tools cover most work?
For a compact working set, choose these three forms:
1. A medium loop: Make this your general-purpose removal tool. It should clear excess clay from a foot ring without requiring repeated passes. 2. A narrow loop or ribbon: Use it for smaller vessels, tighter curves, and controlled profile adjustments. The narrower edge also helps when a medium loop feels too aggressive. 3. A pointed detail tool: Choose a pointed loop, diamond, or similar shape for corners, grooves, and final cleanup.
This set is more useful than a large assortment of nearly identical loops. Add a wider ribbon if you regularly trim broad plates or platters, or add a sturdier tool if your work routinely reaches the firm end of leather-hard. Let the forms you make decide the next purchase.
A trimming turntable can also affect how much control you need from the tool. Compare the size and stability of the turntable with your usual forms in How to Choose a Pottery Trimming Turntable: Control, Size, and Inertia.
How can you tell whether an edge will hold?
You cannot judge edge life from a polished handle or a sharp first impression alone. Look for an edge that is even from end to end, with no visible waves, dents, burrs, or thin section that is already bending away from the tool's body.
Then run a repeatable studio test:
1. Use a small piece of leather-hard clay with the same firmness you normally trim. 2. Make several light passes with consistent pressure. Do not force a dull edge through the clay. 3. Watch the shaving. A usable edge should produce a controlled curl or strip. Powder, skipping, tearing, and a need for heavy pressure indicate that the tool is not cutting cleanly in that condition. 4. Inspect the edge again. If it has rolled, chipped, or developed a rough spot after light work, expect more maintenance or a shorter useful life.
This is a comparison test, not a durability guarantee. Test two tools on similar clay and compare control, surface quality, and edge condition after the same task.
Why does material and edge geometry matter?
The edge's thickness, angle, and support behind the cutting section matter as much as the named material. A thin stamped edge can feel very sharp but may bend when it meets a firm ridge. A thicker edge may last longer under pressure but remove clay less delicately. A flexible shaft can help follow a curve, while excessive flex makes the cut wander.
For routine trimming, favor an edge that stays aligned when you apply light, deliberate pressure. Avoid choosing solely by hardness claims or a material label. The tool still has to match the clay's firmness and the shape of the foot.
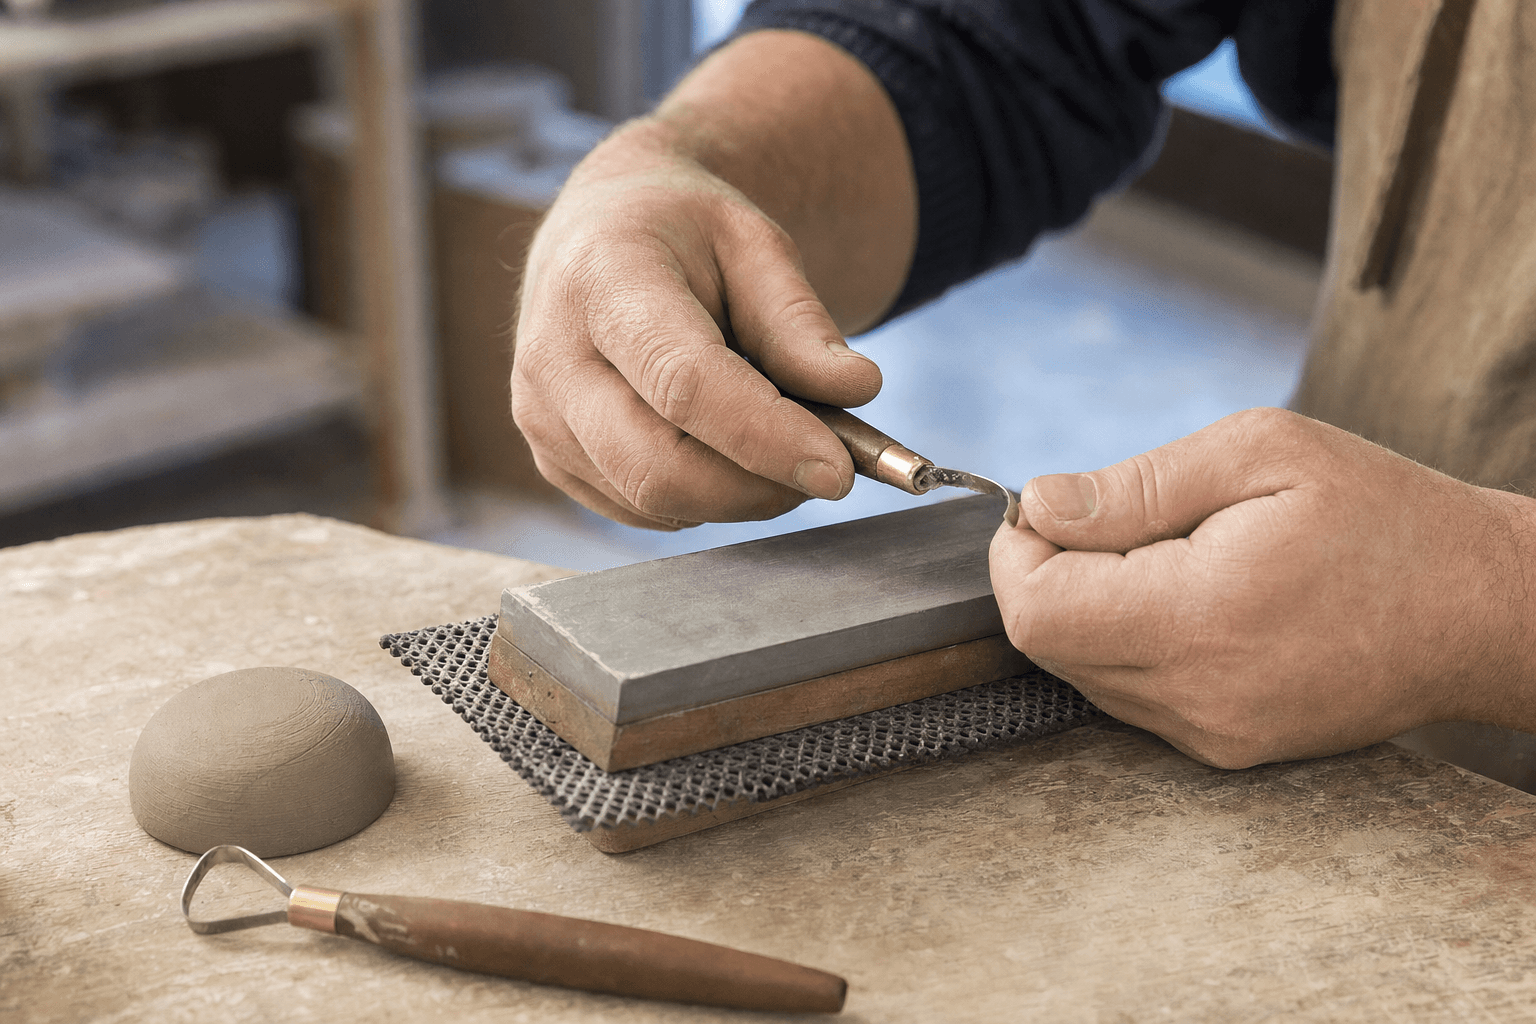
Treat sharpening as maintenance, not as a way to rescue every tool. Before changing the original edge, compare it with the tool's unused side or another matching tool. The practical guide to sharpening and maintaining pottery trimming tools explains when careful sharpening makes sense and when replacement is the cleaner choice.
A simple pottery trimming tools buying checklist
Before adding a tool to your cart, ask:
- What exact job will it perform that my current tools cannot?
- Is its width suited to my smallest and largest common forms?
- Does the edge look straight, even, and securely supported?
- Does the shaft flex enough to follow the form without wandering?
- Can I hold the handle comfortably while making several light passes?
- Can I inspect, clean, and maintain the edge without changing its intended geometry?
Buy the medium loop first if you have no trimming tools. Add the narrow tool when you encounter tighter curves or need finer control, then add a pointed tool for details. This sequence builds a working set around actual studio problems instead of filling a drawer with shapes that perform the same job.
Keep this nearby while you make, then let the next piece be your own.