TL;DR
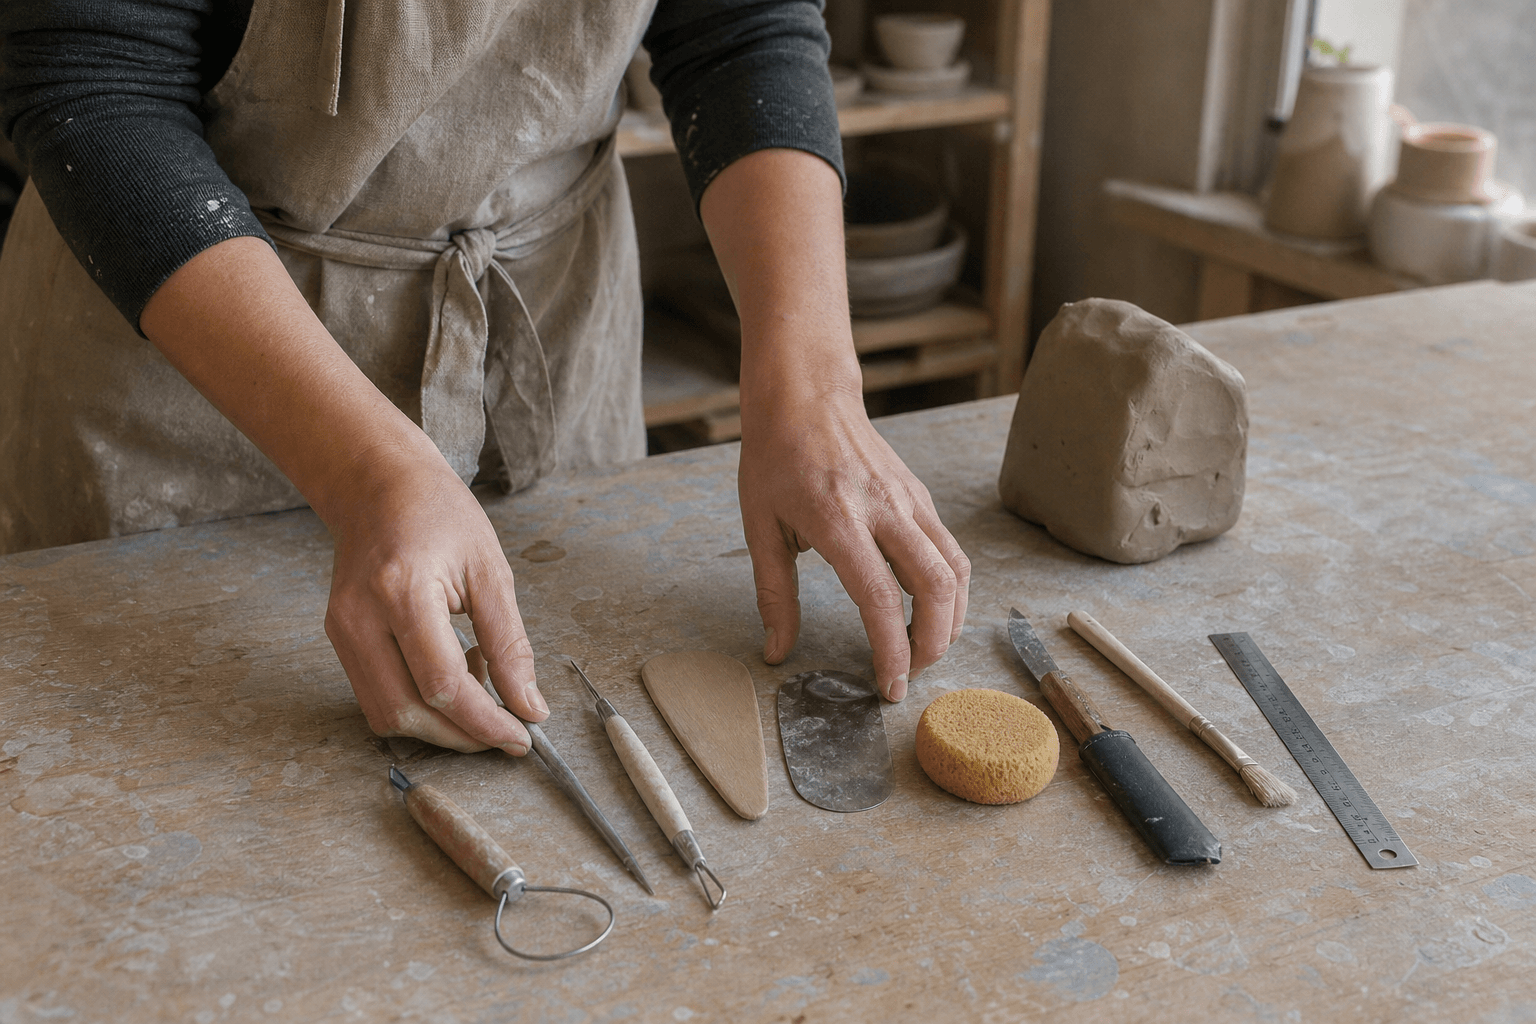
The most useful pottery tools for beginners are a wire cutter, needle tool, wooden rib, metal scraper, sponge, fettling knife, and a basic tool for measuring or checking shape. Buy these individually or in a small set, then add specialized tools only when a repeated studio problem justifies them.
A large beginner kit often includes duplicates, fragile tools, and equipment for techniques you may never use. Start with tools that help you cut, join, smooth, shape, clean, and check your work.
What pottery tools for beginners are genuinely necessary?
Your first kit should support the basic decisions made during almost every project: how to portion clay, how to attach parts, how to refine a surface, and how to remove unwanted material.
A practical starter kit includes:
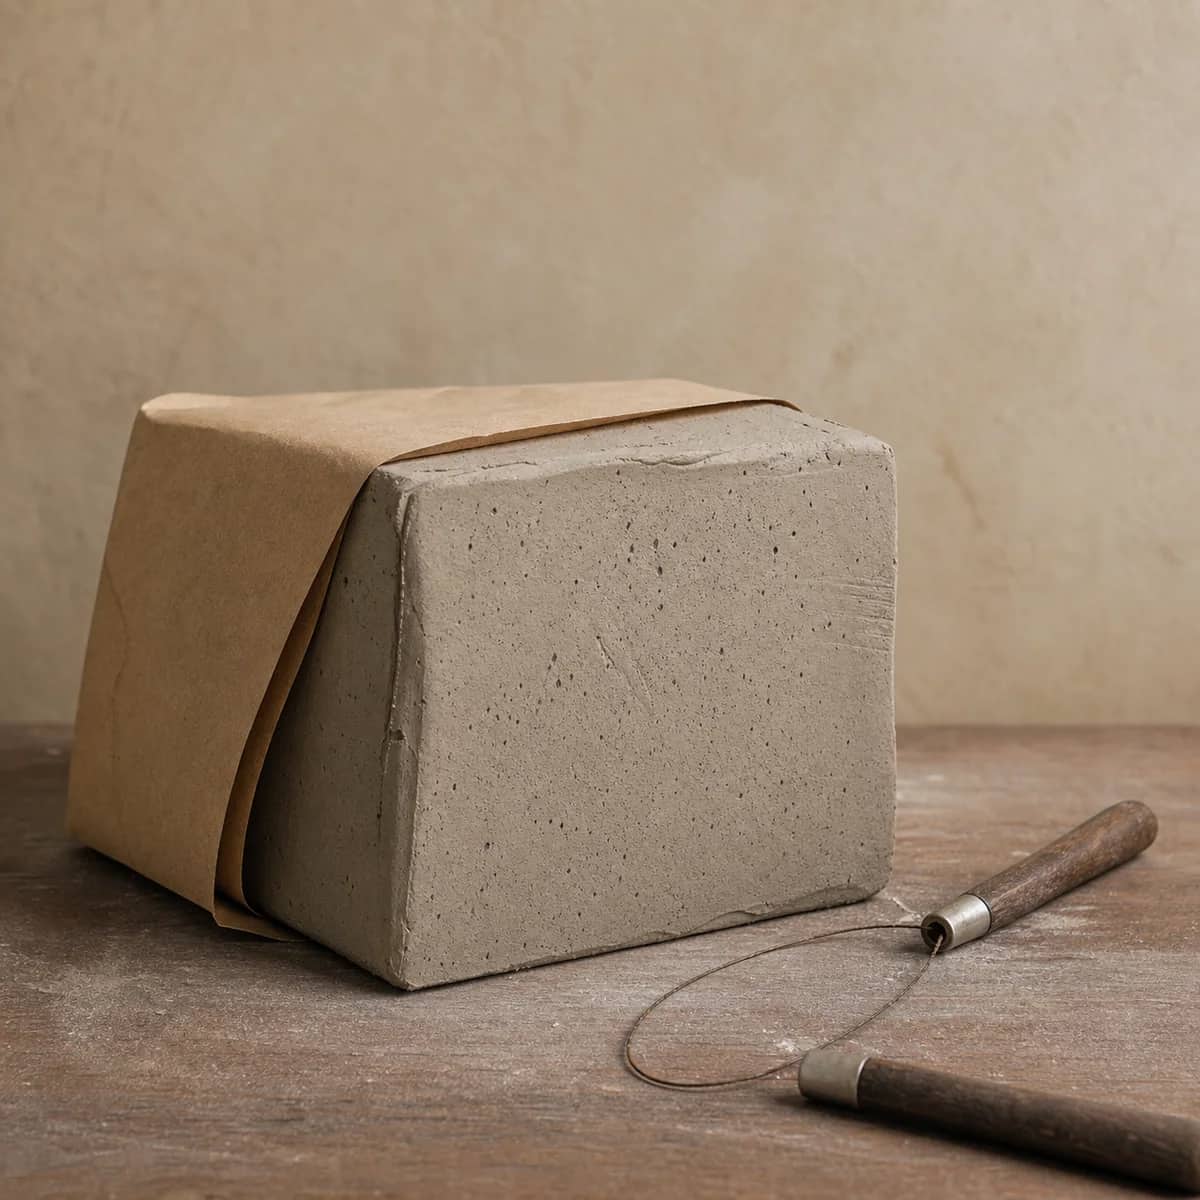
- Wire cutter: For slicing clay from a larger piece and cutting a finished form from a work surface. A taut, comfortable wire is more useful than several decorative cutting tools.
- Needle tool: For scoring, piercing, marking, trimming small details, and checking whether a wall or slab has reached the shape you want.
- Wooden rib: For compressing and shaping clay, especially on wheel-thrown forms. It can also smooth handbuilt surfaces without making them completely flat.
- Metal scraper or rib: Useful for removing bumps, refining profiles, and cleaning clay from a work surface. Choose one with an edge you can control rather than an elaborate shape.
- Sponge: For managing water and smoothing edges. A small, dense sponge is easier to control than a large household sponge.
- Fettling knife: For cutting leather-hard clay, cleaning seams, and refining small edges. Keep the blade protected when stored.
- Small brush: Useful for clearing crumbs, applying slip, and cleaning glaze or clay from areas where your fingers cannot reach.
- Simple measuring tool: A ruler, calipers, or a marked strip of paper can help you repeat dimensions. The best choice depends on whether you make slabs, cups, bowls, or fitted parts.
These tools do not need to match, come from one brand, or arrive in a large roll. A modest kit is easier to clean and makes it clear which tools you actually reach for.
If you plan to throw on a wheel, your wheel matters more than a collection of specialty shaping tools. Compare workspace, cleanup, pedal control, and the forms you expect to make in this beginner electric pottery wheel buying guide before spending on accessories.
Which beginner pottery tools can wait?
Many tools are convenient rather than essential. Postpone them until you can name the task they will solve.
Banding wheel
A banding wheel helps you turn a handbuilt form while decorating, trimming, or checking a profile. It is useful when you regularly need to view work from different angles, but a stable board or turntable may be enough at first. Buy one when rotating the work has become a repeated inconvenience, not because every beginner setup needs one.
Mud tools and texture tools
Texture stamps, combs, roulette wheels, and decorative ribs are easy to accumulate. They are worth adding when you have a specific surface idea or when you want to repeat a texture across several pieces. Until then, found textures and the edge of a basic rib can help you explore without filling a drawer.
Specialty trimming tools
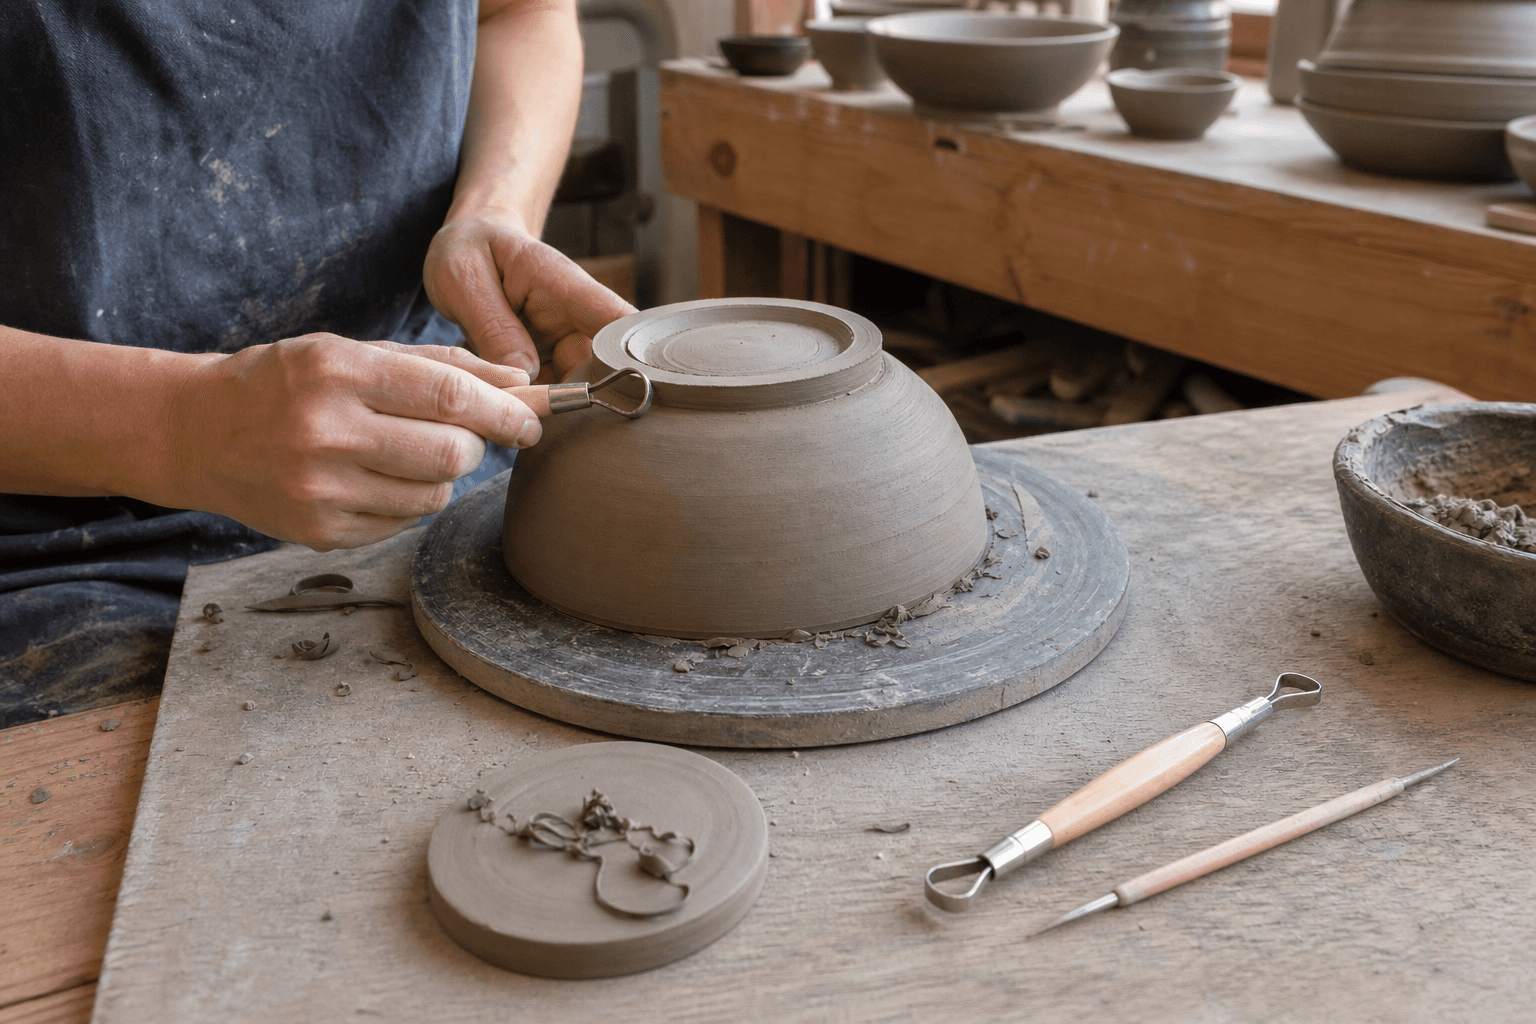
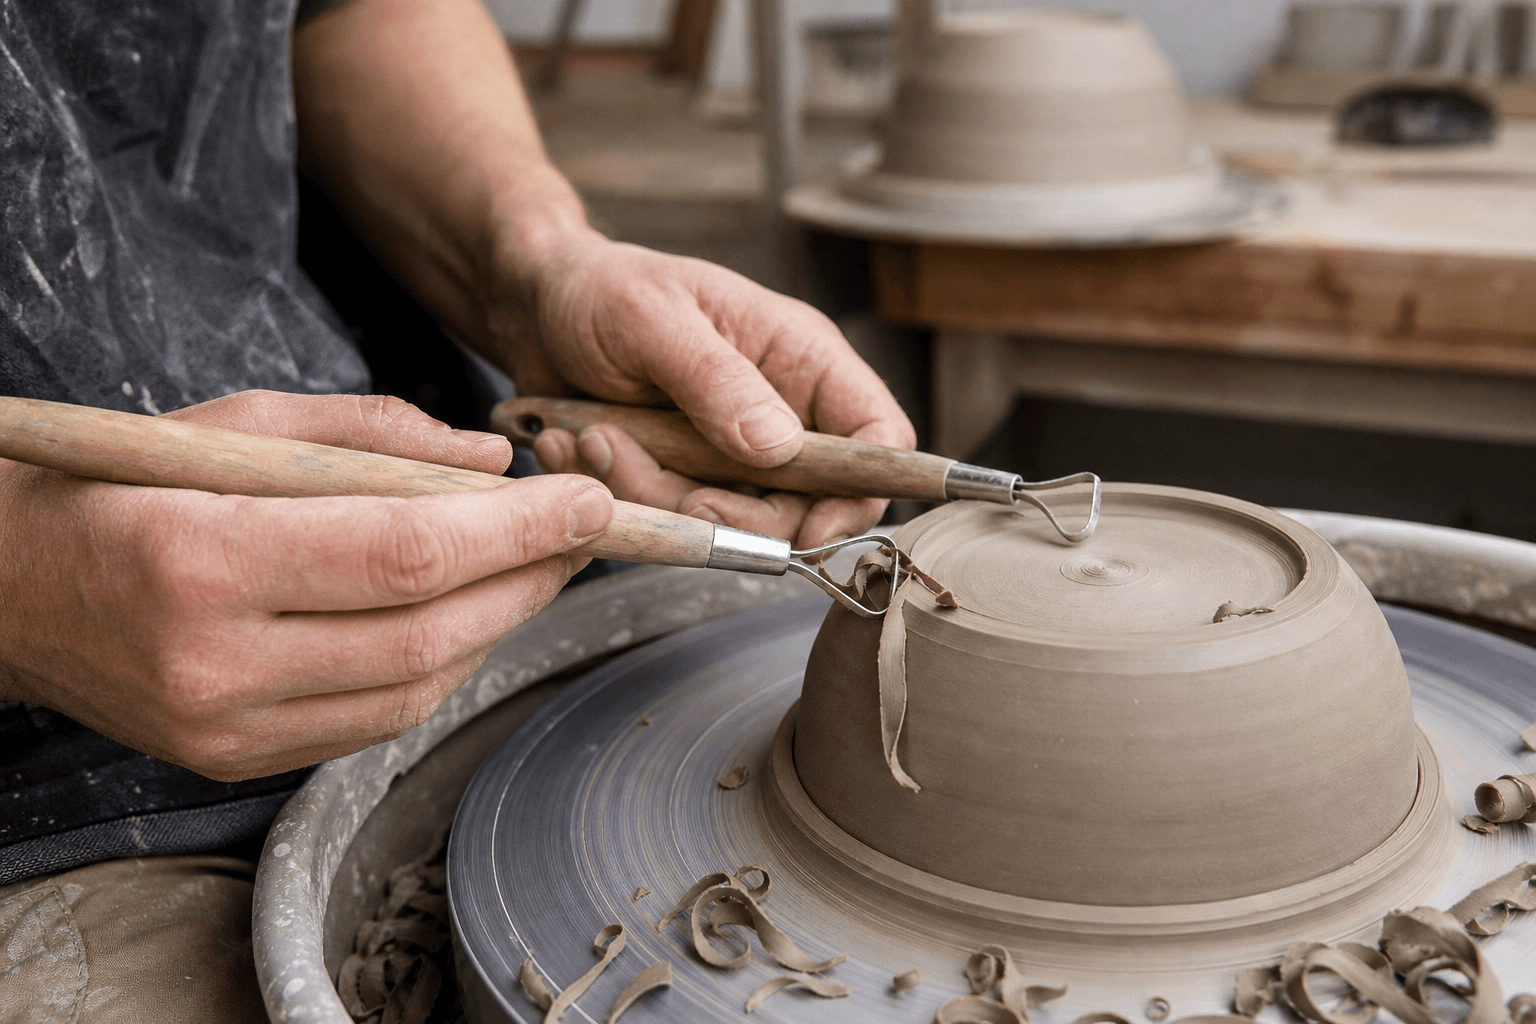
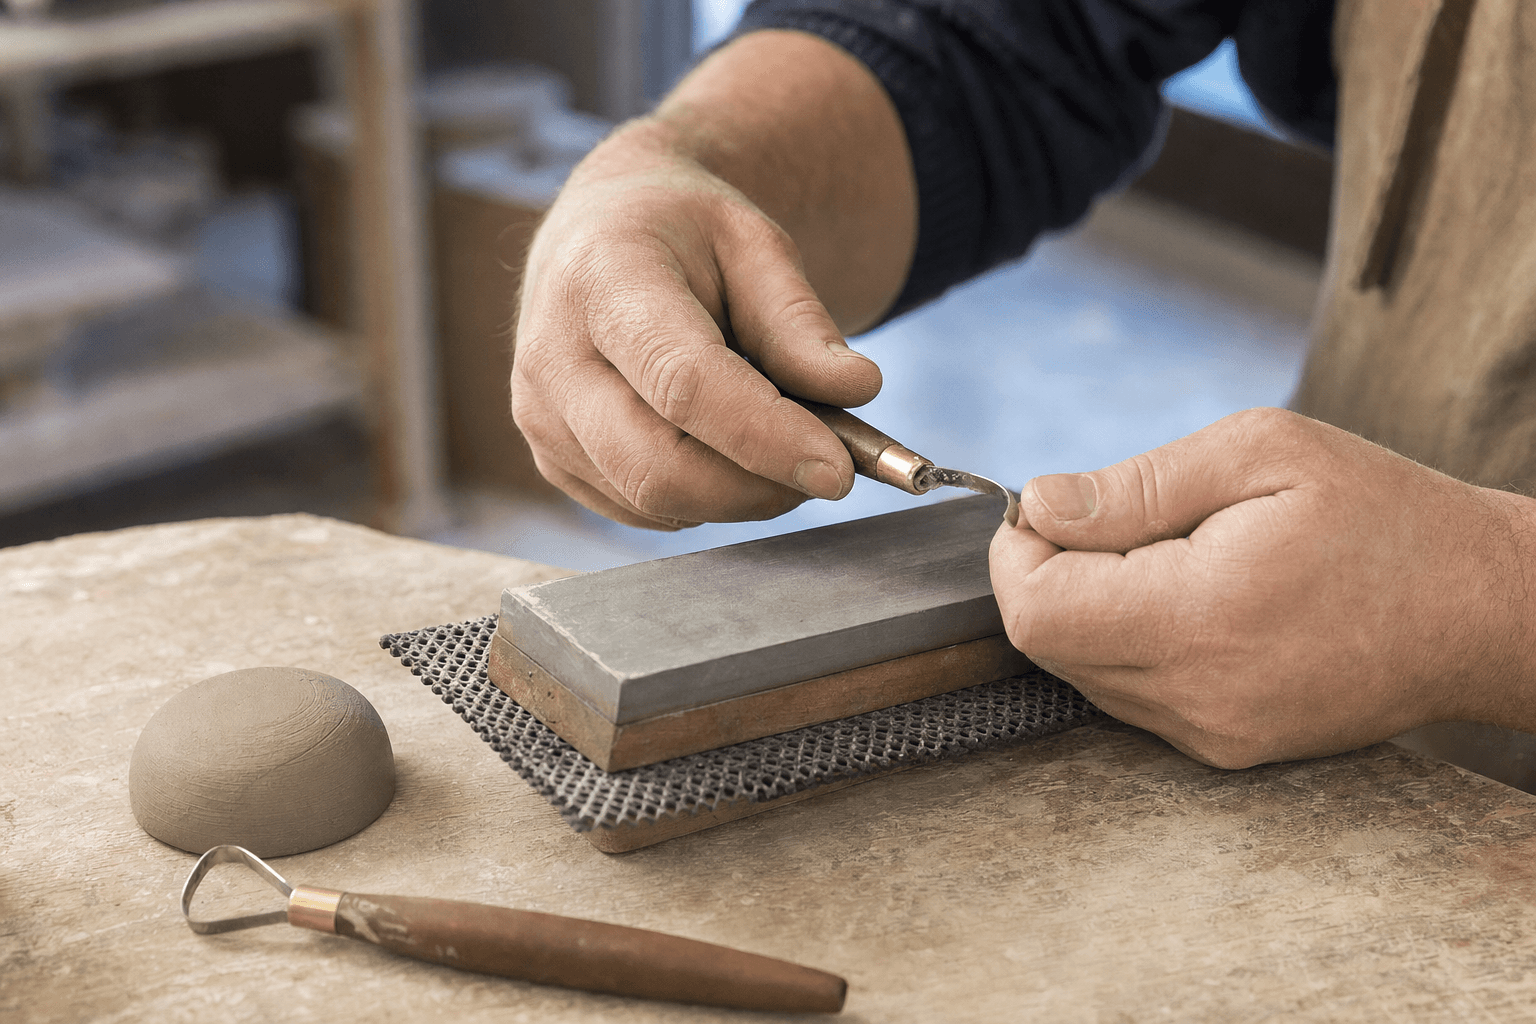
A loop tool can be useful for removing clay from leather-hard forms, but you do not need a large assortment. One sturdy loop tool and one sharper trimming tool can cover many early projects. The shape should match the foot rings and profiles you make most often.
Calipers
Calipers are valuable for making lids, pairs, and fitted parts. They are less important if you are making open bowls or sculptural forms without matching components. A ruler or paper template can handle early practice pieces.
Decorating bottles and airbrushes
Slip trailers, squeeze bottles, airbrushes, and fine decorating tips suit particular surface techniques. They are not substitutes for learning how much slip or glaze your brush applies. Add them after brushing, dipping, or simple trailing has shown you what control problem you are trying to solve.
How do you choose a small pottery tool kit?
Use the task-first checklist below before buying a set:
1. Name the next three forms you want to make. A mug, pinch pot, slab box, and small sculpture need different tools. 2. List the actions those forms require. Include cutting, joining, smoothing, trimming, measuring, and decorating. 3. Mark tools that serve more than one action. These should form the core of your kit. 4. Separate handbuilding from wheel tools. Do not pay for trimming equipment if you will not be throwing yet. 5. Check storage and cleanup. A tool that is difficult to wash or store may stay unused even if it looks useful. 6. Buy one version before buying multiples. Use it on several projects and note what you wish were different.
Clay choice also affects which tools feel useful. A coarse clay body may need a stronger scraper and a more durable sponge than a smooth, fine body. Before buying clay and tools together, compare the forming behavior and intended use of speckled stoneware clay with the projects you want to make.
A starter kit by making method
For handbuilding
Start with a wire cutter, needle tool, wooden rib, metal scraper, fettling knife, sponge, small brush, ruler, and a work surface that can be cleaned easily. Add a rolling guide or slab supports if you make consistent slabs. Add a serrated rib or texture tool only when your construction method calls for it.
For wheel throwing
Start with the same core tools, then add a trimming tool, a small throwing sponge, a throwing rib, and a way to cut work from the bat or wheel head. Keep a separate sponge or cloth for cleaning the wheel area so your forming tools are not constantly covered in reclaim.
A wheel setup also benefits from a repeatable cleanup routine. Put tools in the same place, scrape large clay deposits before washing, and keep a container for reclaimable clay. Good workflow often matters more than owning another rib.
For sculptural work
Choose tools based on the marks you need: a wire for cutting, a needle or pin tool for openings, wooden tools for shaping, and a few sturdy modeling tools for compressing and refining. Avoid buying a full sculpting assortment before you know whether you prefer building, carving, or adding clay.
What is the simplest way to test whether a tool earns its place?
Try a small repeatable project, such as three pinch pots or three short slabs. Use only the basic kit for the first piece. For the next piece, add one tool that you are considering.
Afterward, write down three observations:
- Did the tool solve a problem that the basic kit could not solve?
- Did it make the work faster, more controlled, or easier to repeat?
- Will you use it on the next several projects, or only on this experiment?
Keep the tool if it produces a clear improvement or replaces an awkward workaround. Return, donate, or postpone tools that only duplicate something you already own. This test also helps separate a genuine workflow need from the appeal of a large, neatly packaged set.
FAQ: buying pottery tools for beginners
Is a pottery tool set better than buying tools separately?
A small set can be convenient, but compare the contents before buying. If it contains several duplicates or specialty tools for techniques you do not use, buying a few individual tools may cost less and create less clutter.
Do I need pottery tools if I am taking a class?
Usually, start with the tools your class requires. Many studios provide shared equipment, and the instructor may recommend shapes that suit the clay and techniques used there. Buy personal versions of the tools you use repeatedly.
Do I need a kiln to start buying pottery tools?
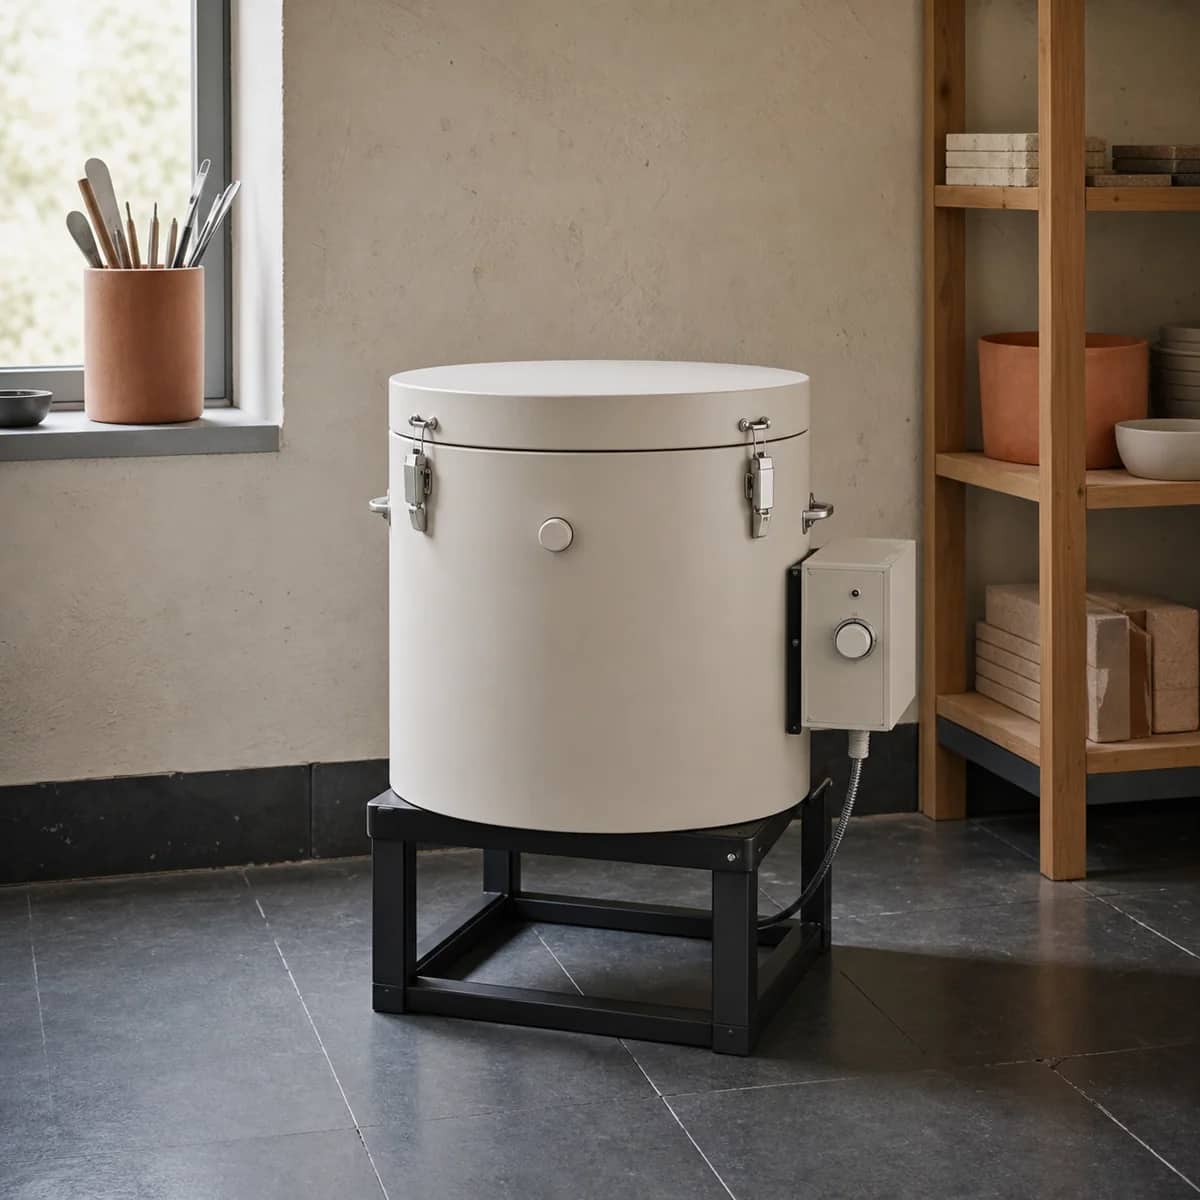
No. You can practice handbuilding, surface design, and form development before owning a kiln. If you later consider an electric kiln, confirm placement, ventilation, electrical requirements, and local rules using the equipment manual and advice from a qualified electrician where needed. A kiln should fit your studio setup, not complete a shopping list.
How should beginner pottery tools be stored?
Keep sharp tools protected, let washable tools dry before storing them, and avoid leaving clay to harden on ribs or scrapers. A shallow container or tool roll is enough if every tool has a consistent place.
Keep this nearby while you make, then let the next piece be your own.