TL;DR
Clay is ready for pottery trimming when it feels firm enough to support the form but still gives slightly under a sharp tool. If the pot flexes, feels cold and damp, or drags under the tool, wait longer. If you cut through a wall or make a foot too thin, stop trimming, assess the damage, and repair with a small, well-compressed addition of clay if the piece is still workable.
How do you know clay is leather-hard enough to trim?
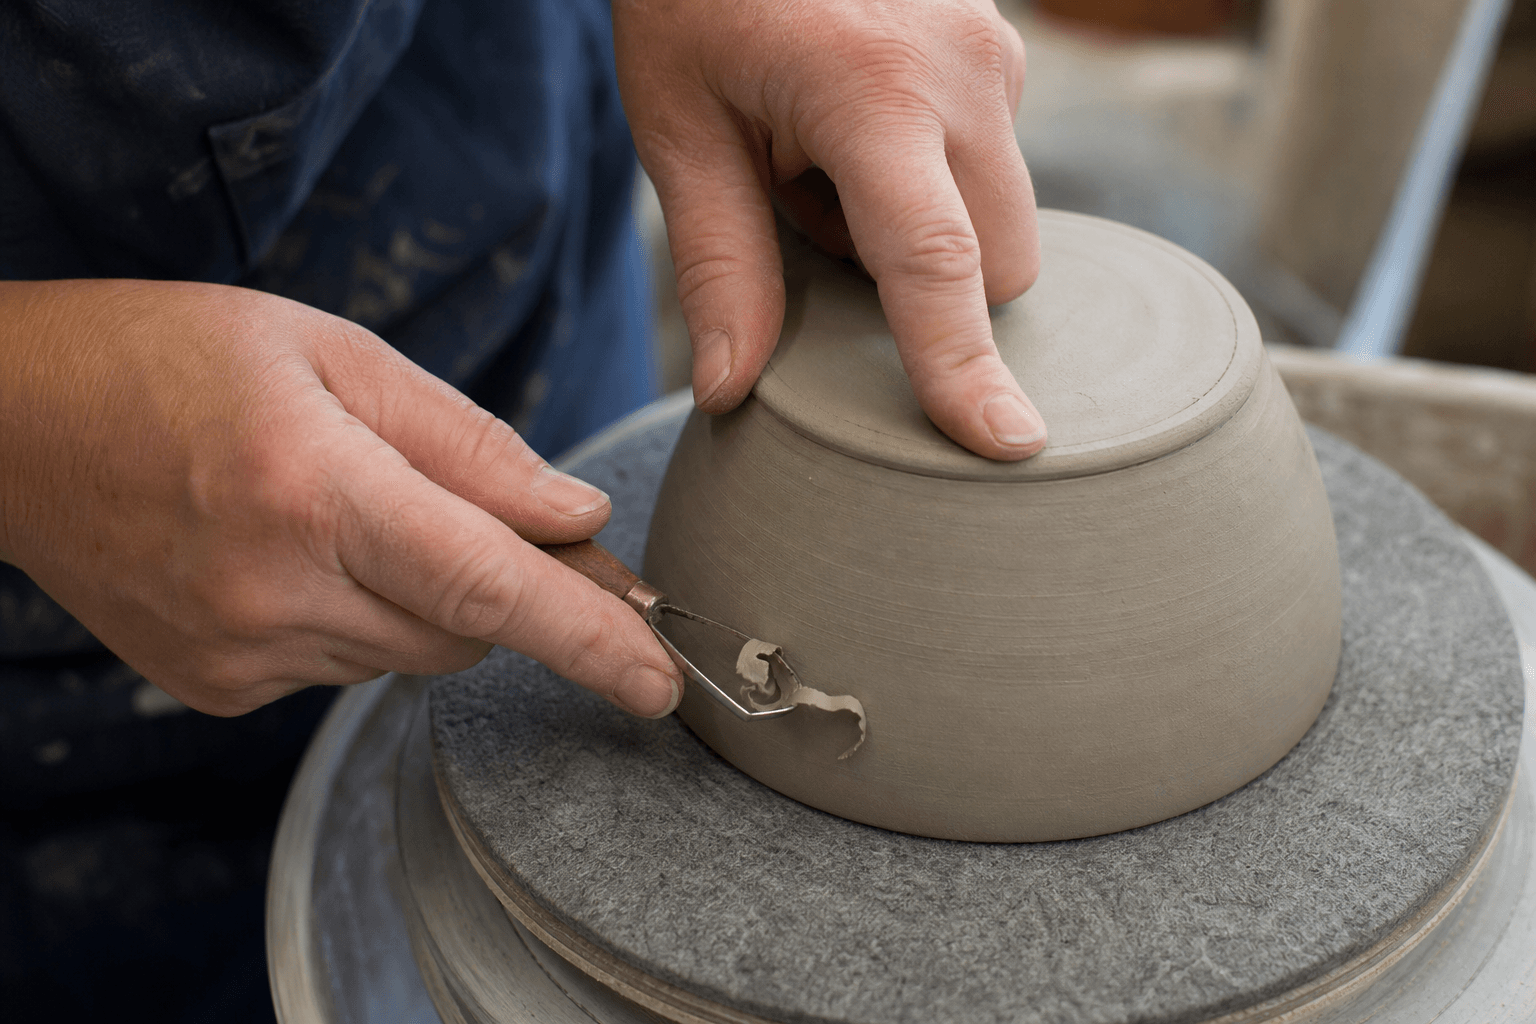
Use three observations together instead of relying on the clock. A leather-hard pot should hold its shape when you lift it, show only slight flexibility when you press gently, and produce a clean shaving or ribbon under the trimming tool.
Before placing the pot on the wheel, check the rim and the base. The rim should not collapse when you touch it lightly. The base should feel firm rather than rubbery. If the pot still feels noticeably cool, damp, or soft compared with the surrounding air, moisture is still moving through the clay and trimming may deform it.
A simple readiness test works well:
1. Press a fingertip gently against an inconspicuous area near the base. 2. Watch whether the clay springs back, dents, or moves with the pressure. 3. Make one shallow test cut where the foot will be removed. 4. Check the shaving that comes away.
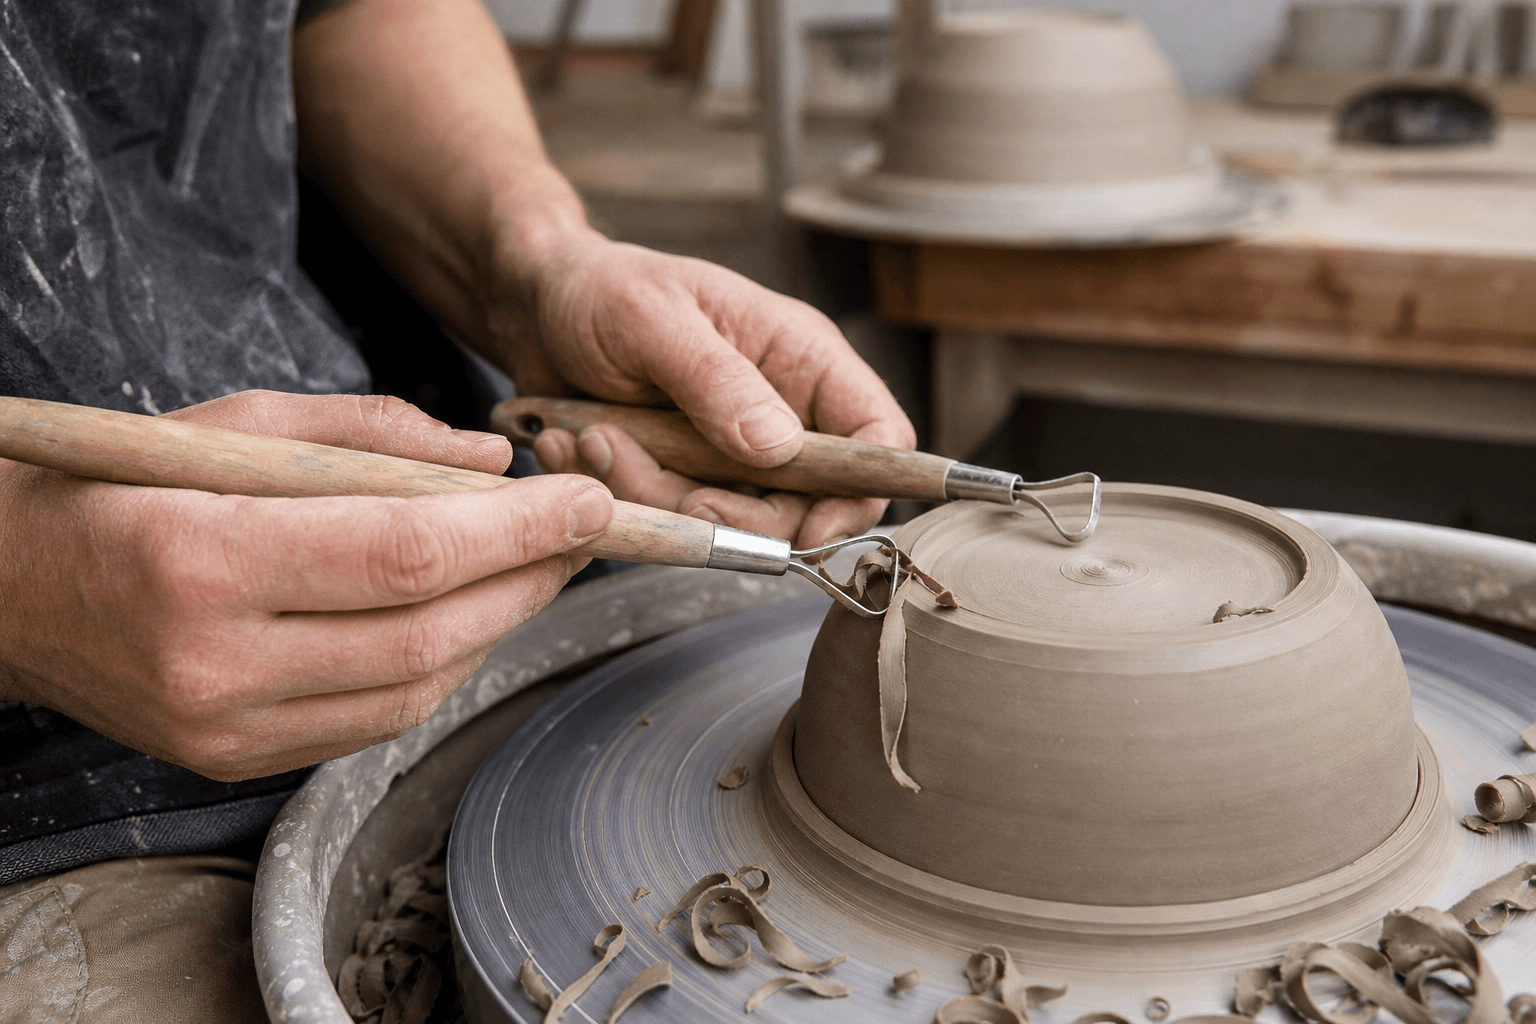
A clean shaving usually means the clay is firm enough to trim. A sticky smear suggests that it is too wet. A dusty crumble can mean the surface is too dry, the tool is dull, or the clay body is breaking rather than cutting cleanly.
The test cut is more useful than a fixed drying time because room temperature, humidity, wall thickness, clay body, and the way the pot was covered all change the result.
What should leather-hard clay feel like in your hand?
Leather hard is not one exact moisture level. It is a workable stage between soft plastic clay and bone-dry clay, so the feel changes with the form.
A thick mug may be ready to trim while its handle attachment areas still need protection. A wide bowl may feel firm at the rim but remain softer at the center of the base. A narrow cylinder may keep its shape while still bending enough to wobble during trimming.
Look for these useful signs:
- Firm walls: The form keeps its profile when you pick it up carefully.
- Limited flex: A gentle touch does not leave a lasting dent or buckle the wall.
- A cool but not wet feel: Slight coolness is common, but a damp or clammy surface usually needs more drying time.
- Clean tool response: A sharp trimming tool removes a controlled shaving instead of scraping, smearing, or tearing.
- A stable rim: The rim does not flatten when the pot is turned upside down onto a bat or soft support.
If the pot is nearly ready but the base is still soft, uncover only the base or place the piece on a breathable surface for a short period. Turn it occasionally if the form can tolerate handling. Avoid trying to speed the process with uneven heat, because a rapidly drying area can become harder than the rest of the pot and make the next trimming cut less predictable.
A repeatable pottery trimming setup
Readiness is only part of the decision. The pot also needs support that matches its shape. A flexible bowl can distort even when the clay is at a good trimming stage if it is held too tightly or pressed against an uneven support.
Center the pot with the same care you use when centering clay for throwing. Use soft clay bats, foam, or another support that holds the form without creating sharp pressure points. For a narrow form, support the interior with a form that matches its curve. For an open bowl, avoid forcing the rim into a rigid shape it no longer naturally holds.
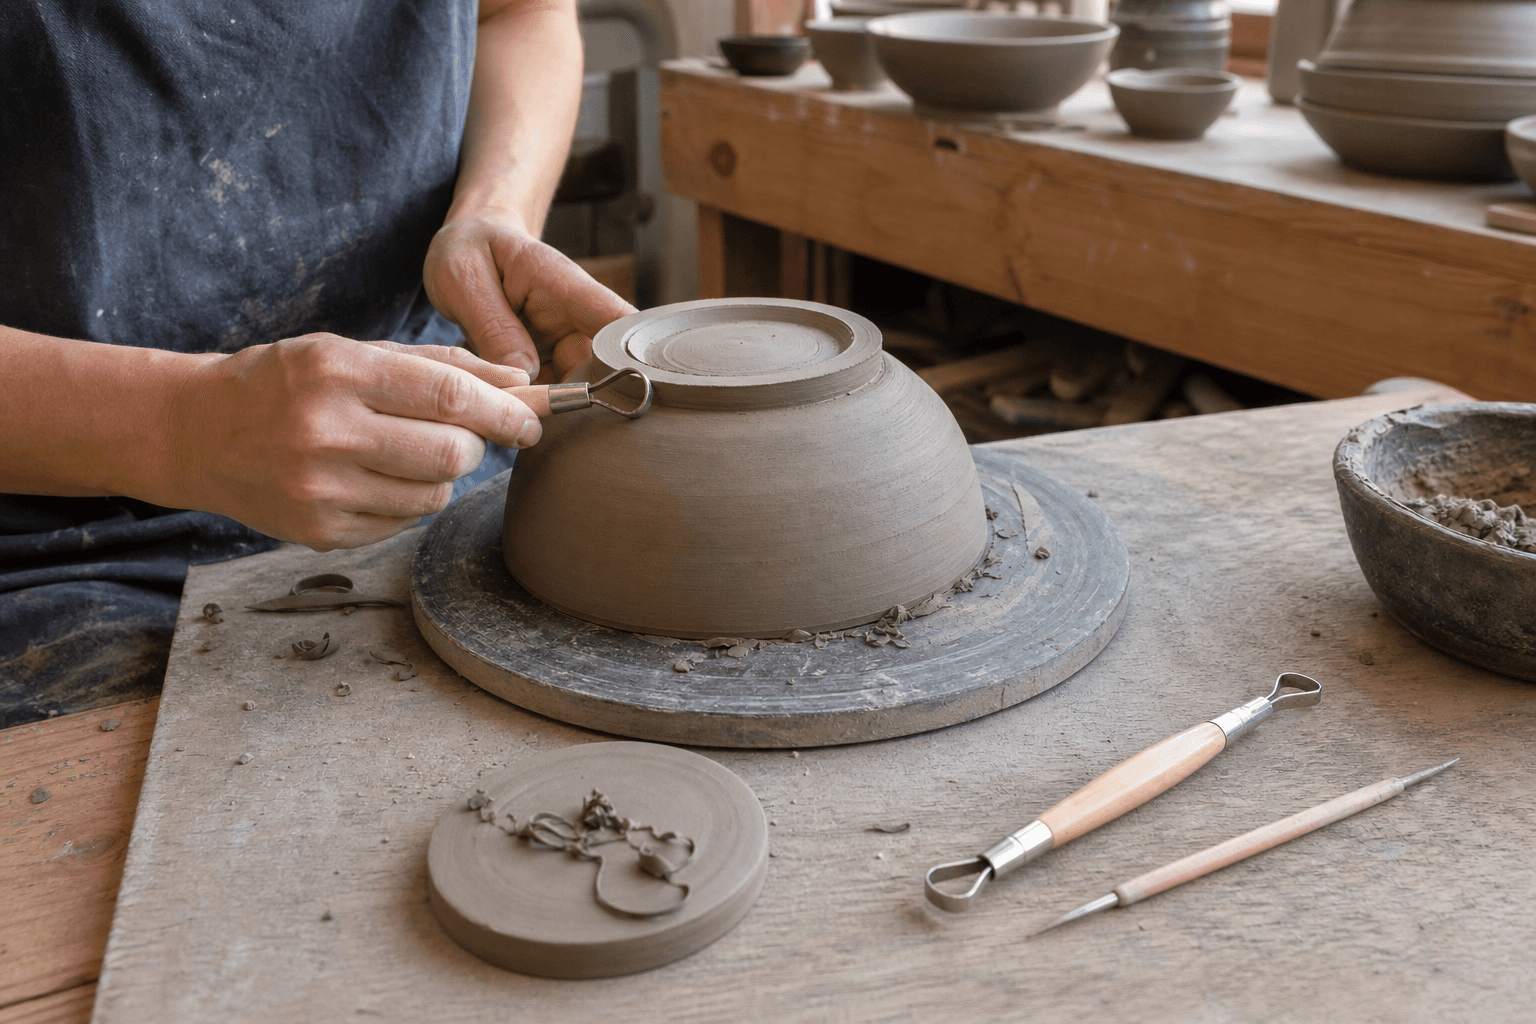
Start with a shallow pass around the base. This first pass tells you whether the pot is centered, whether the clay is ready, and how much material remains before the foot begins to appear. Keep the tool supported by your hand and take small cuts rather than trying to remove the entire foot ring at once.
A useful workflow is:
1. Mark the approximate foot area with a needle tool or pencil. 2. Make a light pass to establish the outer boundary. 3. Remove clay gradually from the center and underside. 4. Stop every few rotations to check the wall thickness and profile. 5. Compress the finished foot and soften sharp transitions with a rib or fingertip.
Choose a tool that suits the curve and clay firmness. The pottery trimming tools guide explains the different jobs common tool shapes perform, while the guide to sharpening and maintaining pottery trimming tools can help you separate a clay-readiness problem from a dull-edge problem.
How can you avoid trimming too far?
Trim by observation, not by trying to reach a standard-looking foot. The right amount of clay depends on the form, its intended use, and the thickness you created while throwing.
Before trimming, decide what the base needs to do. A small decorative cup may need only a modest foot or a clean recessed base. A larger vessel may need a broader supporting ring. If you remove material until the underside looks delicate, you may have gone farther than the form requires.
Use these stopping points:
- Stop when the foot has a stable contact area.
- Stop when the outside profile looks intentional from the side.
- Stop when the tool begins to approach the wall or floor of the vessel.
- Stop when the foot feels thin enough that another pass could change its function rather than improve its appearance.
If you are unsure, turn off the wheel and inspect the base from the side. A flashlight held at a low angle can make changes in thickness easier to see, but do not treat a visual estimate as a measurement of structural strength. The safest habit is to leave a little more clay, let the form dry, and evaluate the next version from your own test pieces.
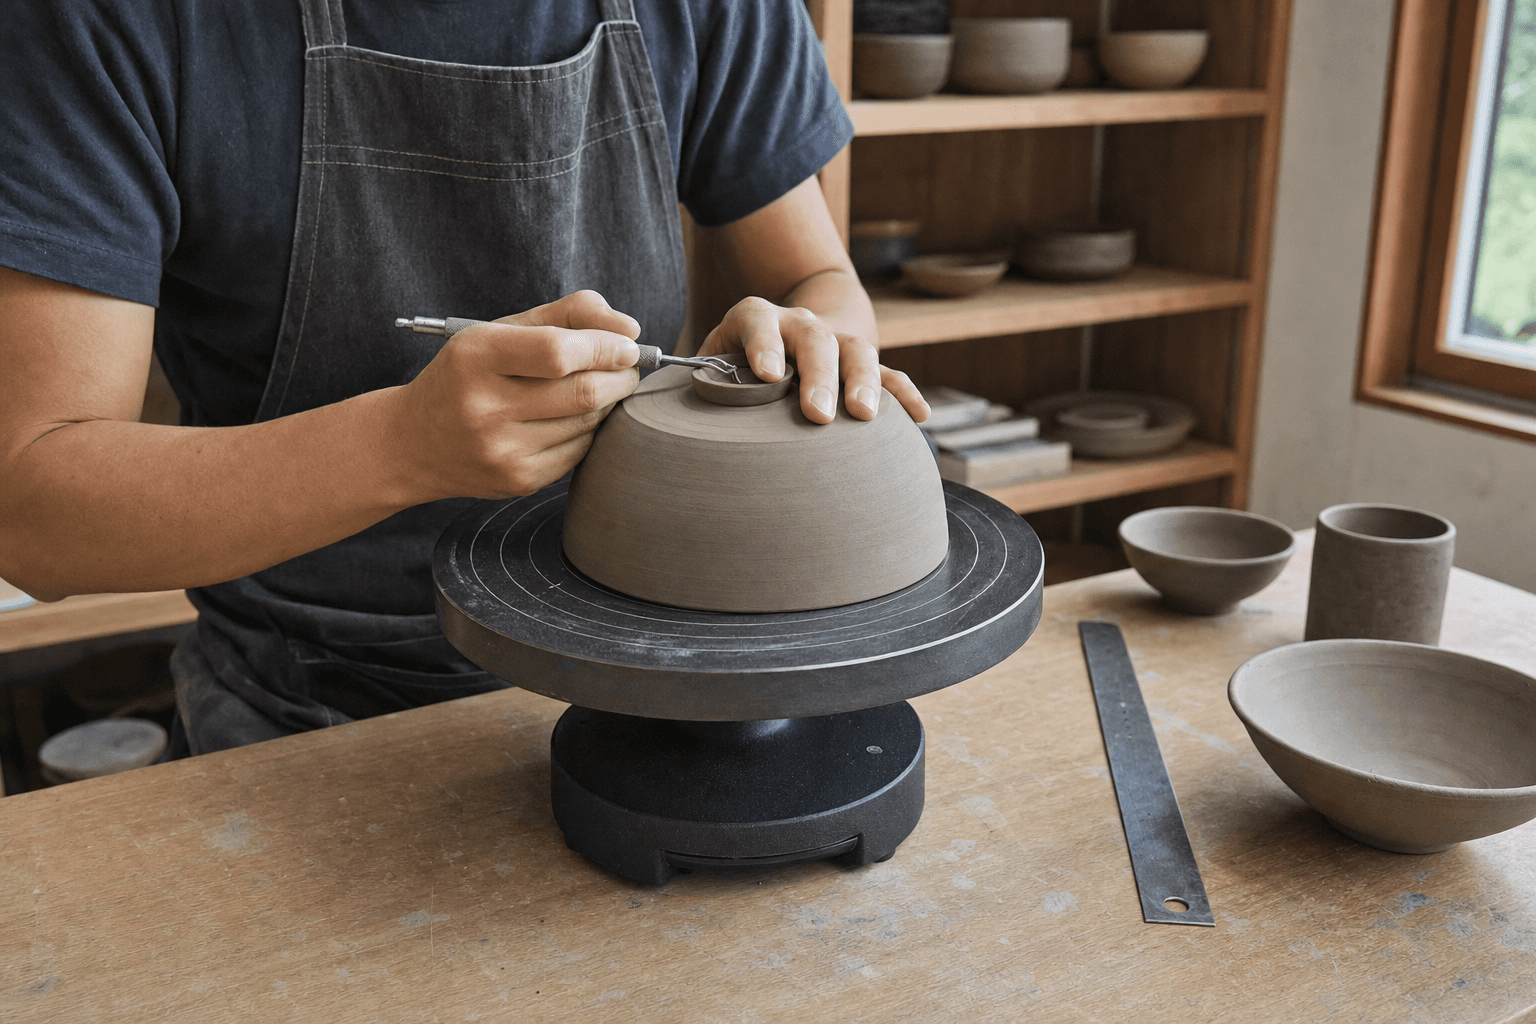
A trimming turntable can help when you need to inspect the profile from several angles without repeatedly lifting the pot. Compare size, stability, and rotational control in this pottery trimming turntable guide.
What should you do if you trimmed a pot too far?
First, stop cutting. Do not try to make the opposite side equally thin just to create visual symmetry. Remove the pot from the wheel carefully and inspect whether the problem is a thin area, a hole, a detached foot, or a distorted form.
A thin but unbroken foot or wall
If the clay is still leather hard, you may be able to add a small reinforcing pad or rebuild part of the foot. Roughen the area, apply slip made from the same clay body, press on a small amount of matching clay, and compress the edges firmly into the existing surface. Blend the addition without pushing the original wall out of shape.
Let the repair become firm enough to hold its shape, then refine it with light trimming or hand tools. Dry the piece slowly and evenly. A repair can shrink differently from the original clay, so treat the result as a test rather than assuming it will disappear after firing.
A hole through the base or wall
For a small hole, support the form from the opposite side and patch it with matching clay. Score and slip the edges, press the patch through the opening, and compress both the inside and outside surfaces. Keep the patch small and well integrated instead of placing a thick lump over the damage.
If the hole is large, the wall has collapsed, or the clay has become dry and brittle, reclaiming the clay may be more practical than forcing a repair. A repaired vessel that no longer holds its intended shape can still become a useful test piece for glaze, texture, or firing behavior, but do not treat a visibly compromised form as finished work without evaluating it carefully.
FAQ: pottery trimming readiness and repairs
Can you trim clay that is still soft?
You can make a shallow test cut, but soft clay is more likely to flex, smear, or lose its profile. Wait until the walls hold their shape and the tool removes a controlled shaving.
Can you trim a pot after it is bone dry?
Bone-dry clay is fragile and produces dust rather than flexible shavings. Small surface adjustments may be possible with appropriate care, but substantial trimming is better planned before the pot reaches that stage.
Should you add water to make leather-hard clay easier to trim?
Avoid wetting the whole piece. Water can soften the surface unevenly and make the pot less stable. Use a sharper, better-supported tool and adjust the drying time for the next piece instead.
Is a repaired, over-trimmed pot safe to use?
A repair does not automatically make a vessel suitable for food, liquids, or repeated handling. Inspect the fired result and consider the form, surface, and intended use before deciding how to use it.
Keep this nearby while you make, then let the next piece be your own.