
TL;DR
A kiln firing schedule should reflect your clay body, piece thickness, and glaze specifications rather than simply copying someone else’s temperature chart. Define your target first, then document ramp rates, holds, and cooling as a repeatable program. Change only one variable during the first adjustment, and record the fired surface, warping, glaze results, and witness-cone readings after unloading the kiln.
Start with the firing problem you need to solve
The goal of a bisque firing is to make greenware strong enough to handle during glazing while retaining the absorbency needed for glaze application. A glaze firing allows the glaze and clay body to react within their appropriate maturity ranges. Because these firings have different goals, using the same curve and changing only the peak temperature is unlikely to produce a dependable result.
Before you begin, create a firing log that includes:
- Clay body name, batch, and the manufacturer’s recommended range;
- Whether the load is bisque or glaze, along with the target cone or temperature range;
- The thickest part of each piece and whether the work includes solid sections, lids, or large flat slabs;
- Glaze name, application method, and number of coats;
- What changed from the previous firing.
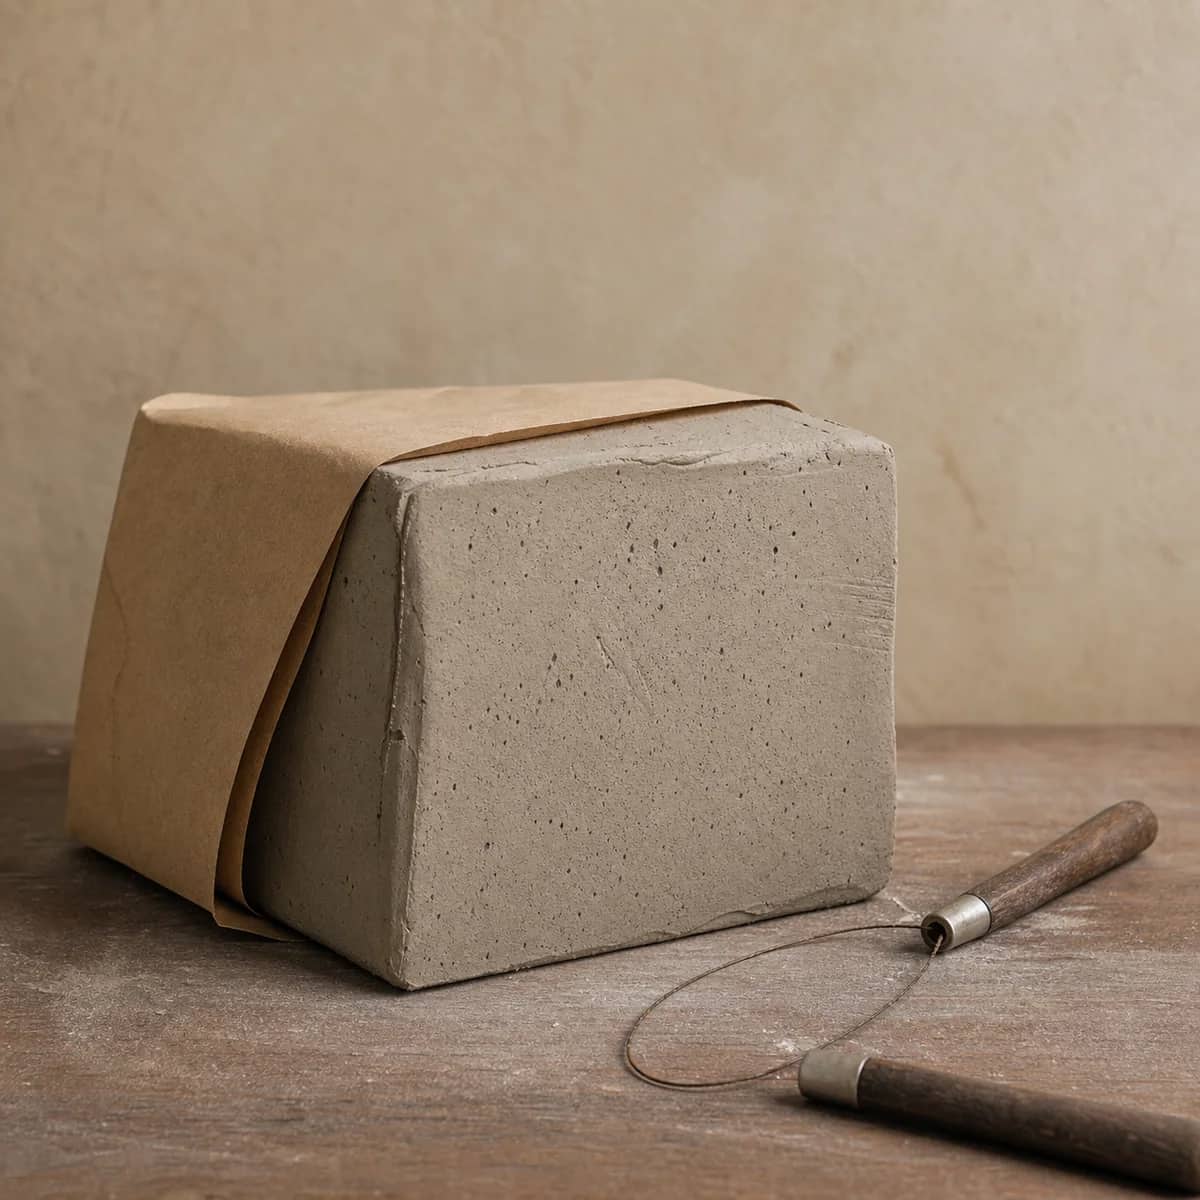
Clay and glaze technical guidance should take priority over general rules of thumb. If you are still choosing materials, review the decision-making approach in Firing and Choosing Speckled Stoneware Clay. If you are preparing to buy a kiln, first confirm the space, electrical, and capacity constraints covered in the Studio Electric Kiln Selection Guide.
Planning the bisque portion of your kiln firing schedule
During bisque firing, pay close attention to moisture in the clay, residual organic material, and differences in wall thickness. Unevenly dried work or pieces with unusually thick areas face a greater risk of cracking and breakage during a fast ramp. A more conservative low-temperature segment may help, provided the controller is operated within the kiln manual’s instructions. Reaching a particular temperature alone does not establish that a thick piece is ready for a faster ramp.
In practice, begin by confirming that every piece is completely dry. Place heavy, solid, or structurally complex work where you can observe the results more easily. In your firing log, identify the low-temperature segment, the main ramp, and any hold near peak temperature. Let the kiln cool according to the manual before unloading, and avoid forcing the door open to save time.
If one load contains both thin cups and thick sculptures, plan the program around the pieces that heat most slowly and are hardest to dry evenly. A separate test firing for thick work provides clearer information than an unexplained compromise intended to avoid running another load.
Should you adjust the ramp and hold during glaze firing?
For glaze firing, evaluate the target temperature, hold time, and total heatwork together. The same peak temperature can produce different levels of maturity depending on the ramp rate, load density, and location inside the kiln. A hold may improve temperature uniformity, but it can also allow a glaze to keep moving, become thinner along the edges, or change color.
Begin with the firing program recommended by the clay and glaze suppliers. Make adjustments only after you have a recognizable result to evaluate. For example:
- If the glaze is clearly underfired, check the target cone, temperature differences inside the kiln, and glaze thickness before changing the program;
- If the glaze moves excessively, first apply less glaze or change the piece’s location, then evaluate whether the hold should be shortened;
- If the color differs from expectations, check the atmosphere, glaze batch, and kiln location before blaming the ramp rate;
- If the foot sticks to the kiln shelf, correct the glaze coverage and clean the foot before reconsidering the peak temperature.
The values 120 min, 72.4 MPa, and 4.25% found in other sources are test results from different ceramic research subjects. They cannot be directly converted into studio-kiln hold times, strength values, or absorption rates. Choose firing parameters using the documentation for your specific clay, glaze, and kiln.
Are witness-cone readings more useful than the displayed temperature?
During a firing, the controller displays information from the programmed schedule and thermocouple. Witness cones indicate the heatwork received at a specific location. Record both sources of information. A cone that bends too early or too late may point to kiln location, load density, thermocouple condition, or program settings that need review. A single cone result does not establish that the entire kiln received identical heatwork.
Follow the cone manufacturer’s instructions for placement and observation, and position witness cones where they represent the work in the load. Change only one factor at a time. For example, keep the loading arrangement and glaze thickness consistent while adjusting the hold near peak temperature, then change placement in the next firing. This makes it easier to identify what produced the result.
Build your own schedule with a small test cycle
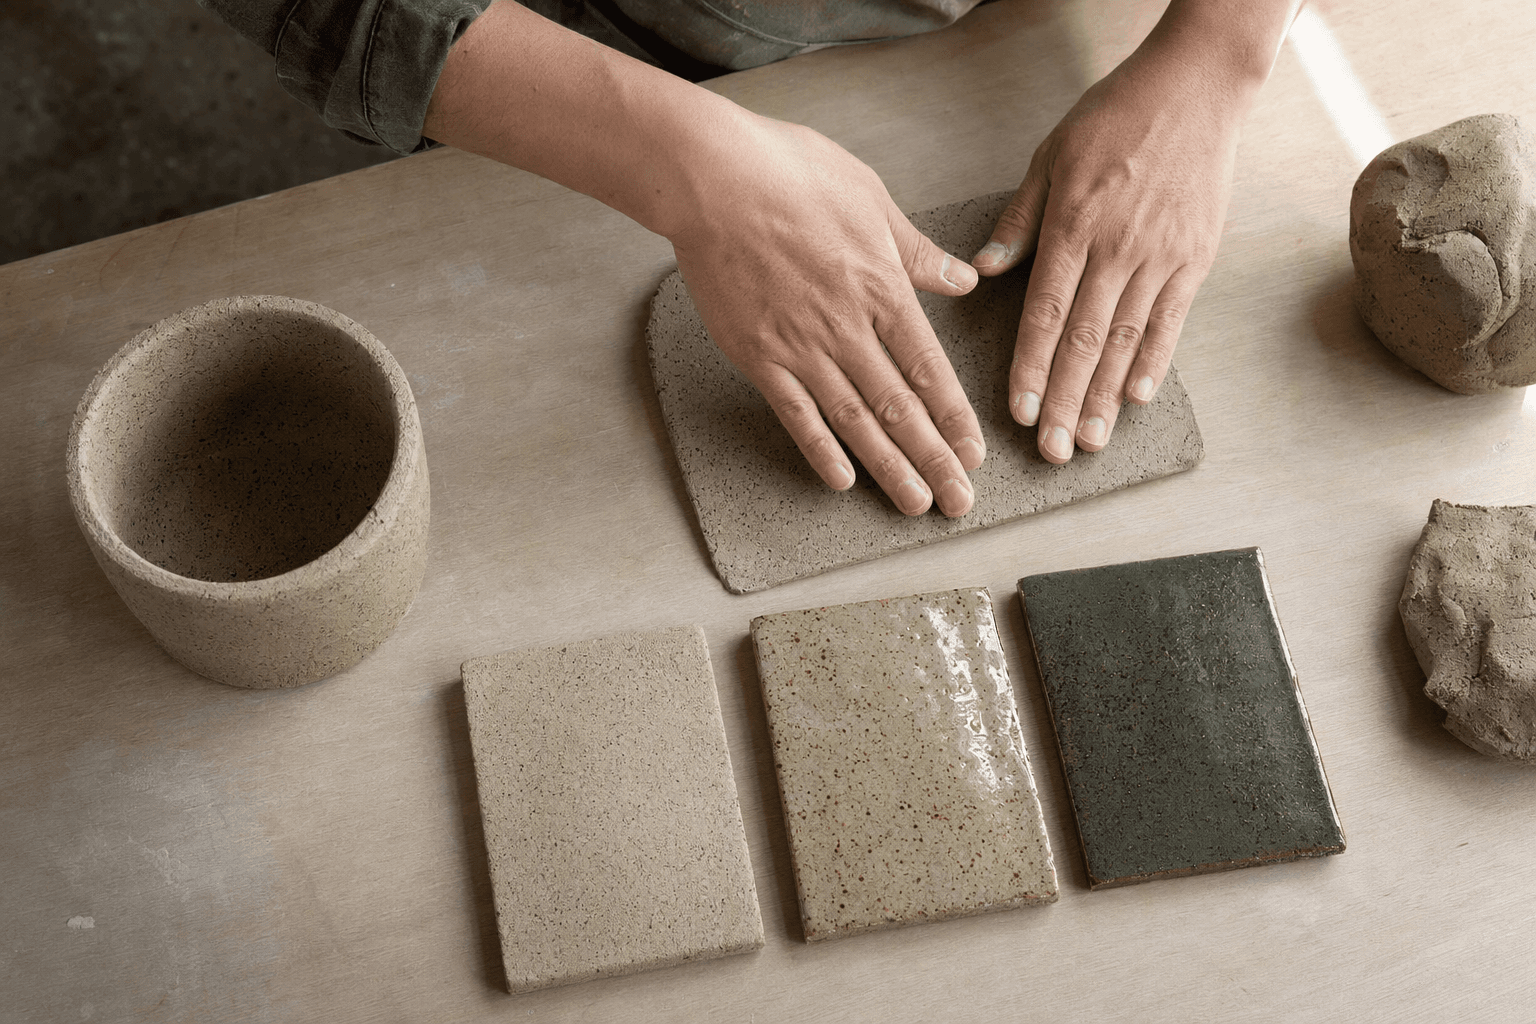
Avoid using a full kiln of finished work to validate a new program. Prepare several test tiles from the same clay body used for your finished pieces, then test representative glaze thicknesses and kiln locations. Label each tile with the clay, glaze, location, and program version.
After firing, document these four areas:
1. Whether the clay body shows cracks, warping, or unusual color; 2. Whether the glaze is even or shows pinholing, crawling, excessive movement, or underfiring; 3. Whether the same glaze looks different in different kiln locations; 4. Whether the witness cones agree with the displayed temperature.
Choose one change for the next cycle, such as shortening the hold, adjusting spacing within the load, or moving thick work to a location where the result is easier to observe. Once several consecutive firings produce similar results, you can apply the schedule to important work.
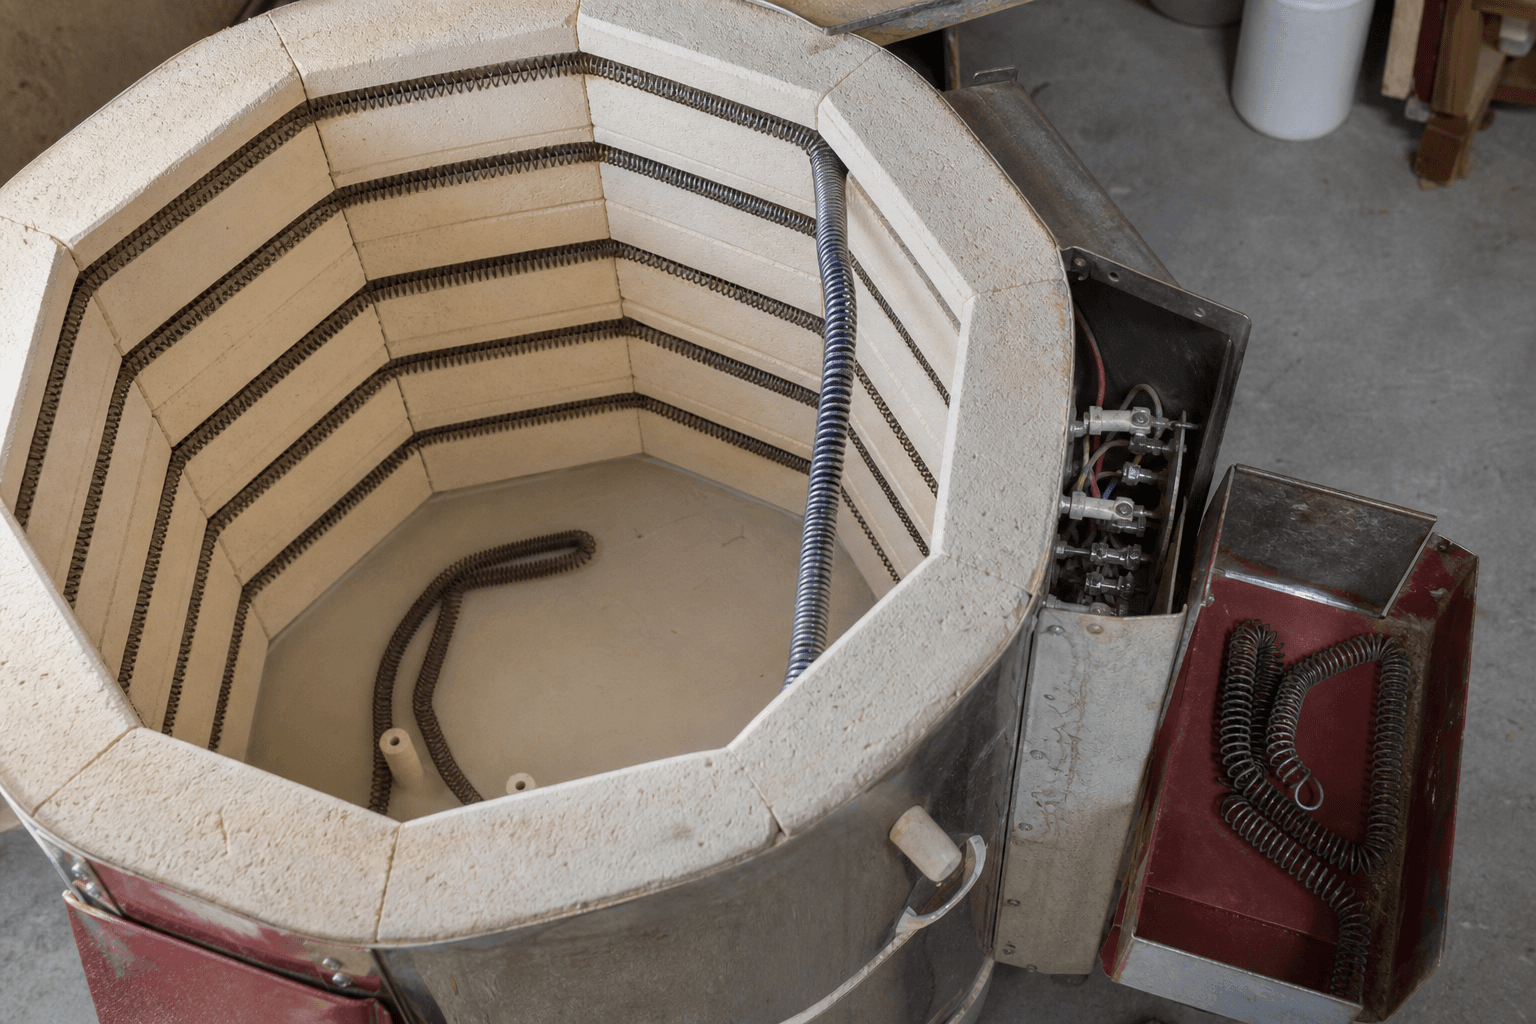
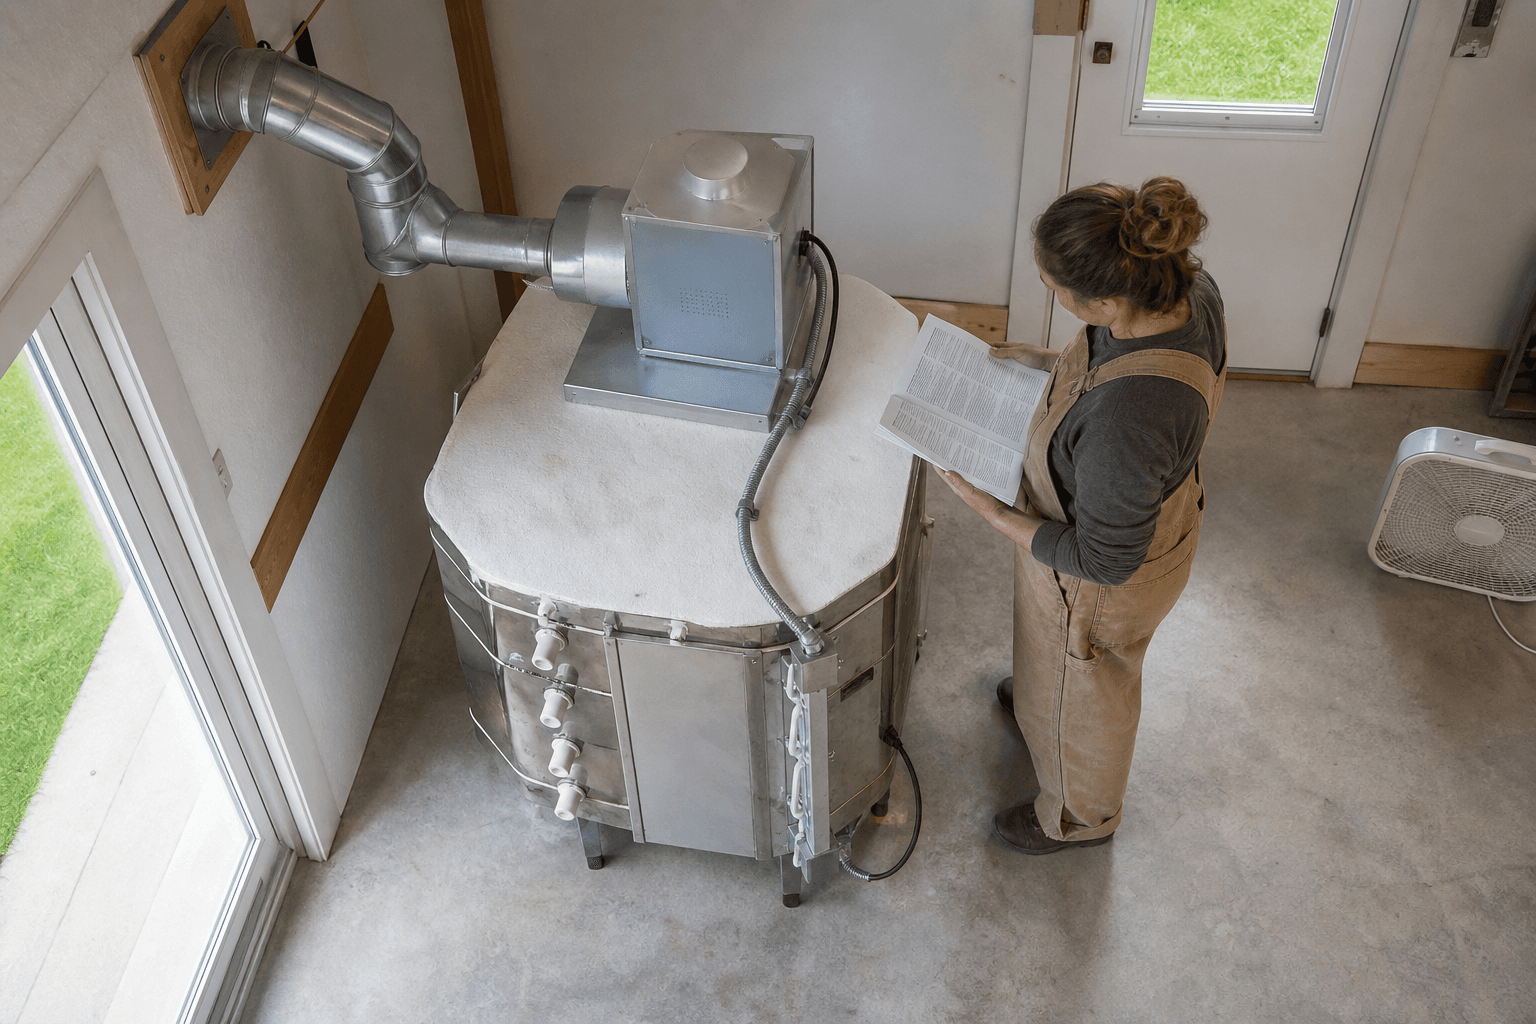
For electric-kiln placement, ventilation, electrical load, and controller operation, follow the equipment manual and local electrical requirements. Consult a qualified electrician when electrical conditions need verification. Do not alter wiring yourself or guess about protective measures.
Frequently asked questions
Can bisque and glaze firings use the same program?
Using the same program is generally not recommended. The material condition and firing goal differ, so review the clay and glaze instructions separately and use test tiles to establish a documented schedule.
Why do pieces turn out differently at the same displayed temperature?
Ramp rate, holds, load density, kiln location, glaze thickness, and thermocouple condition can all affect the result. Compare your firing log with the witness cones, then change only one variable at a time.
How cool should the kiln be before I open it?
Do not rely on a universal number. Follow the cooling and opening procedure in the kiln manual. If the instructions are unclear, ask the manufacturer or a qualified professional.
Should I adjust the temperature or the hold first?
First confirm the material’s firing range, glaze thickness, and location inside the kiln. Once those factors are stable, test one variable on a small scale and keep the original program as your control.
Keep this nearby while you make, then let the next piece be your own.