TL;DR
Poor trimming performance is not always caused by a dull edge; soft or dry clay, an uncentered piece, unstable cutting direction, or removing too much at once can all produce similar results, so inspect the edge and make a light test trim before sharpening.
First Determine Whether the Problem Really Comes from the Edge
When a tool pulls at the clay surface, leaves rough edges, or has difficulty trimming a clean foot ring, a worn edge may be one possible cause, but it is not the only one. Clay that is too soft or too dry, a piece that is not centered, an unstable cutting direction, and removing too much material at once can all produce similar results.
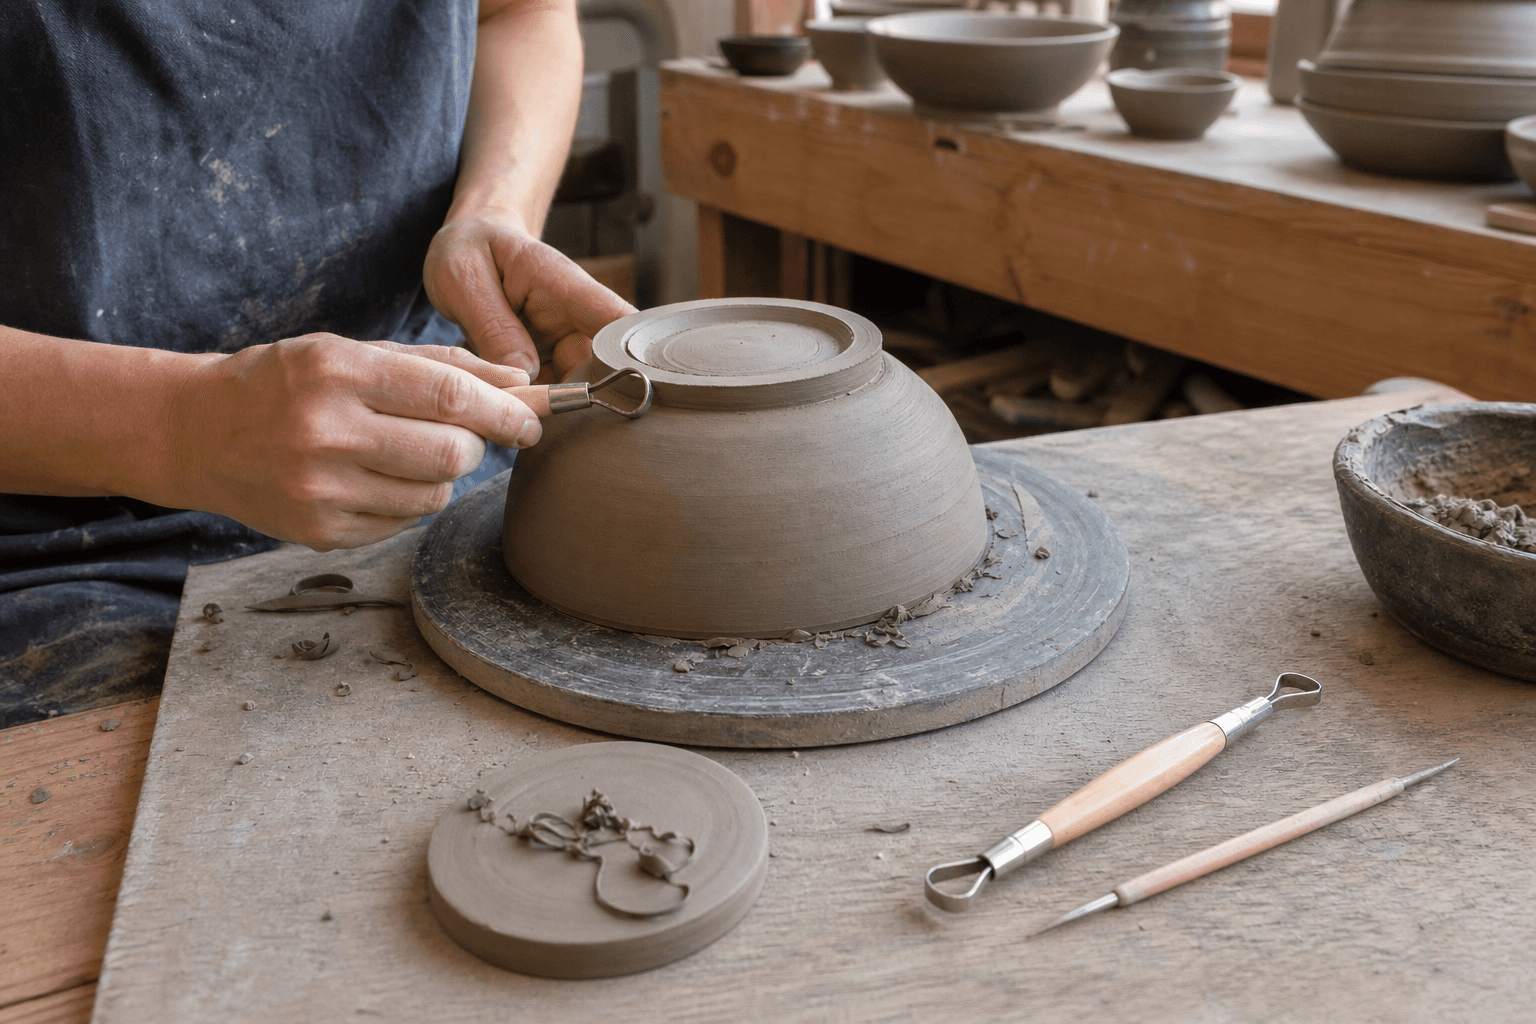
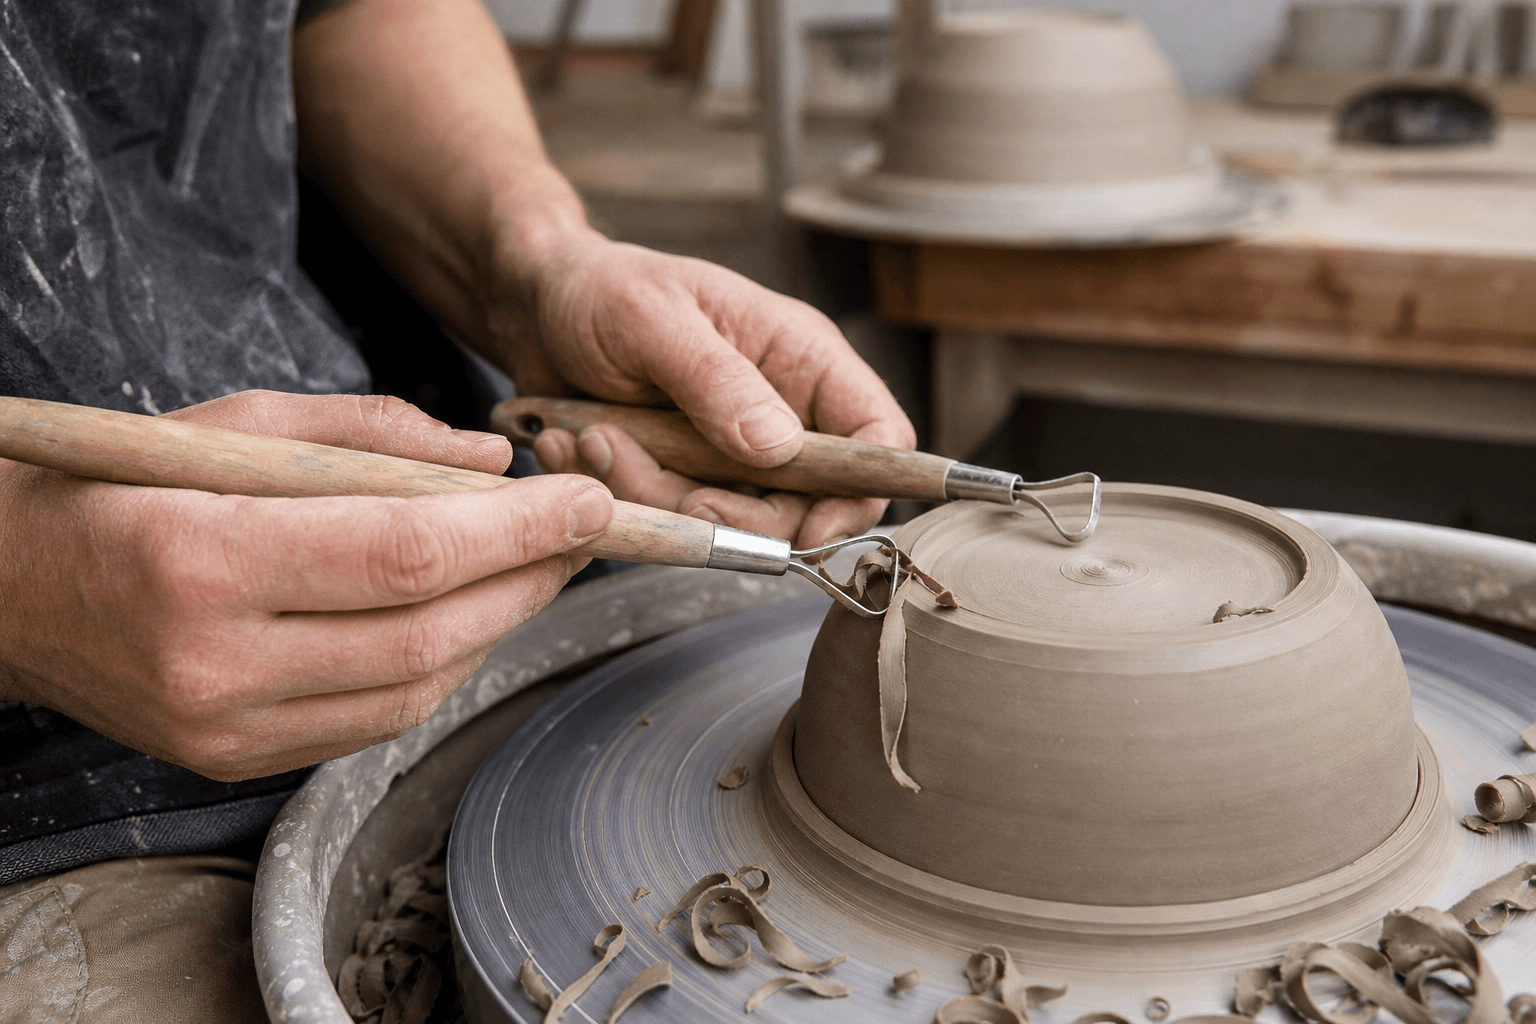
First wipe the tool head clean and inspect the edge in ample light. Look for obvious chips, rolled edges, deformation, cracks, or a loose connection. Then make a light test trim on a practice piece in a suitable condition, noting whether the tool cuts away clay shavings smoothly or pushes, skips, or tears the surface. Specific observations are more helpful for deciding what to do next than simply judging that the tool is “dull.”
How to Sharpen Pottery Trimming Tools
Confirm the Original Edge Shape
Do not assume that every trimming knife uses the same sharpening method. Observe which side originally forms the edge: one-sided, double-sided, or shaped with curves and corners. When sharpening, follow the original profile as closely as possible rather than creating a new bevel yourself. If the edge structure is difficult to identify, stop and consult the tool instructions or confirm with the manufacturer.
Choose a Sharpening Method That Matches the Tool
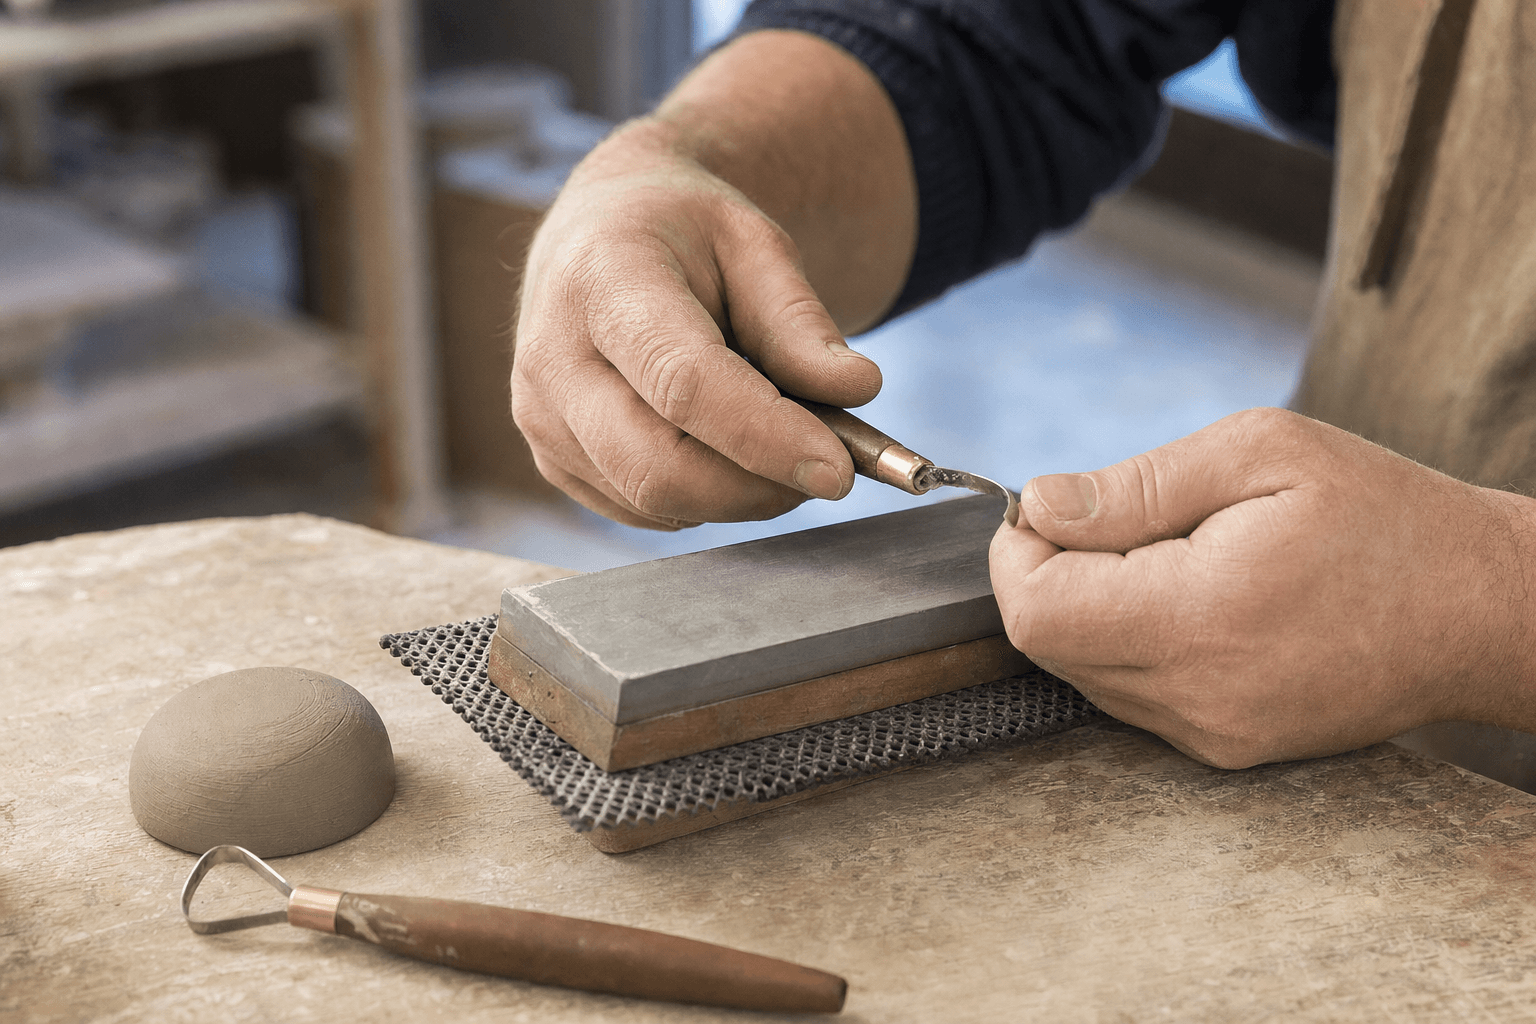
Use the manufacturer’s recommendation as the basis for selecting a sharpening medium. Secure the sharpening medium before working, and keep the work surface stable and well lit. Allow the edge to contact the abrasive surface with controlled movements, avoiding sudden pressure or major changes in angle. The focus is on gradually restoring the edge, not quickly removing a large amount of material.
Reinspect the edge after each treatment. If too much is removed from one side, the original profile may change, and the way the tool contacts the clay during trimming may change with it. For ring-shaped, curved, or relatively narrow tool heads, maintaining the overall curve is generally more important than pursuing an extremely thin local edge.
Check the Results Safely
Do not slide a finger along the edge to test its sharpness. When inspecting and wiping the tool, keep your hands away from the direction in which the blade might move; stop using the tool if the tool or tool head is loose. Specific protection, securing, and maintenance methods should follow the product manual; this guide cannot replace the manufacturer’s documentation.
After sharpening, clean the tool first, then lightly remove a small amount of clay from a practice piece. Observe whether the cut is more continuous, whether the tool is easier to control in your hand, and whether there is less tearing along the foot-ring edge. Change only one factor at a time so you can determine whether the improvement came from the edge, the condition of the clay, or your technique.
How Sharpness Affects the Foot Ring
An edge that is easier to control can help you refine a foot ring with light, continuous movements, but sharpness does not automatically mean neatness. Whether the foot ring is clean also depends on whether the piece is stable, whether the tool is adequately supported, and whether the trimming path is consistent.
When trimming a foot ring, first use a light touch to confirm the position of the tool head, then gradually begin trimming. If the tool continues to skip, do not immediately press it down with more force; stop and check the piece, the edge, and your grip. Around corners and edges, it is better to inspect in stages than to remove too much clay in an attempt to finish in one pass.
Daily Maintenance Matters More Than Frequent Sharpening
After use, remove clay from the tool head and connection points, and handle cleaning and storage according to the manufacturer’s requirements. Store the tool where the edges are unlikely to collide with one another and where it will be easy to inspect before the next use. If the studio is humid or the tool material requires special maintenance, follow the applicable instructions rather than applying maintenance methods intended for another type of tool.
You can keep a simple record: write down how the tool performs with different clay conditions after its most recent maintenance. For additional content about trimming, wheel throwing, and studio practices, see Claylune pottery practice articles and studio guides.
When It Should Be Replaced
If the edge still cannot regain controllable cutting performance after repeated treatment, or if sharpening would clearly damage the original profile, consider replacing the tool. If you find cracks, severe deformation, chips that cannot be removed, or a loose connection, stop using it and follow the manufacturer’s recommendations to determine whether it can be repaired.
When replacing a tool, compare the tool-head shape, the feel of the handle, the trimming actions it suits, and whether clear maintenance instructions are provided, rather than looking only at its appearance. To learn about existing tools and replacement options, browse the Claylune studio equipment and pottery supplies catalog, then narrow down your choices based on the size of your clay pieces, your working habits, and your budget.
Record the Results Before Changing Your Method
The most valuable part of a single test is leaving a specific record. Note the trimmed surface, the edge of the foot ring, and the tool’s feedback, then change only one variable on the next practice piece. If rough edges remain after sharpening, check the condition of the clay, centering, and cutting method separately instead of continuing to thin the edge without limit. The appropriate maintenance method depends on the tool’s design and on the sense of control you want to achieve; cautious experimentation is usually more reliable than pursuing a supposedly one-and-only correct angle.
Continue reading: Ceramic Glazing Techniques: Layering, Brushing, Dipping & Wax Resist
Keep this nearby while you make, then let the next piece be your own.