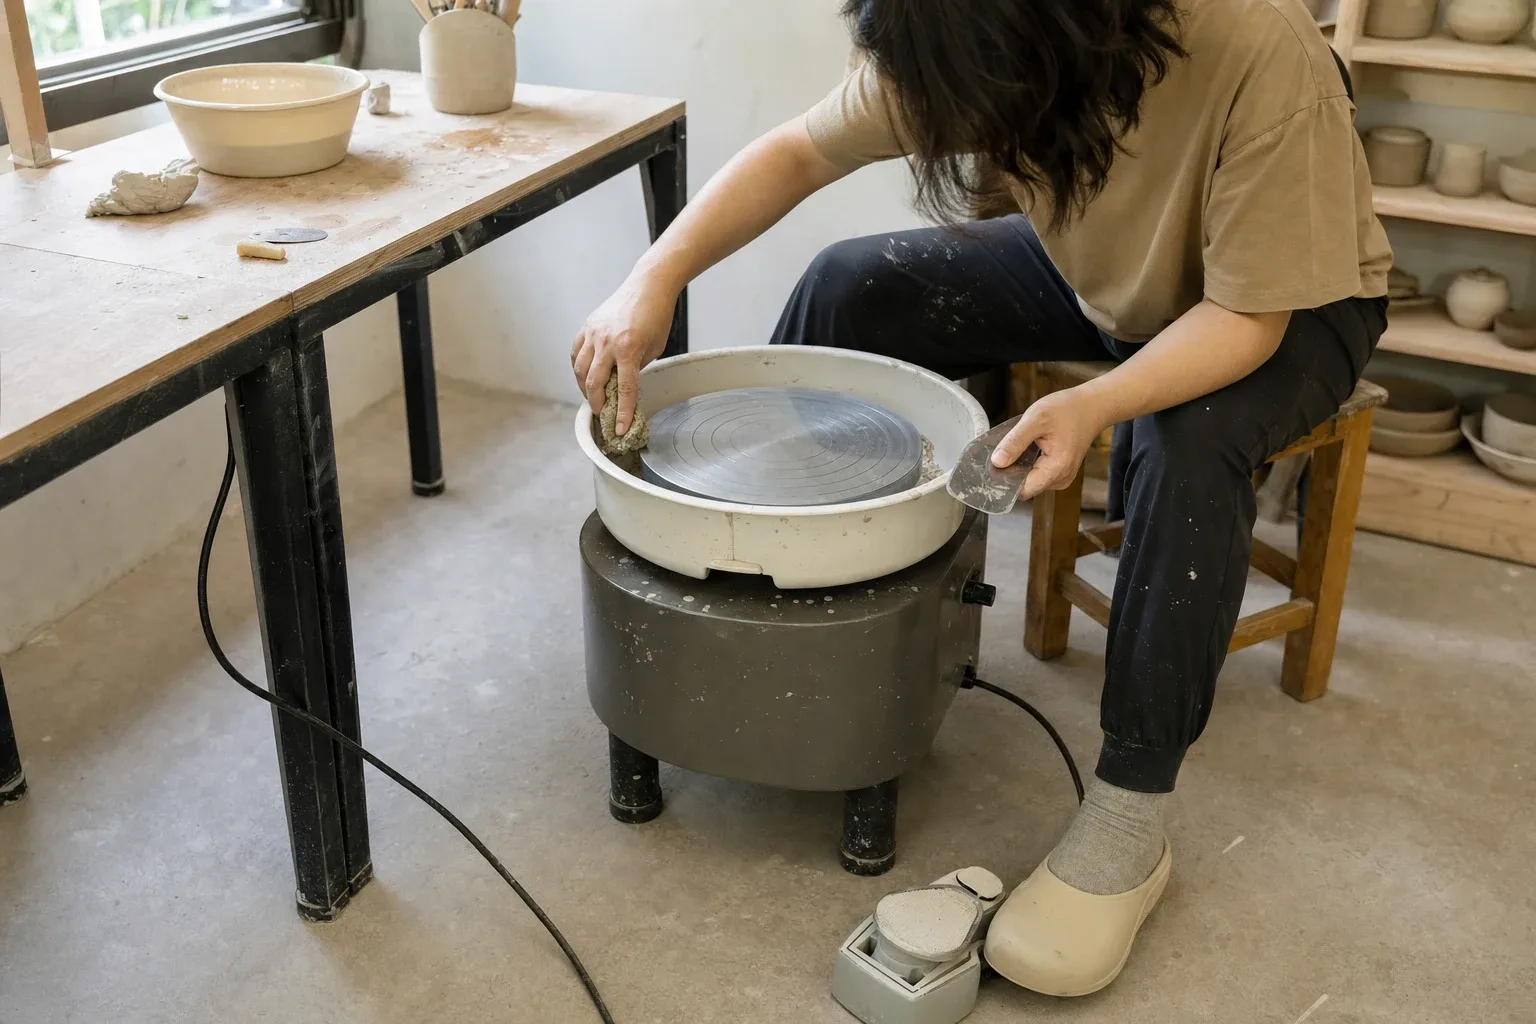
In a home studio, an electric pottery wheel is more likely to develop problems from clay slurry, standing water, and small areas of wear that go unnoticed than from complex electrical systems. A practical maintenance routine is to remove visible clay from the wheel head and body after every use, regularly check the foot pedal and belt or drive area for anything unusual, and lubricate only the parts identified in the equipment manual. If you notice unusual sounds, significant wobbling, unstable speed, or signs of water intrusion, stop using the wheel first. Then determine whether the cause is a cleaning issue, an adjustable component, or a part that needs repair or replacement.
Start with Safe Cleaning Habits
Before cleaning, stop the wheel, disconnect the power, and check the manual to confirm which parts can be touched or removed. For convenience, never pour water directly into the body, foot pedal controller, switch, or ventilation openings.
After every use, work through these steps:
1. Use a sponge or scraper to remove wet clay from the wheel head, splash pan, and worktable. 2. Wipe away leftover slurry with a wrung-out sponge, keeping large amounts of water away from gaps in the body. 3. Check beneath the wheel head and around the splash-pan connections, removing any clay that has started to harden. 4. Dry surfaces where water tends to collect, then leave the wheel in a well-ventilated, dry condition. 5. Inspect exposed sections of the foot-pedal cable and power cord to make sure they are not covered with slurry, pulled, or pinched.
Clay that dries on a surface is usually harder to remove than wet clay and is more likely to fall into gaps during disassembly. Cleaning up before you finish for the day is easier than waiting until the next time you use the wheel.
If you are also comparing wheel sizes, foot-pedal controls, and workspace requirements, start with this electric pottery wheel buying guide, then plan the wheel’s position around your existing worktable and cleaning route.
Routine Inspection: Start with What You Can Easily See
You do not need to open the entire wheel every time. Begin with parts that require no tools and do not alter the machine’s structure:
- Wheel-head condition: Turn it slowly and watch for obvious wobbling, sticking, or uneven sounds.
- Foot-pedal response: Press and release the pedal lightly, noting whether speed changes smoothly or whether the wheel suddenly accelerates or stops.
- Splash pan and fasteners: Check the connections for looseness, deformation, or hardened clay buildup.
- Cable appearance: Inspect the power cord, foot-pedal cable, and plug housing for cracks, wear, or signs of moisture.
- Bottom of the body: Make sure there is no long-term standing water, accumulated slurry, or blocked ventilation opening.
- Operating sounds: Compare what you hear this time with the wheel’s usual sound. New rubbing, high-pitched, or persistent humming noises are worth recording.
If the issue involves internal wiring, the switch, the controller, or the motor, do not rewire the machine or bypass protective components yourself. Check the equipment manual first. If the electrical section needs to be opened, have a qualified electrician or repair professional handle it, following local electrical requirements.
Lubrication Does Not Mean Oiling Every Part
“Lubricate regularly” does not mean adding oil whenever you see a moving part. Bearings, drive systems, and motor designs vary between pottery wheels. Some components are sealed and require no user maintenance, while the wrong lubricant can attract clay dust and increase wear.
This decision process is safer:
1. Look in the manual for sections on lubrication, bearings, drive systems, or maintenance. 2. Confirm whether the manual specifies lubrication points, lubricant type, and maintenance intervals. 3. If the manual does not instruct users to lubricate a part, do not rely on experience to open the machine and add oil. 4. If the wheel makes unusual sounds or feels difficult to turn, rule out hardened clay, loose parts, and water intrusion first. Then consult the manufacturer or a repair professional. 5. Record the date and product used so that different lubricants are not mixed.
Do not apply lubricant to the wheel-head surface, the foot-pedal contact surface, the belt, or electrical components. When you cannot identify a part with confidence, let the manual or a qualified repair professional determine what to do.
A Maintenance Schedule You Can Follow
The maintenance schedule should follow the manual and the actual conditions in your studio. Frequent use, wetter slurry, or less effective studio cleaning calls for more frequent observation. Start with this basic checklist and build your own records:
| Timing | What to do | What to watch for | |---|---|---| | After every work session | Remove wet clay, dry surfaces, and inspect the cables | Clay or water entering gaps | | After each week of use | Clean the splash-pan connections and check wheel rotation and foot-pedal response | Wobbling, sticking, unusual sounds, or unstable speed | | Monthly or after frequent use | Use the manual to check serviceable parts and fasteners | Looseness, wear, corrosion, or signs of unusual heat buildup | | When an abnormality appears | Stop using the wheel and record the sound, timing, and operating conditions | Whether the problem remains after cleaning |
This is a studio record to help you avoid missing inspection steps, not a universal repair chart that replaces the equipment manual. Keep a sheet of paper beside the wheel and note the date, unusual symptoms, and results of any action taken. After several entries, it is usually easier to tell whether a problem is an occasional slurry-related interruption or gradually worsening component wear.
Troubleshooting and Signs That a Part May Need Replacement
The Wheel Head Feels Rough or Wobbles
Stop the wheel first. Remove any hardened clay that may be caught around the wheel-head edge, splash pan, or underside, then check visible fasteners for looseness. If the wheel still wobbles after cleaning, do not press down on it or try to realign the shaft yourself. Consult the manual and contact a repair provider.
The Speed Rises and Falls Unexpectedly
Check whether slurry is obstructing the foot pedal, whether the cable is being pulled, and whether the problem appears only when the pedal is pressed at a particular position. If the pedal and cable look normal but the speed remains unstable, stop using the wheel and have a qualified repair professional assess the controller, motor, or other internal components.
A New Rubbing, High-Pitched, or Persistent Humming Sound Appears
Note whether the sound occurs during startup, at low speed, while accelerating, or when the wheel is under the pressure of clay. If the sound remains after you remove visible clay buildup, do not try to mask the problem by adding more lubricant. Stop using the wheel and consult a repair professional if the noise continues, grows louder, or occurs with heat, an odor, or changes in speed.
When to Consider Replacement
Treat the following situations as signals to get repair advice first: damaged cable insulation or plug housing, a foot pedal that cannot control the wheel consistently, fasteners that repeatedly loosen, persistent wheel-head wobbling, obvious unusual sounds that remain after cleaning, or a component that is deformed or cracked. When replacing a part, confirm the model and compatibility. Do not substitute a part that only looks similar but has unknown specifications.
Build Maintenance into Your Studio Workflow
The wheel’s location directly affects whether you are willing to clean it. Place it near an area that can be wiped down, but keep faucets and drainage activities from bringing water directly near electrical components. Position the foot pedal where it will not be covered or pressed by a clay bucket, chair leg, or tool, and keep the power cord out of walking paths where it could become a tripping hazard.
Try a simple workflow test: after completing one throwing session, clean up using your usual motions and observe whether your cleaning tools are within reach, whether the splash pan is easy to remove, whether water collects on the floor, and whether you have to step over the foot pedal to retrieve it. Adjust the most cumbersome part, then observe the setup over the next few uses. A good layout does not depend on memory; it makes cleaning and inspection happen naturally.
If you are also planning equipment placement for a small studio, see Claylune studio equipment and making resources. When purchasing replacement supplies or equipment, follow the manual, manufacturer information, and local installation requirements, and consult an equipment store when needed.
Frequently Asked Questions
Can I rinse the pottery wheel directly with water?
Do not spray water directly at the body, foot pedal, switch, plug, or ventilation openings. Disconnect the power first, then clean accessible surfaces with a scraper, sponge, and wrung-out cloth. Follow the manual for any parts that can be removed and washed.
When the wheel makes a sound, can I add lubricant first?
Do not start there. Remove hardened clay, check for external looseness and cable problems, and then see whether the manual permits user lubrication of that part. If it does not clearly say so, have a repair professional assess it.
How often does a pottery wheel need a complete inspection?
There is no fixed interval that applies to every model. Perform basic cleaning and a visual inspection after every use. Schedule more in-depth inspections according to the manual, frequency of use, and your record of unusual symptoms. With frequent use, monitor the wheel head, foot pedal, and cables more proactively.
When should I stop using the wheel?
Stop using the wheel and disconnect the power if you find damaged cables, signs of water intrusion, persistent unusual sounds, obvious wobbling, uncontrolled speed, unusual heat, or an odor. Problems involving internal electrical components should be handled by a qualified electrician or repair professional.
Keep this nearby while you make, then let the next piece be your own.