TL;DR
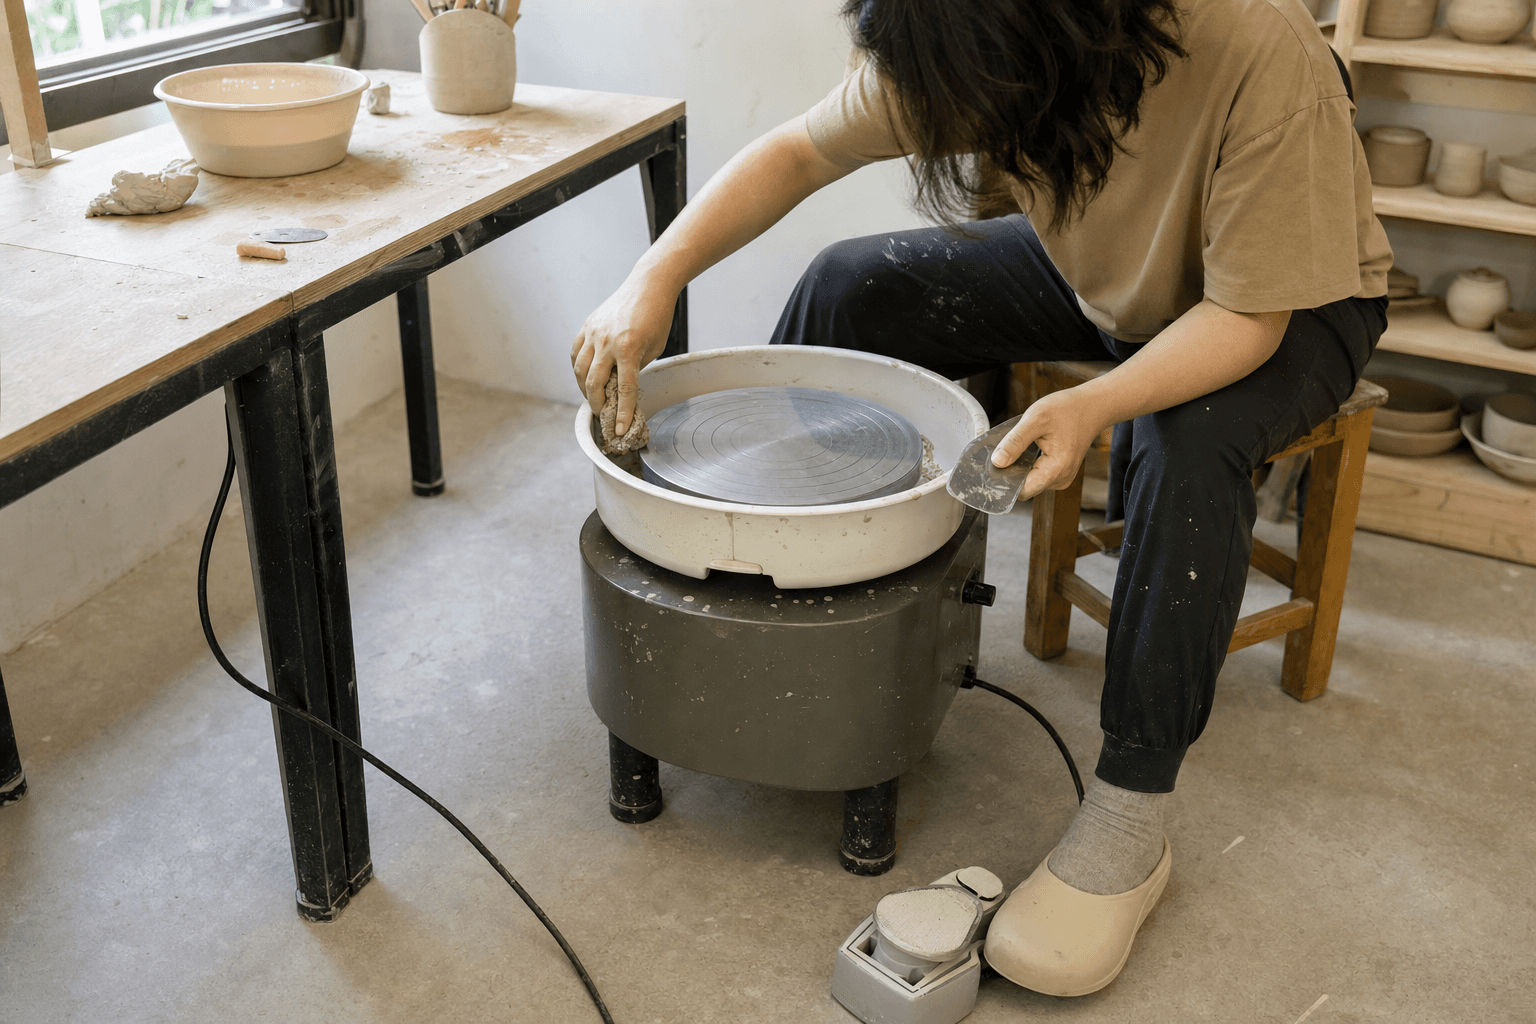
For a beginner buying an electric pottery wheel for cups, bowls, and small vessels, smooth steady low-speed control matters more than maximum wattage. The best choice is a wheel that runs steadily under your usual clay load, has an easy-to-control foot pedal, fits your seated posture and available space, and cleans up easily.
List the forms you make most often
Use a simple needs card to narrow your options:
- Primary forms: Cups, bowls, small vases, wide plates, or taller forms?
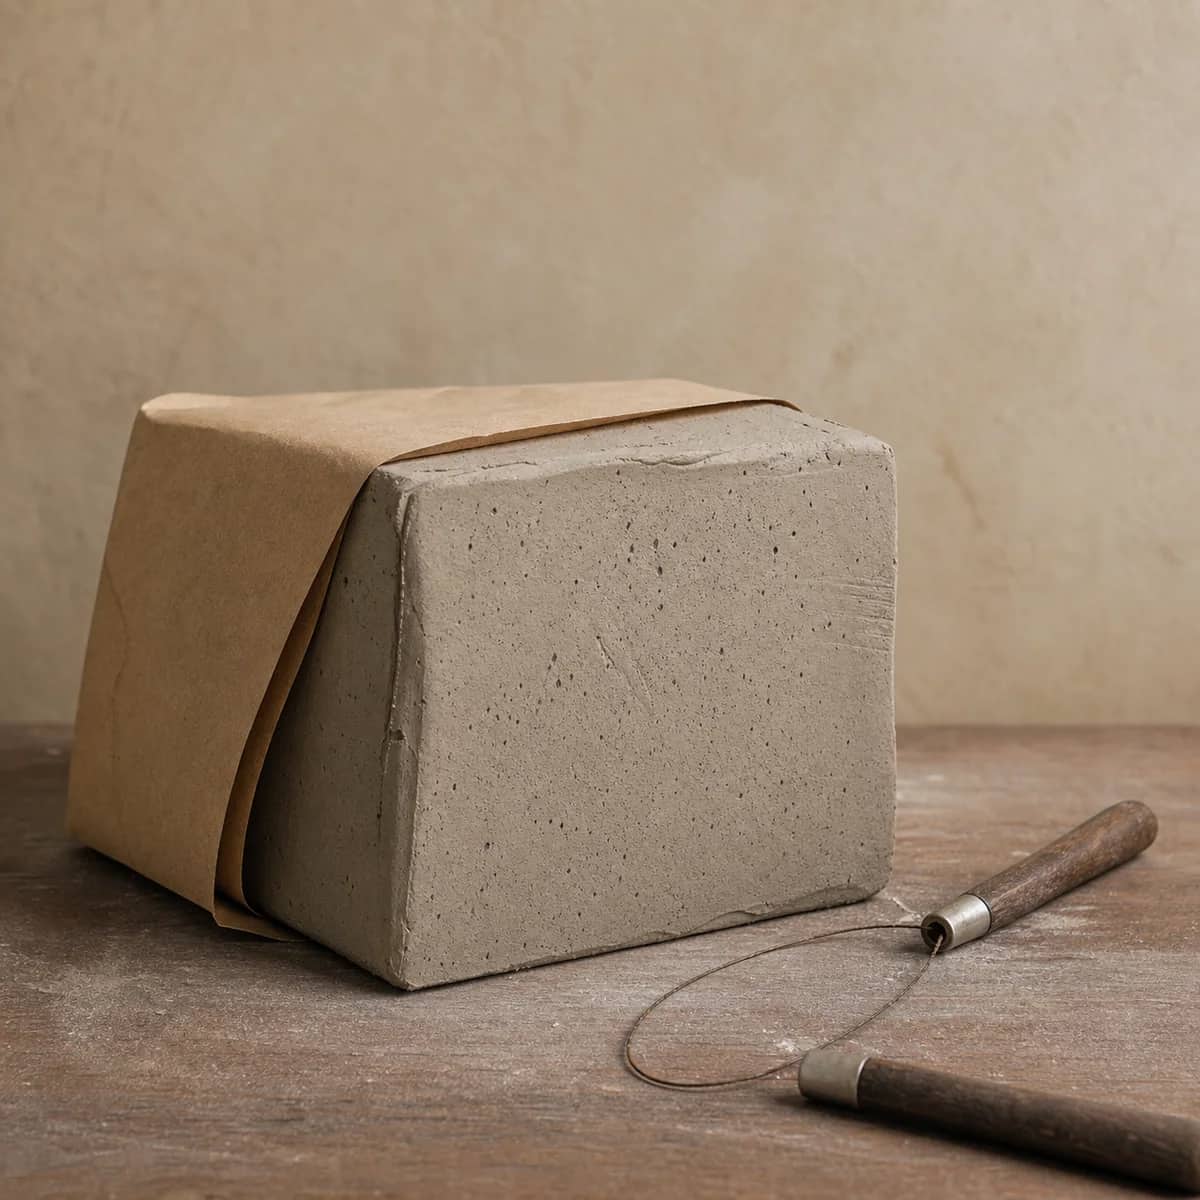
- Usual clay amount: Record the amount of clay you actually center regularly rather than choosing based on the largest piece you imagine making.
- Practice rhythm: Do you practice occasionally for short sessions, or make several pieces in a row?
- Permanent location: Can the wheel stay in one place, or will you need to move it every time?
- Cleanup route: Is the splash pan easy to remove, and is there nearby space for a water bucket, a slurry bucket, and tools?
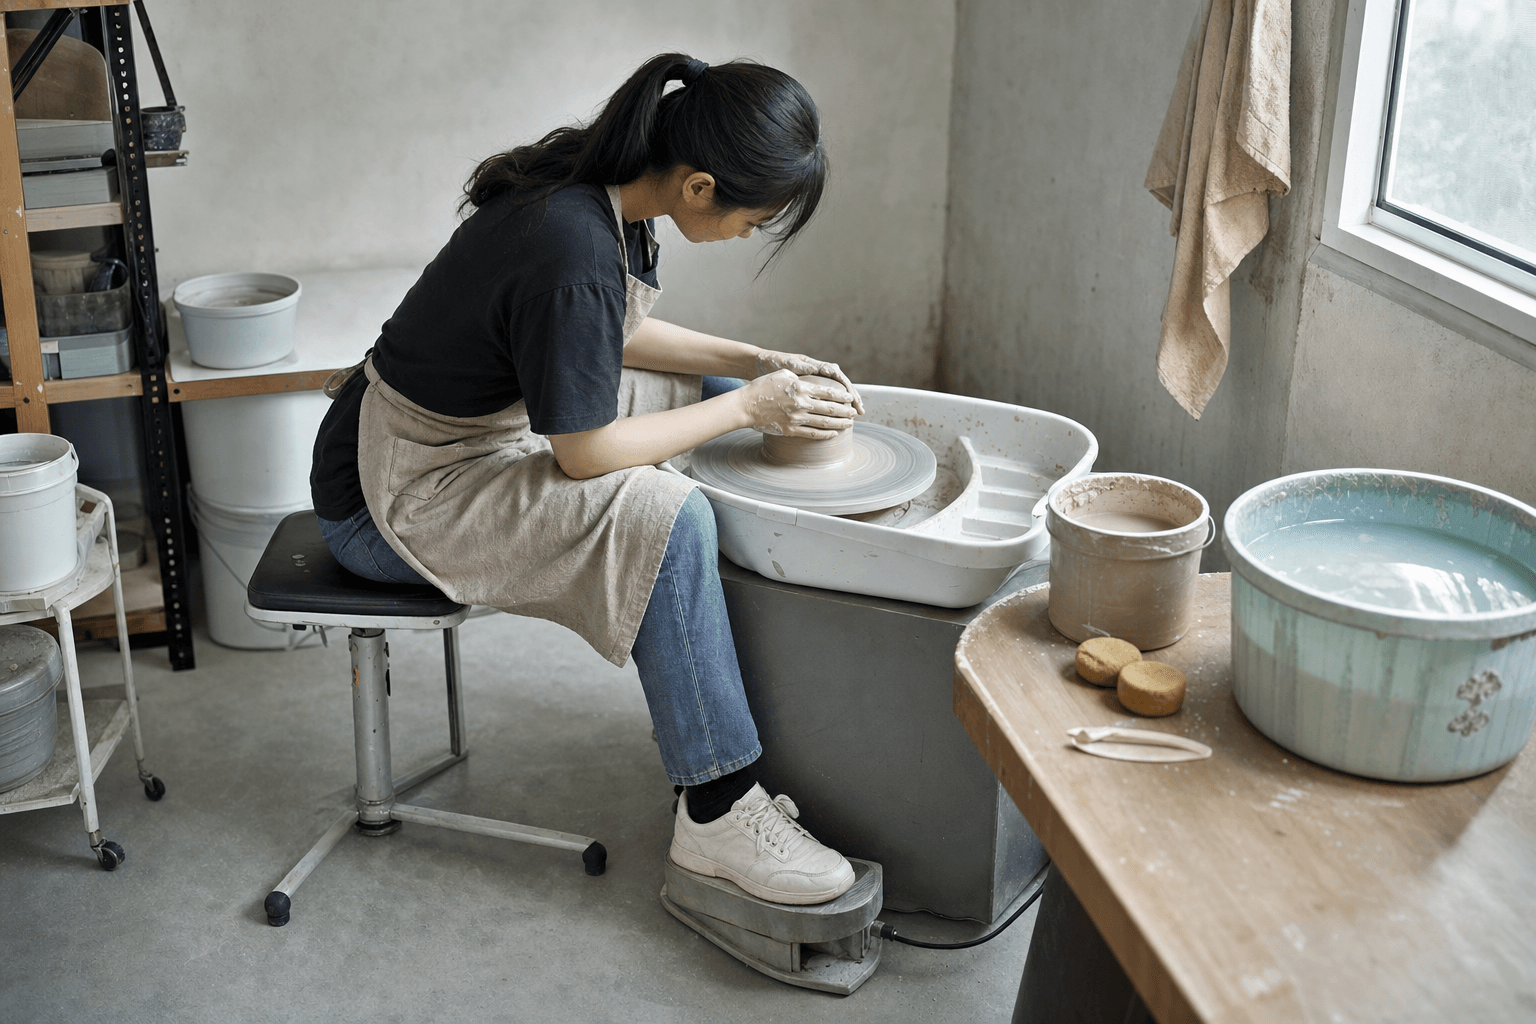
- Seating needs: Can your seat, knees, wheel head, and foot pedal create a stable, comfortable working position?
For small functional ware, smooth low-speed control is usually more important than chasing higher rated wattage. If you plan to make wider or heavier forms, pay close attention to speed stability under load, wheel-head support space, and the stability of the machine itself.
Six key factors for beginner electric pottery wheels
| Factor | What to look for | Common tradeoff | |---|---|---| | Motor power | Whether the wheel noticeably bogs down after clay is added and pressure is applied, and whether it recovers smoothly | Higher rated power does not guarantee a more refined foot pedal or make a wheel automatically better for beginners | | Wheel head size | Whether your usual forms and bats have enough support | A larger wheel head provides more room, though it usually takes up more space and may require a larger splash pan | | Centering capacity | How the manufacturer defines the rated clay capacity and whether it matches your everyday needs | The maximum is best treated as a boundary reference; there is no need to sacrifice budget and floor space for capacity you rarely use | | Speed control | Whether low speeds are easy to maintain and whether the pedal has noticeable dead travel or sudden jumps | A responsive pedal reacts quickly, though it can be harder to control steadily while learning | | Noise and vibration | How sound changes when the wheel is empty versus loaded with clay, and whether the body wobbles | Lightweight models are easier to move, though they may feel less planted than heavier machines | | Footprint and cleanup | Actual overall dimensions, pedal placement, splash-pan removal, and power-cord routing | Compact models save floor space, though legroom and tool space may be limited |
Avoid comparing only the values on a motor nameplate. The motor, controller, drive system, and foot-pedal tuning all shape the throwing feel, and their differences are often easiest to notice at low speeds and with clay on the wheel.
Also check how the wheel head works with bats. If you plan to use bats, confirm that the mounting system, dimensions, and accessories are compatible so you do not discover after purchase that your existing bats will not fit.
Replace spec guesses with a test session
When you can test a wheel, use the amount of clay permitted by the seller and try to simulate the forms you make most often. Follow the same sequence for each machine:
- Adjust the seat and foot pedal to make sure your knees are not crowded by the machine body or splash pan.
- Begin at low speed and see whether the wheel head starts smoothly and maintains a slow rotation.
- Gradually apply pressure while centering, watching for sudden speed loss or repeated fluctuations.
- Change the pedal position while opening and pulling to see whether speed changes are easy to predict.
- Return to low speed and check whether the pedal makes it easy to find and hold the setting you need.
- Notice changes in sound and vibration with the wheel empty, loaded with clay, and under pressure.
- Stop the wheel according to the manual, then check the splash pan removal process and wiping path.
Record the results as “a good fit,” “an acceptable compromise,” or “not a fit” for low-speed control, load performance, the foot pedal, noise, seating position, and cleanup. Change only one machine at a time during comparisons, use similar amounts of clay, and follow the same working sequence. The result will be more reliable than relying on a brief impression.
If you cannot test a wheel in person, ask about return and exchange terms, warranty coverage, repair options, and the availability of consumable parts and accessories. Then review the operating limitations in the equipment manual. You can also use Claylune pottery resources to continue organizing equipment and workflow needs for a small studio.
Fit the machine into your real workflow
First, use tape to mark the approximate space for the machine, seat, and foot pedal on the floor, then sit down and simulate your centering position. Leave additional room to remove the splash pan, place both feet on the floor, set down tool buckets, and allow people to pass through. Looking only at the machine's width can overlook the space your legs, seat, and cleanup movements actually require.
If the machine will need to be put away often, also consider its weight, grip points, power-cord storage, and carrying route. Do not assume a wheeled base works for every model; load capacity and securing methods should follow the equipment documentation and the base manufacturer's requirements.
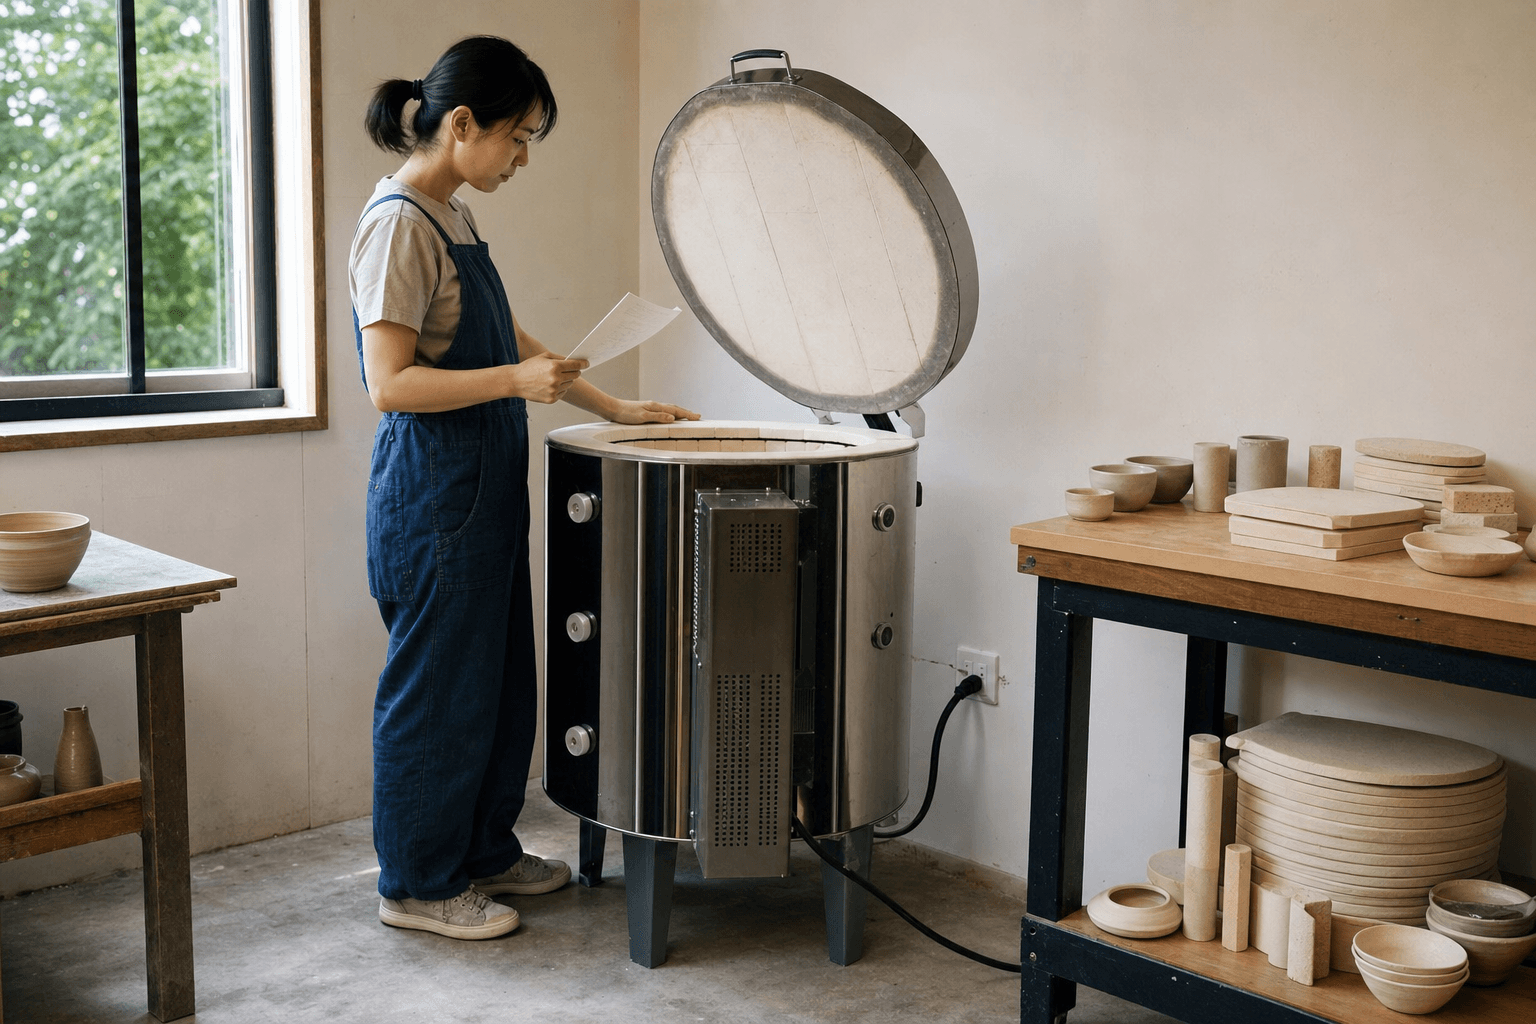
Water and slurry will be present around the wheel. Keep plugs, outlets, and connections out of splash zones, and do not modify power cords or outlets yourself. Follow the equipment manual and local electrical requirements for power conditions, cleaning methods, and equipment spacing. If an existing outlet or installation location is unclear, have a qualified electrician assess it.
During the shopping stage, you can browse pottery studio equipment categories, though you should still verify each item against actual dimensions, manual requirements, and current product information rather than judging its footprint from photos alone.
Starter accessories: buy what you will use first
For basic practice, start with these items:
- A splash pan that matches the model and is easy to remove and wash;
- Sponges, a wire cutter, a needle tool, and ribs in different levels of firmness;
- A small bucket for clean water and a separate bucket for collecting slurry;
- A sturdy seat at a suitable height that does not wobble easily;
- Cleaning cloths or mopping tools for wiping down the machine and floor;
- Bats that work with the wheel-head mounting system if you need to keep thrown pieces.
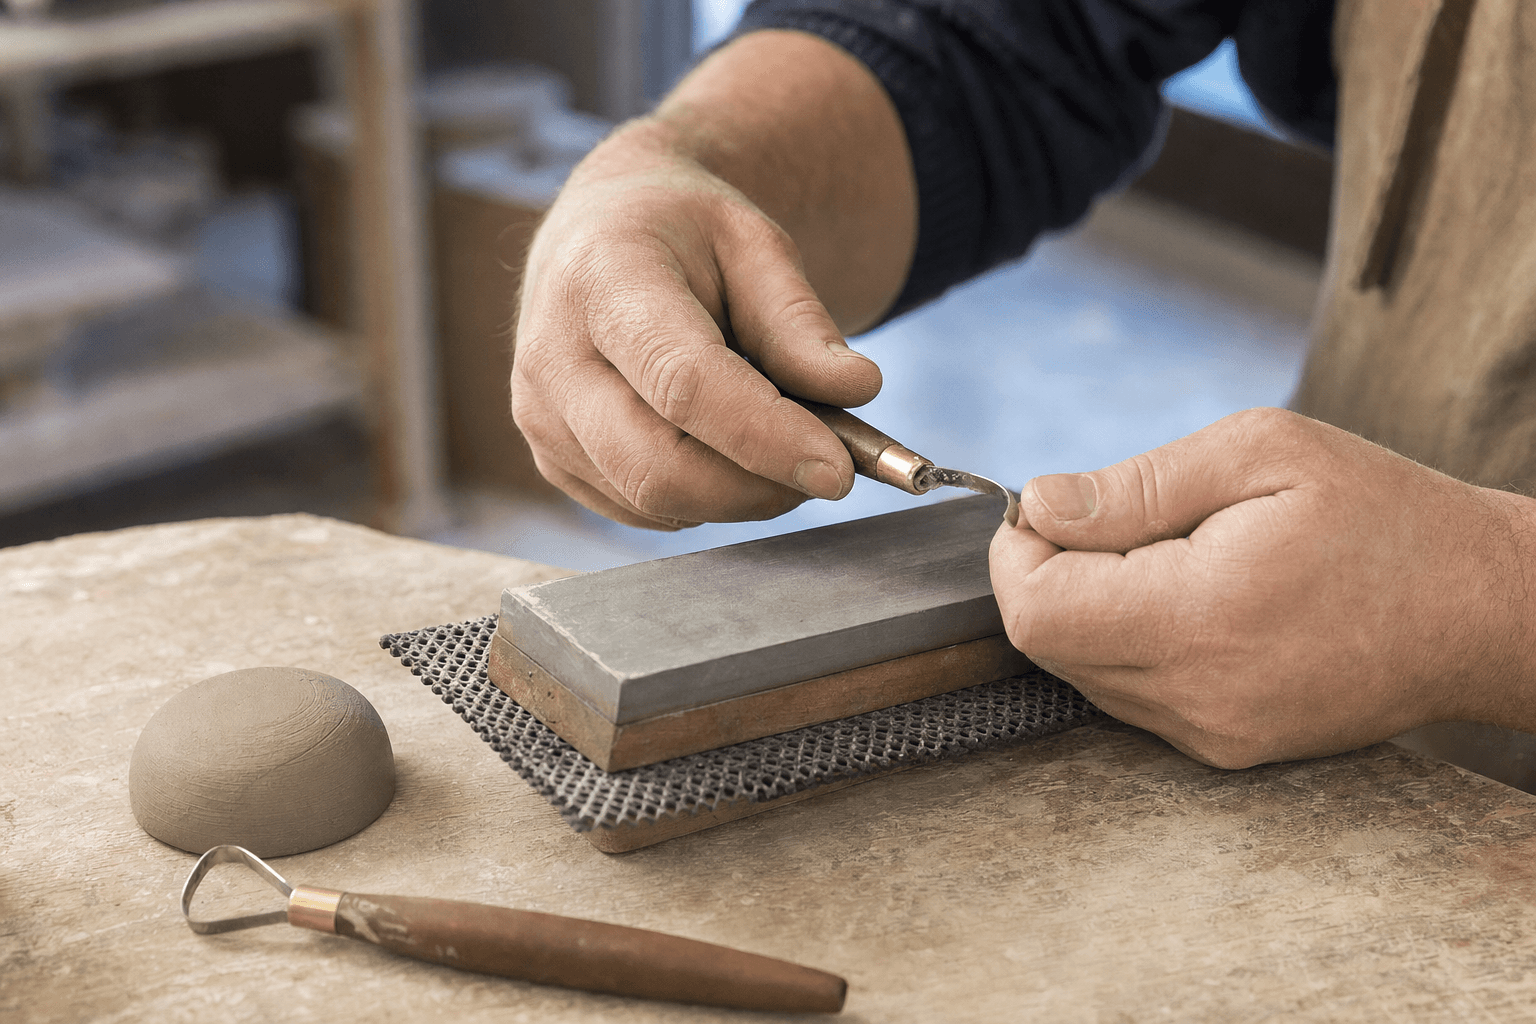
Trimming tools, additional shaping tools, and a large number of bats can wait until your basic workflow is established. Watching for the items you most often stop to look for, then adding accessories accordingly, usually creates a clearer workspace than buying a full tool set all at once.
Pre-purchase checklist
Confirm the following before placing an order:
- Your usual clay amount falls within the manufacturer's stated operating range;
- Low-speed control, performance under load, and foot-pedal control suit the way you practice;
- The wheel head accommodates the forms you make most often and works with the bats you plan to use;
- The machine body, seat, pedal, and cleanup movements all fit in the planned area;
- The splash pan is easy to remove and install, and replacement part models and sources are clear;
- The forward and reverse switching method fits your working habits, and you will use it as required by the manual;
- Warranty, repairs, returns, exchanges, and shipping-damage procedures have been confirmed;
- Power and placement conditions meet the equipment manual and local requirements.
Frequently asked questions
Do beginners need the pottery wheel with the highest power?
Usually, no. First confirm that the machine does not bog down noticeably with your usual clay amount, then check whether low speeds and the foot pedal are easy to control. Reserving too much capacity for large vessels you rarely make can increase the footprint and budget without improving your practice experience.
Is a larger wheel head always better?
No. A larger wheel head suits wider forms and larger bats, though it also affects the size of the machine body and splash pan. If you mainly make cups and small bowls, accessory compatibility, seating position, and control feel are often worth prioritizing.
Is a compact tabletop pottery wheel suitable for beginners?
That depends on load performance and ergonomics. Compact models are easy to store, though countertop height, securing methods, legroom, and splash containment all need to be tested in a realistic setup. Small size alone does not make a model better suited to a small studio.
What should I ask the seller first if I cannot test the wheel?
Ask how rated centering capacity is defined, how the wheel head and bats are made compatible, the complete machine dimensions, the splash-pan configuration, warranty and repair channels, and return and exchange terms. Then verify the details against the equipment manual rather than using a single power rating as a substitute for evaluating the whole machine.
Keep this nearby while you make, then let the next piece be your own.