TL;DR
Your first six wheel throwing sessions should follow a rough sequence: clay prep and wedging, centering, opening, pulling walls, trimming, and finally simple cylinders worth keeping. Most progress stalls around sessions three and four, when pulling walls feels impossible, that is the point where many beginners give up, usually one or two sessions before things click.
Why your first six sessions should have an order
The main search question, what should beginners expect when starting wheel throwing, has a simple answer: expect to fail in a predictable order, and treat each failure as the curriculum. Throwing is a stack of skills, and each one only becomes learnable once the one under it is stable. A beginner who tries to pull walls on day one isn't failing at pulling walls; they're failing at centering, which makes the walls impossible.
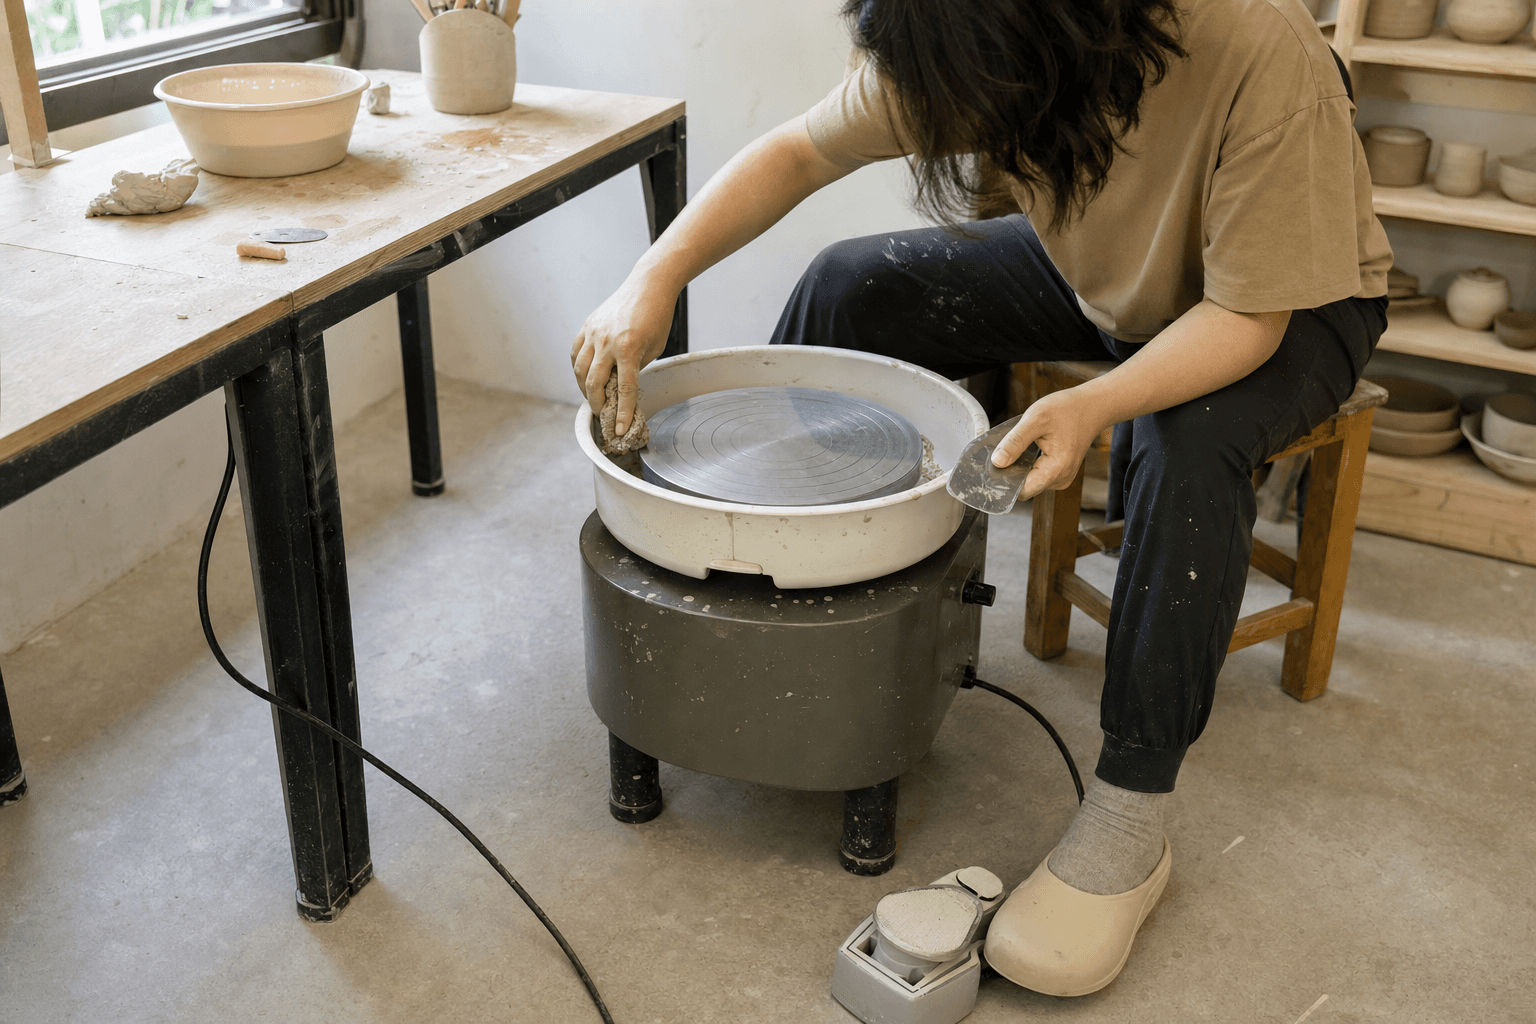
The order below assumes a standard electric wheel and a common stoneware body. If you're still choosing equipment, the beginner wheel buying guide on the Claylune blog walks through motor behavior under load and foot pedal control, both of which matter more than wheel head size in the early weeks.
Session 1–2: Wedging and centering only
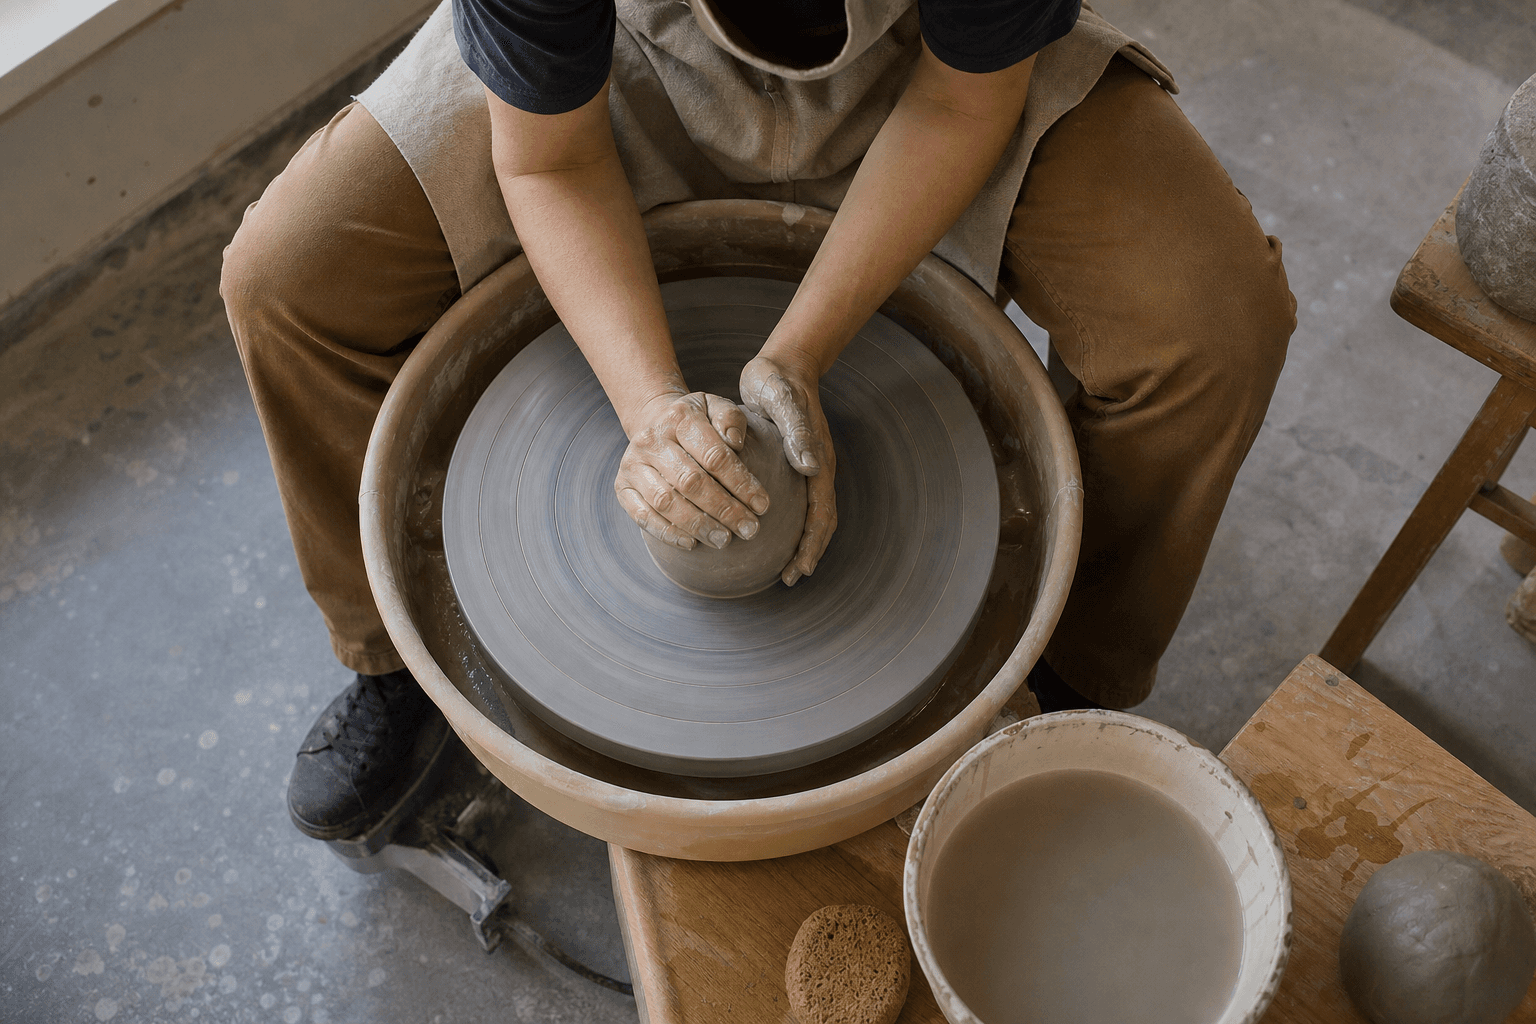
Resist the urge to make anything. Spend the first two sessions wedging clay and centering it on the wheel, repeatedly.
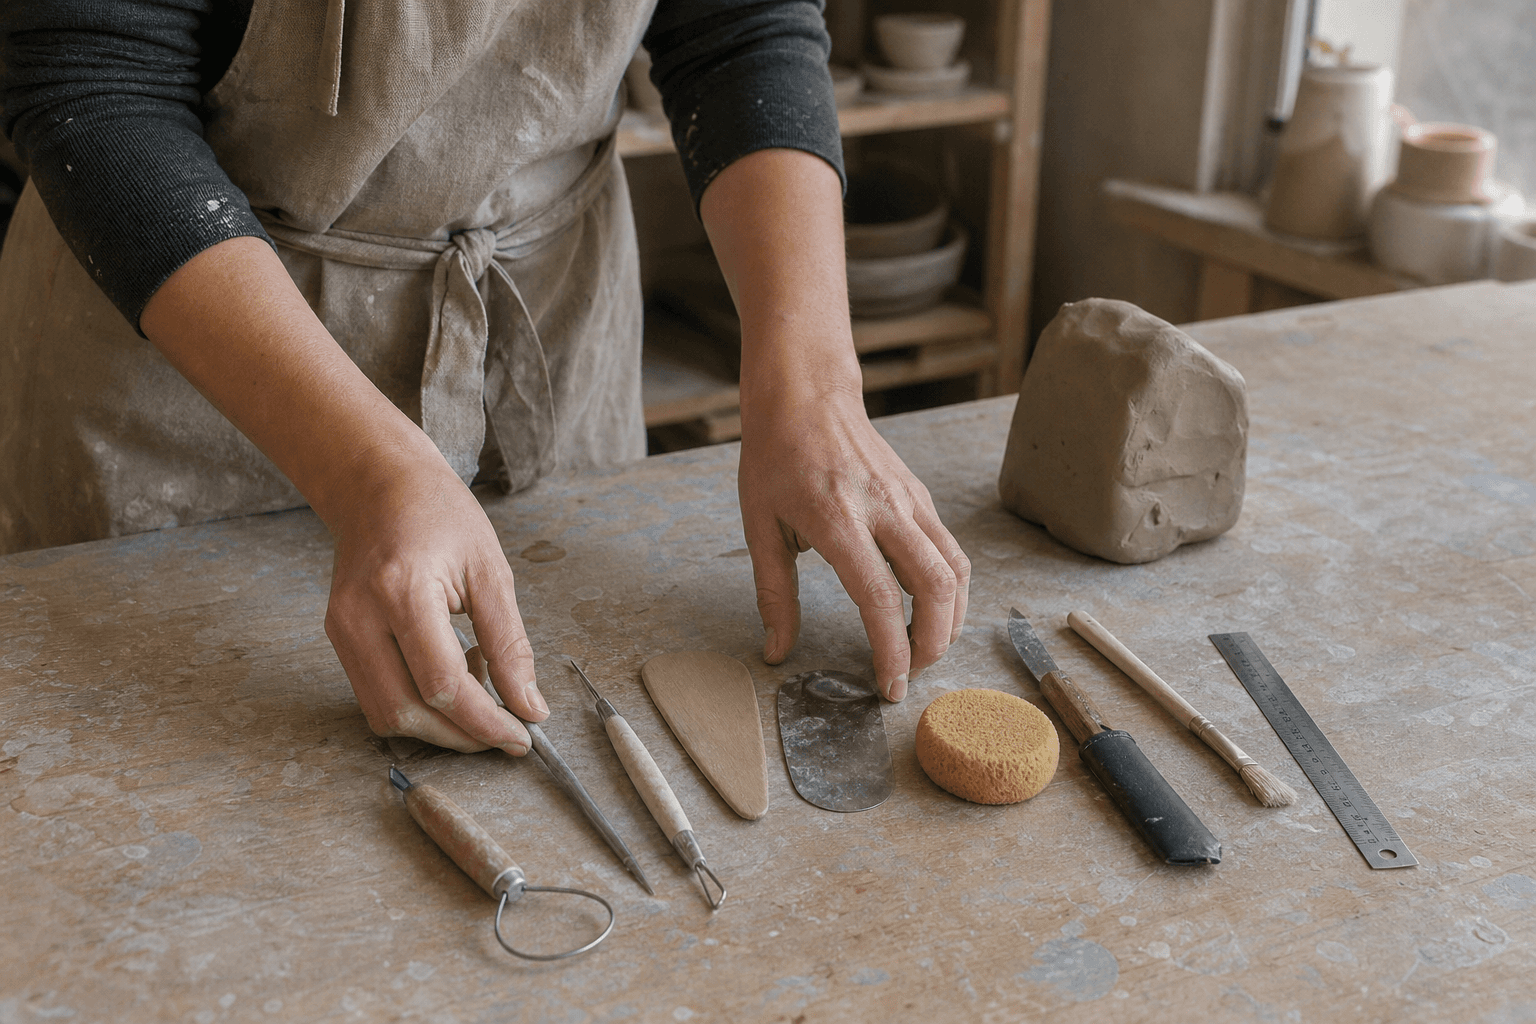
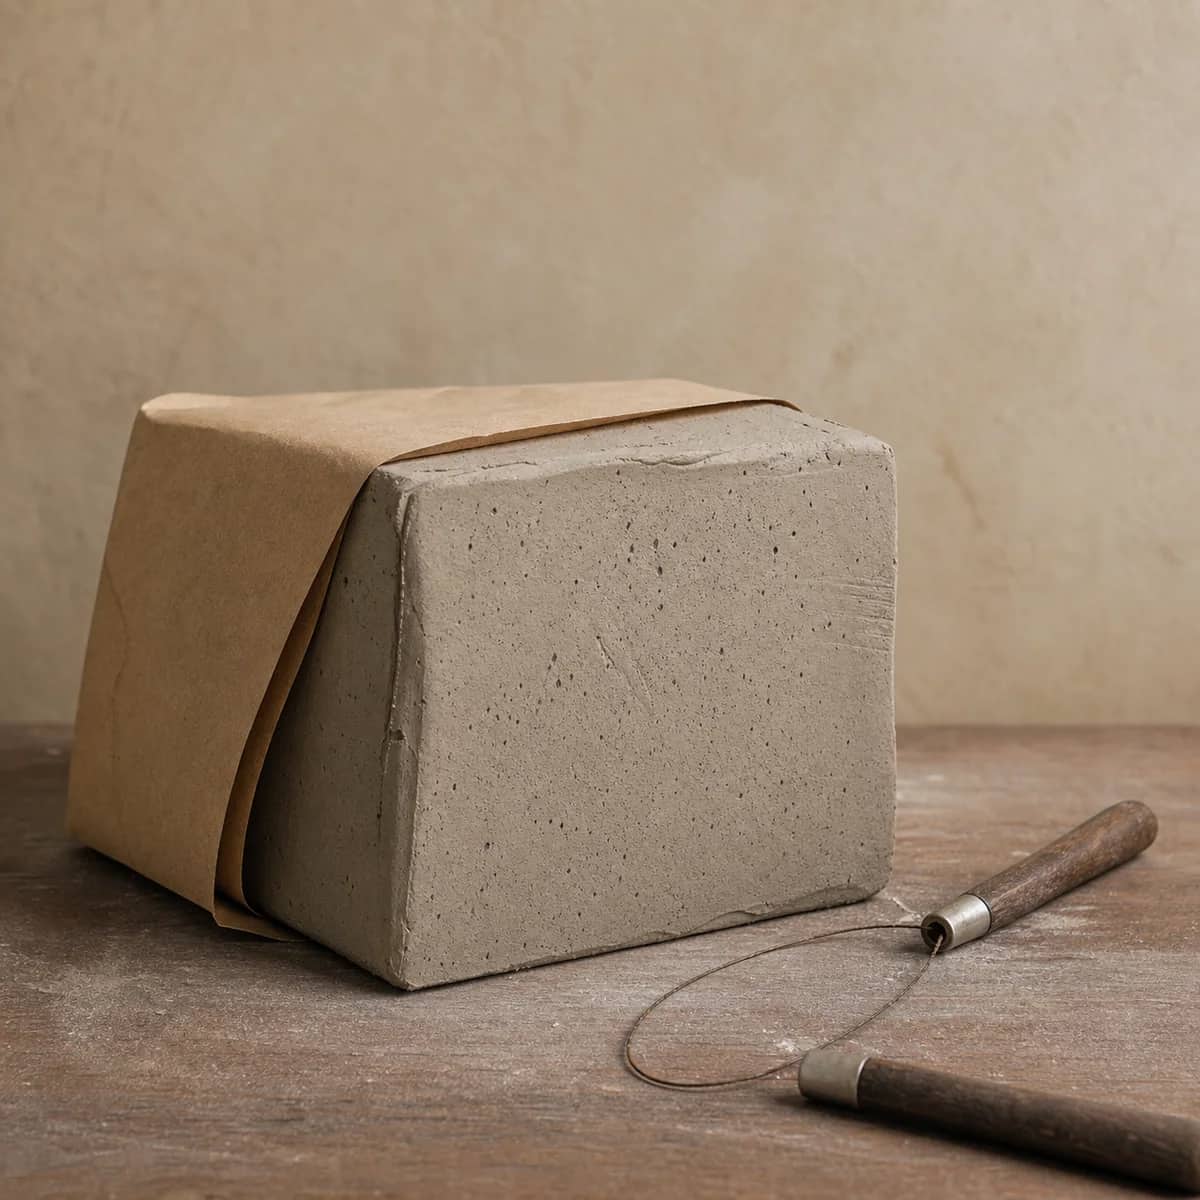
- Wedging. Cut a two-pound ball of clay, wedge it, cut it in half, and look at the cross-section. Air pockets and inconsistencies show up clearly. If the cut looks uniform, your wedging is working.
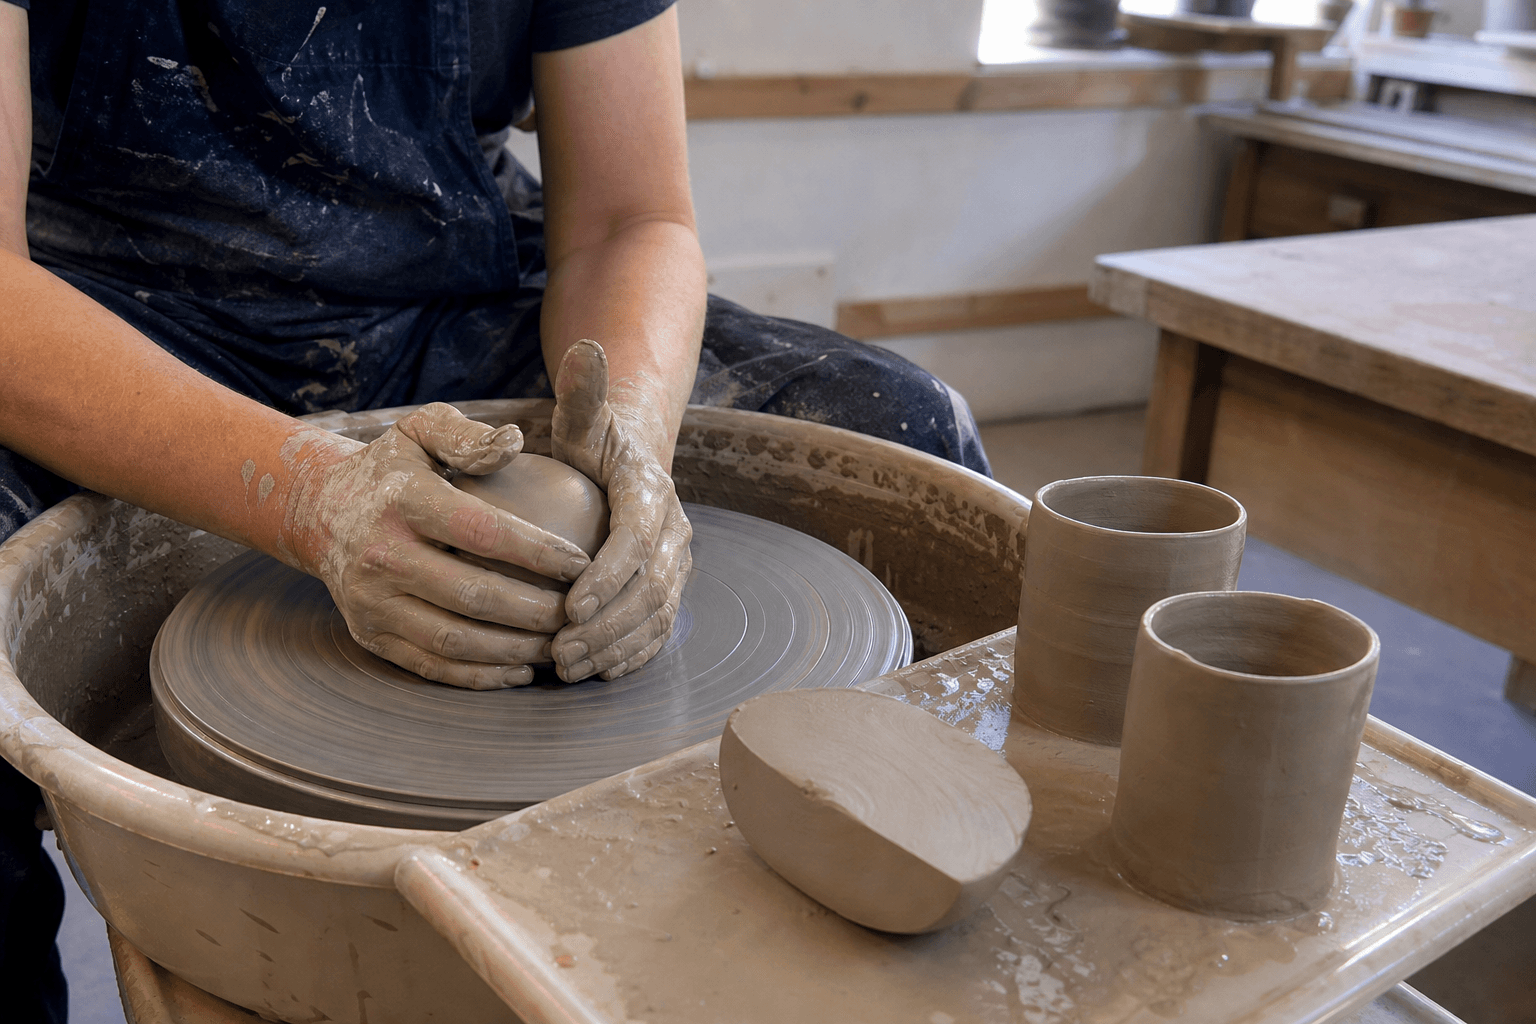
- Centering. Cone the clay up and push it down, over and over. A centered ball spins silently and symmetrically; off-center clay wobbles and can be seen in the silhouette against a fixed point.
A workable benchmark: by the end of session two, you should be able to center a one- to two-pound ball within a few attempts. Don't move on until that's consistent. Every later failure will look like a throwing problem when it's actually a centering problem.
If your clay feels gritty, stiff, or erratic, the body itself may be working against you. A smooth, forgiving stoneware, such as a speckled stoneware clay from the Claylune store, is easier to learn on than a coarse grogged body, though check its firing range against your plans before committing.
Session 3: Opening and the floor
This is where most beginners hit their first wall, and it's a normal one: opening the centered ball without pushing through the bottom or drifting off center.
The failure to expect: your fingers catch, the hole wanders, and the floor comes out too thin or too thick. This is hand position, not talent. Brace your hands against your body or the wheel head so the clay's spin moves your tools, not your muscles.
Progress marker: you can open a ball and leave a floor that's roughly even and thick enough to trim later, think of a leather-hard quarter's thickness as a practical starting reference, not a rule.
Session 4–5: Pulling walls, the quit zone
Here's the honest part of this guide: sessions four and five are where most people quit, and they quit right before the skill arrives.
Pulling walls combines everything, centered clay, steady hands, moderate wheel speed, gentle pressure, and it will go wrong in every possible combination. Walls will tear, twist, thin at the rim, or collapse entirely. If you throw ten cylinders in a session and eight collapse, you're not behind; you're on schedule.
What counts as progress here is subtle:
- Your pulls become one continuous motion instead of several hesitant ones.
- Walls fail more slowly and more predictably.
- One cylinder in a session survives to be trimmed.
Keep those survivors. Trim them in session six even if they're ugly. The record of your progress is the stack of failed pots next to the one that made it.
Session 6: Trimming and your first honest pot
Trimming a leather-hard cylinder teaches you more about walls than throwing does, because it shows you exactly where your thickness varied. Expect to find a thin spot, an off-center foot ring, or a floor that's thicker than you thought.
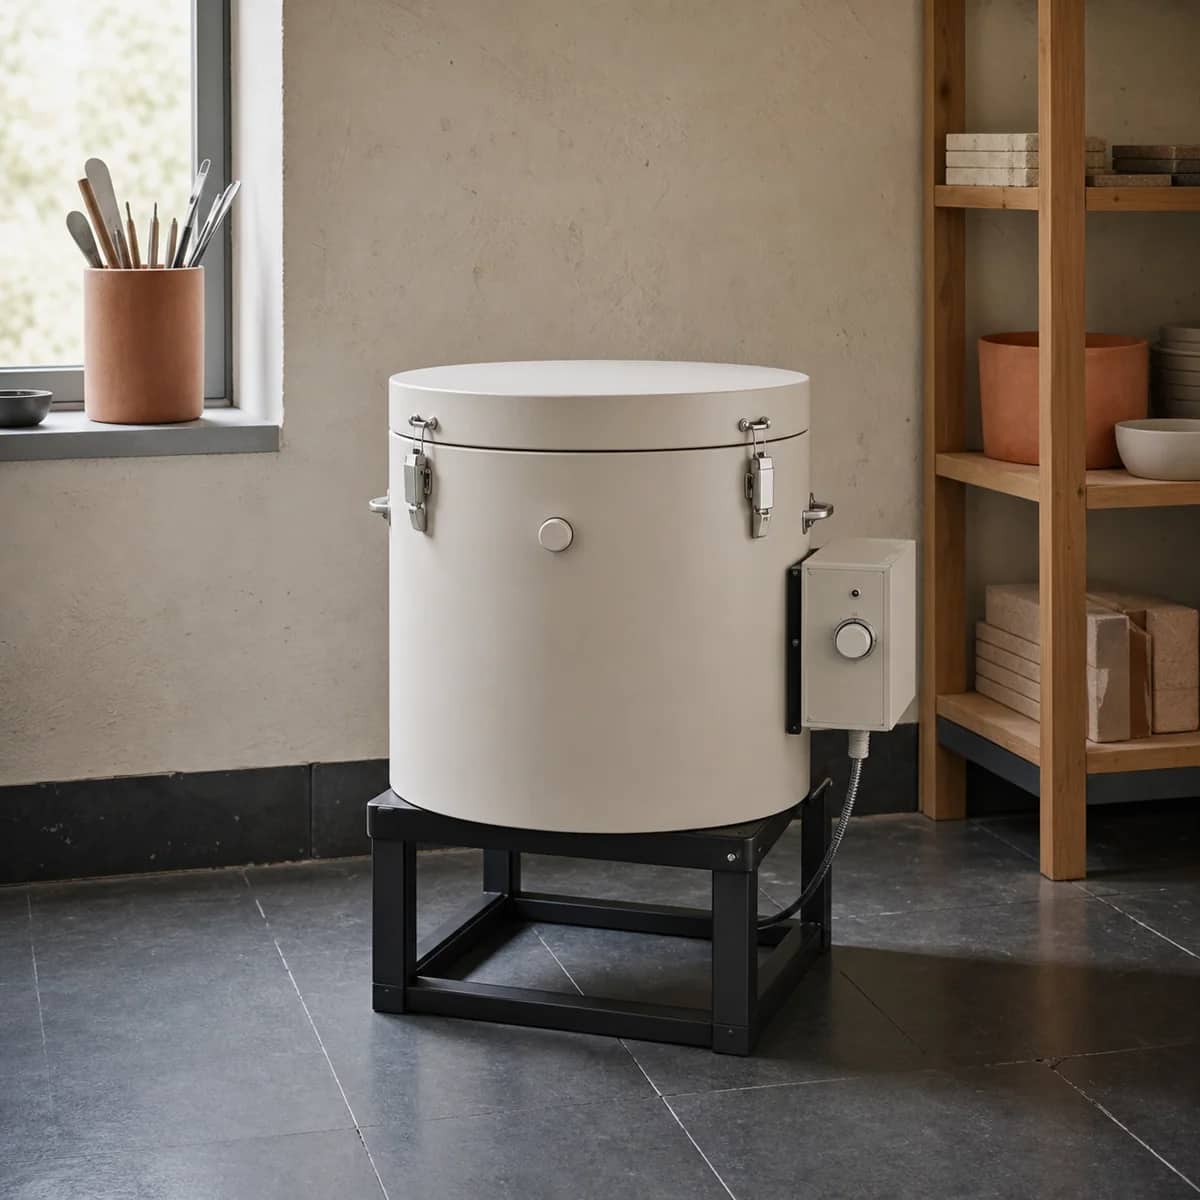
A trimmed, flawed, finished pot is the correct endpoint of six sessions. It also introduces you to the rest of the studio chain, drying, bisque, glaze, fire, which is where equipment decisions like a studio electric kiln enter the picture later. Don't buy one yet; finish the six sessions first.
What does progress actually look like at the wheel?
Use this checklist at the end of each session:
1. Clay use per attempt is dropping. Wedging and centering waste less clay as your hands learn pressure. 2. Failures are consistent. A wall that tears the same way every time is diagnosable. Random failures mean an earlier skill is still unstable, usually centering. 3. Time to center is shrinking. If centering took ten minutes in session one and two minutes in session four, that's real progress even if nothing survived. 4. You can name the failure. "The rim thinned because I squeezed during the pull" is progress. "It just collapsed" is not.
Progress at the wheel is measured in consistency, not in pots on the shelf.
Should beginners throw small amounts of clay?
Yes, and it's the most common correction beginners skip. Start with one- to two-pound balls. Small clay centers faster, opens more predictably, and pulls with less force. A beginner fighting three pounds of clay is practicing failure, not throwing. Move up in weight only when small cylinders become repeatable, ordinary practice logic, not a rule of the craft.
FAQ
How long does it take to learn to center clay?
Most beginners need several focused sessions, often spread over a few weeks of regular practice. It varies a lot by person and clay, so use consistency, a ball that centers in a few attempts, rather than a calendar.
Why do my pots collapse when I pull the walls?
Usually one of three things: the clay wasn't fully centered, the walls were pulled too thin or too fast, or too much water softened the base. Change one variable per session so you can tell which one is yours.
How much clay should I practice with per session?
A practical starting point is five to ten one- or two-pound balls per session. Enough for many repetitions, small enough to reclaim and re-wedge for the next time.
Can I learn wheel throwing on any electric wheel?
A wheel with smooth foot pedal response and enough torque to hold speed under a lump of clay makes learning far easier. If you're shopping, compare how each wheel behaves under load rather than top speed, the beginner wheel buying guide on the Claylune blog covers this in detail.
When should I stop practicing cylinders and try bowls?
When you can throw a cylinder that survives to trimming in most of your attempts. Bowls widen the opening and change the pull, but they're easier once cylinders are stable, not before.
Keep this nearby while you make, then let the next piece be your own.