At a Glance
A ceramic firing program isn't just a matter of dialing in one universal temperature. It needs to account for your clay, your glaze, your kiln's controller, and the condition of the pieces themselves. Start with a conservative schedule based on the specs printed on your materials or provided by the manufacturer, then record your results on test samples. Change only one variable at a time.
Define the Goal of the Firing
The same piece may go through a bisque firing and then a glaze firing, and each serves a different purpose. The bisque firing stabilizes a fully dried piece; the glaze firing needs to bring the glaze layer to the finish you want while staying compatible with the body. Before programming the kiln, be clear about what this firing is meant to accomplish: testing a new clay body, checking a glaze, firing a thick-walled form, or reproducing a series that's already been validated.
Also confirm that your clay and glaze fall within the same firing range. Don't rely on the glaze's name alone, and don't treat the kiln's maximum temperature as a substitute for the manufacturers' recommendations. The specs on the clay and glaze labels, along with the kiln manual, define the limits of your program. If those sources contradict each other, hold off on loading the kiln and check with your materials supplier or the kiln manufacturer.
Ceramic Firing Program: Temperature, Ramp, and Hold
A firing program typically includes several stages: driving off residual moisture at the start, a gradual ramp up in temperature, an optional hold near the target temperature, and then the cooldown. Each stage addresses a different risk, so the final temperature alone isn't enough.
When a piece may still hold invisible moisture, plan for a gentler ramp at the beginning. Thick bases, closed forms, joined areas, and large pieces deserve extra care. Don't crank up the ramp rate to save time: first make sure the pieces are actually bone dry, then set the program based on the clay manufacturer's recommendations.
A hold isn't mandatory for every firing. It can help even out the temperature inside the kiln or get a glaze to develop as expected, but a hold that runs too long can also change the glaze's fluidity, color, or the condition of the body. Add or extend a hold only when the material data, earlier tests, or a clearly identified surface defect justify it.
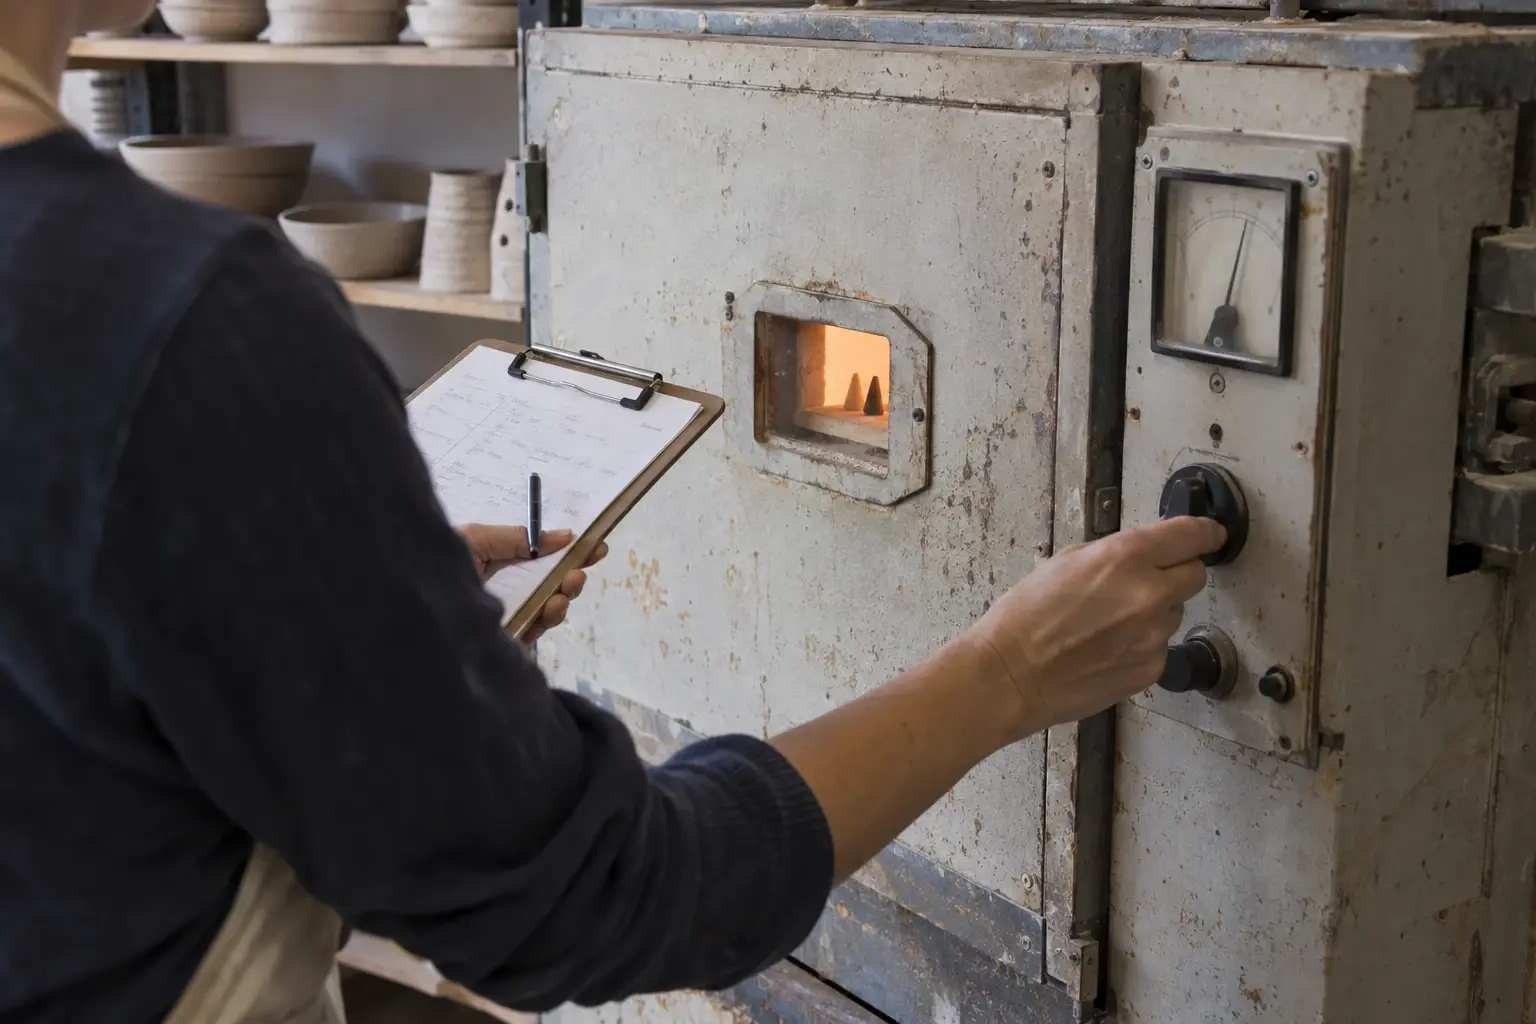
During the cooldown, let the kiln follow its natural manufacturer-designed cycle. Don't open the lid, don't move the shelves, and don't use any outside method to speed up cooling in order to meet a deadline. Opening conditions, controller settings, and what to do if something goes wrong should always follow the kiln manual and local requirements.
Adapt the Program to Your Clay and Your Pieces
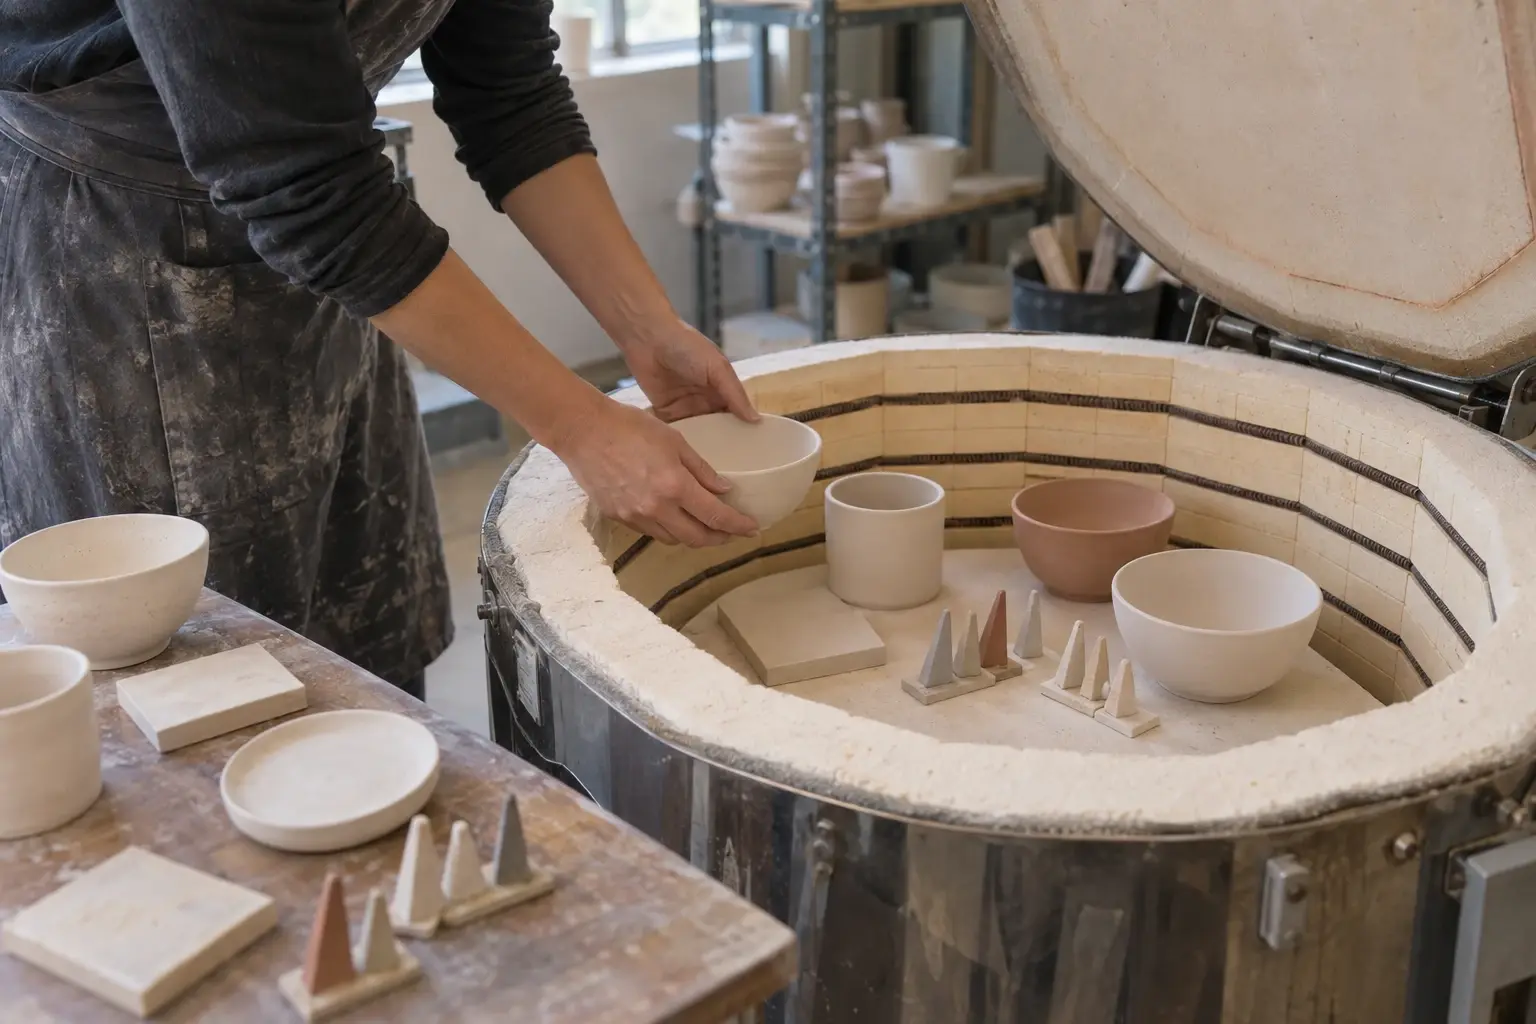
Assess pieces across several criteria rather than sorting them by size alone. For thin, open forms, focus on drying and spacing when loading. For thick or deep forms, concentrate on the initial temperature ramp. Tall, slender pieces and asymmetrical structures call for close attention to staging, positioning, and post-firing warping. When pieces carry a heavy glaze application, read the glaze specifications carefully and keep enough distance from neighboring pieces.
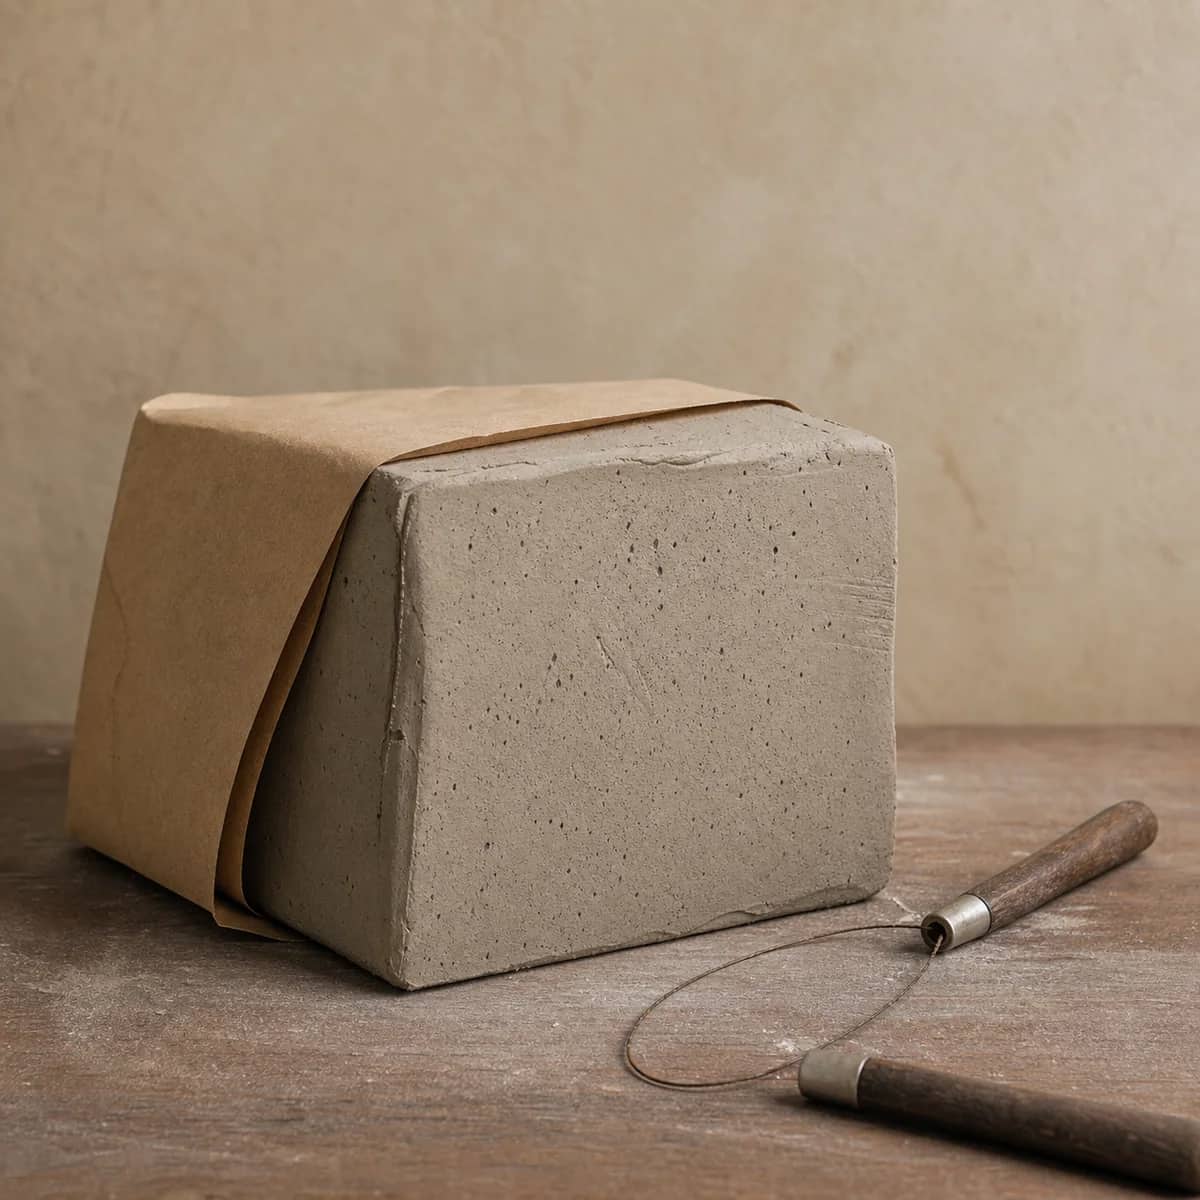
For clay, check the recommended firing range, shrinkage behavior, and appropriate firing stages. For glaze, verify its working range, compatible clay bodies, and whether a specific hold is needed. If the two aren't compatible, even a perfectly executed program can still produce an unstable glaze, an off color, cracks, or warping. It's generally more effective to pick compatible materials first and then design the program, rather than endlessly tweaking the controller after the fact.
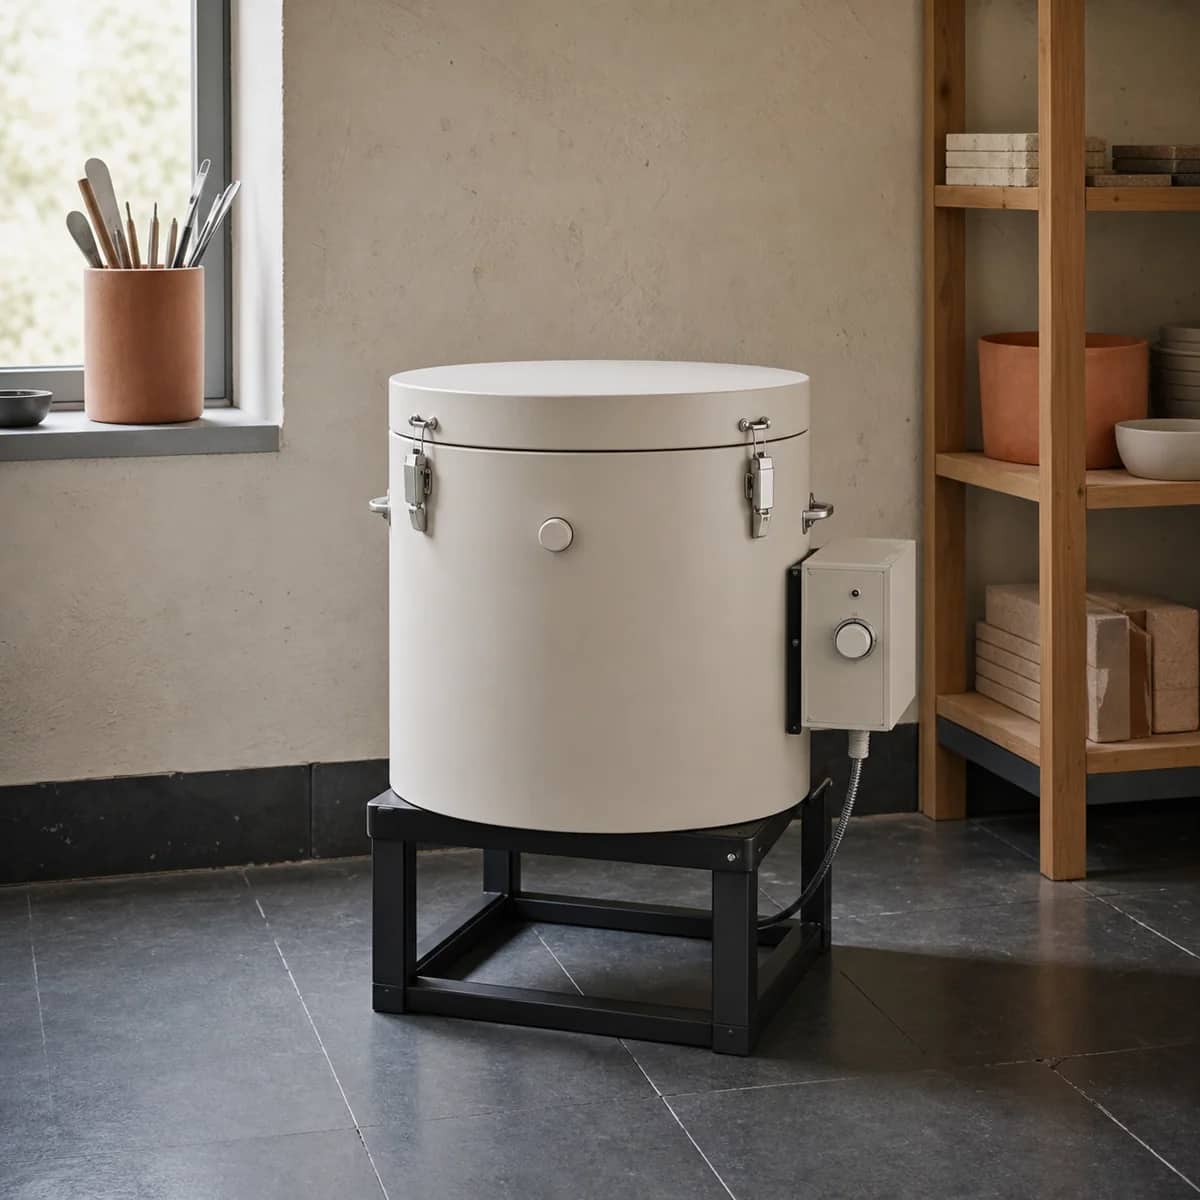
If you're still choosing equipment, start by reviewing the criteria for choosing a home pottery electric kiln. Consider capacity, installation location, electrical supply, and your typical firing rhythm before zeroing in on the program. The kiln's control system can make it easier to repeat a program, but it doesn't replace testing on your materials.
A Repeatable Testing Method
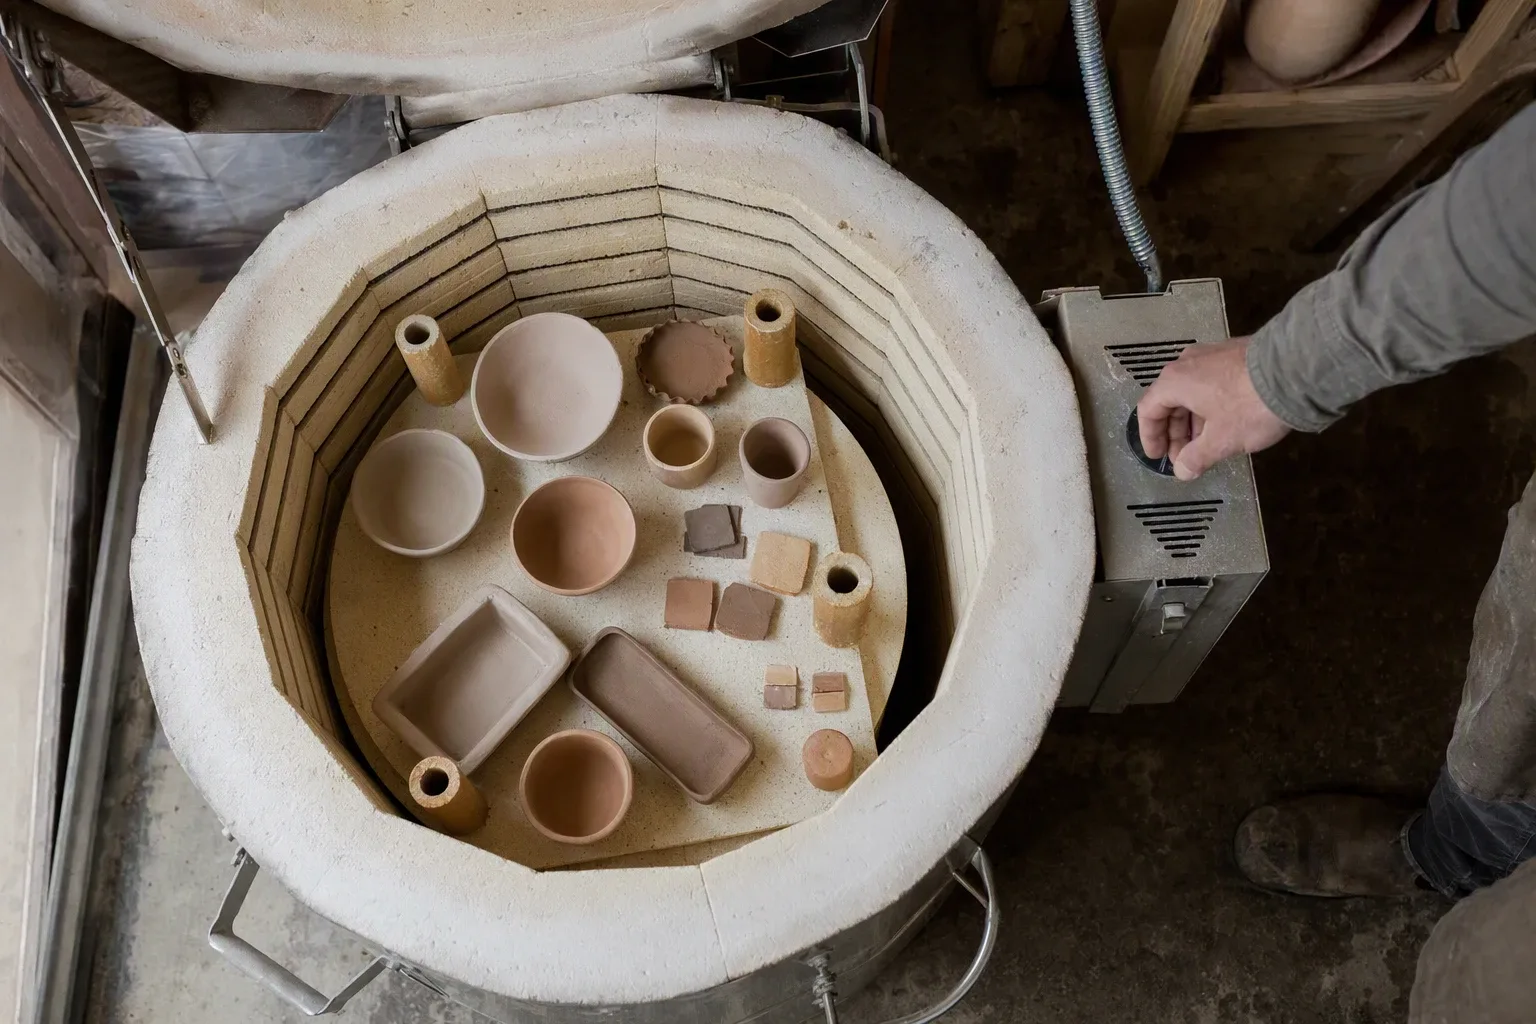
Start by preparing a few test samples made from the same clay and glaze as the pieces you have planned. They don't need elaborate decoration: what matters is that they let you observe color, surface, edges, shrinkage, and how well the glaze adheres to the body. Log the clay batch, the glaze name, application thickness, piece thickness, its position in the kiln, and the program version.
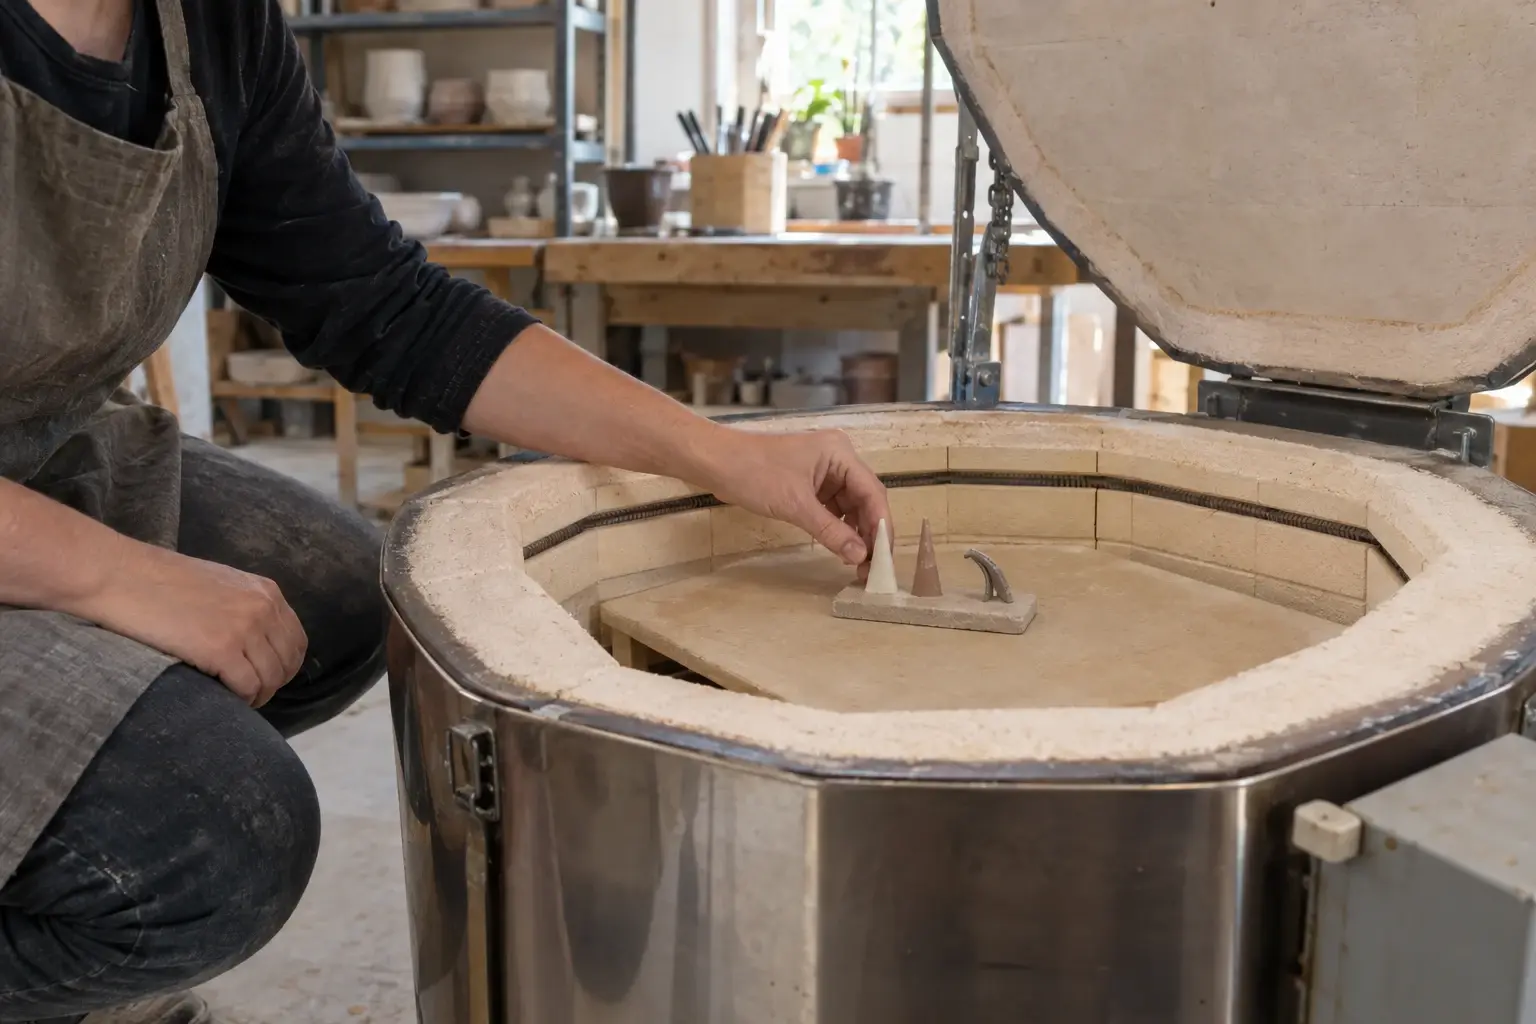
For the first test, build a baseline program within the ranges given by the materials supplier and the kiln manual. Don't change the ramp rate, the hold, the kiln position, and the glaze thickness all at once. After firing, check four things: does the surface match the expected finish, did the glaze run or pool, does the piece show cracks or warping, and do its dimensions or fit still work?
On the next firing, change only one thing. If the surface hasn't developed enough, check glaze thickness and target firing range first rather than sharply increasing the ramp. If problems show up in thick areas, check drying, the piece's structure, and its kiln position first, then consider adjusting the start of the program. If the same program produces noticeably different results depending on position, log those positions first and contact the manufacturer if needed, don't rush to blame the material.
Give each program an easy-to-identify version name, such as "baseline bisque for [clay name]" or "test for [glaze name]," and record the result after every firing. A program only becomes a go-to studio setting once comparable pieces deliver acceptable results repeatedly.
Pre-Fire Checklist
- Confirm that the clay and glaze firing information is compatible.
- Make sure the pieces are completely bone dry and that bases are free of glaze buildup or loose particles.
- Check spacing between pieces and between pieces and kiln furniture, and keep glaze away from any surface that shouldn't be glazed.
- Log the program version, materials information, and the goal of the test.
- Verify that the kiln's location, ventilation, nearby combustible materials, and electrical requirements comply with the kiln manual and local codes.
- Don't modify the wiring or electrical setup yourself; for any installation or electrical questions, use a licensed electrician per local requirements.
- During the firing, monitor the controller and the kiln's condition as described in the manual. If something seems off, stop guessing and follow the manufacturer's instructions.
Kiln capacity, controller features, and installation conditions all shape day-to-day studio workflow. When buying equipment, studio equipment for electric kilns can help you think through available space, firing frequency, and maintenance routines. The manual for your specific model and local electrical codes remain the final authority.
FAQ
Can I use a firing program someone else shared?
You can use it as a reference point, but not as a one-size-fits-all answer for every clay, glaze, and kiln. Check the materials data and your equipment manual first, then validate the program with test samples.
Why do results vary if the peak temperature is the same?
The ramp rate, hold, glaze thickness, piece position, kiln load, and material batch can all affect the outcome. Review the variables using your notes instead of comparing peak temperatures alone.
Can I open the kiln right after a firing?
Don't decide when to open based on instinct alone. The kiln manual spells out the procedure; if local rules or the manufacturer impose stricter requirements, follow those.
Should I fire finished pieces on the first test?
Firing an irreplaceable piece on a first validation isn't recommended. Test samples of similar thickness, made from the same clay and glaze, let you spot needed adjustments at a much lower cost.
Keep this nearby while you make, then let the next piece be your own.