TL;DR
A reliable manual kiln firing schedule starts with the clay or glaze manufacturer's cone target, then uses staged switch changes, witness cones, and written timing notes to judge heatwork. Do not copy a temperature chart as if it were universal. Follow your kiln manual and local electrical requirements, and change one part of the process at a time.
What should a manual kiln firing schedule include?
Before loading the kiln, write down five decisions:
1. The clay or glaze cone target. 2. Whether the firing is bisque or glaze. 3. How dry and thick the pieces are. 4. Which switch settings your kiln manual permits. 5. How you will judge the result.
A manual kiln usually gives you less precise control than a programmable controller. You may work with low, medium, and high switch positions, several switches that control different sections, or a combination of switches and a separate pyrometer. The exact setting sequence belongs to your kiln's manual. Do not assume that a setting used on one kiln will produce the same heatwork on another.
For a refresher on how cones relate to heatwork rather than a single fixed temperature, use this kiln temperature cone chart. The cone target should come from your clay body, glaze, or firing supplier, not from the kiln alone.
How do you translate a cone target into manual switch changes?
Treat the firing as three broad stages rather than one long race to the highest setting.
1. Start gently
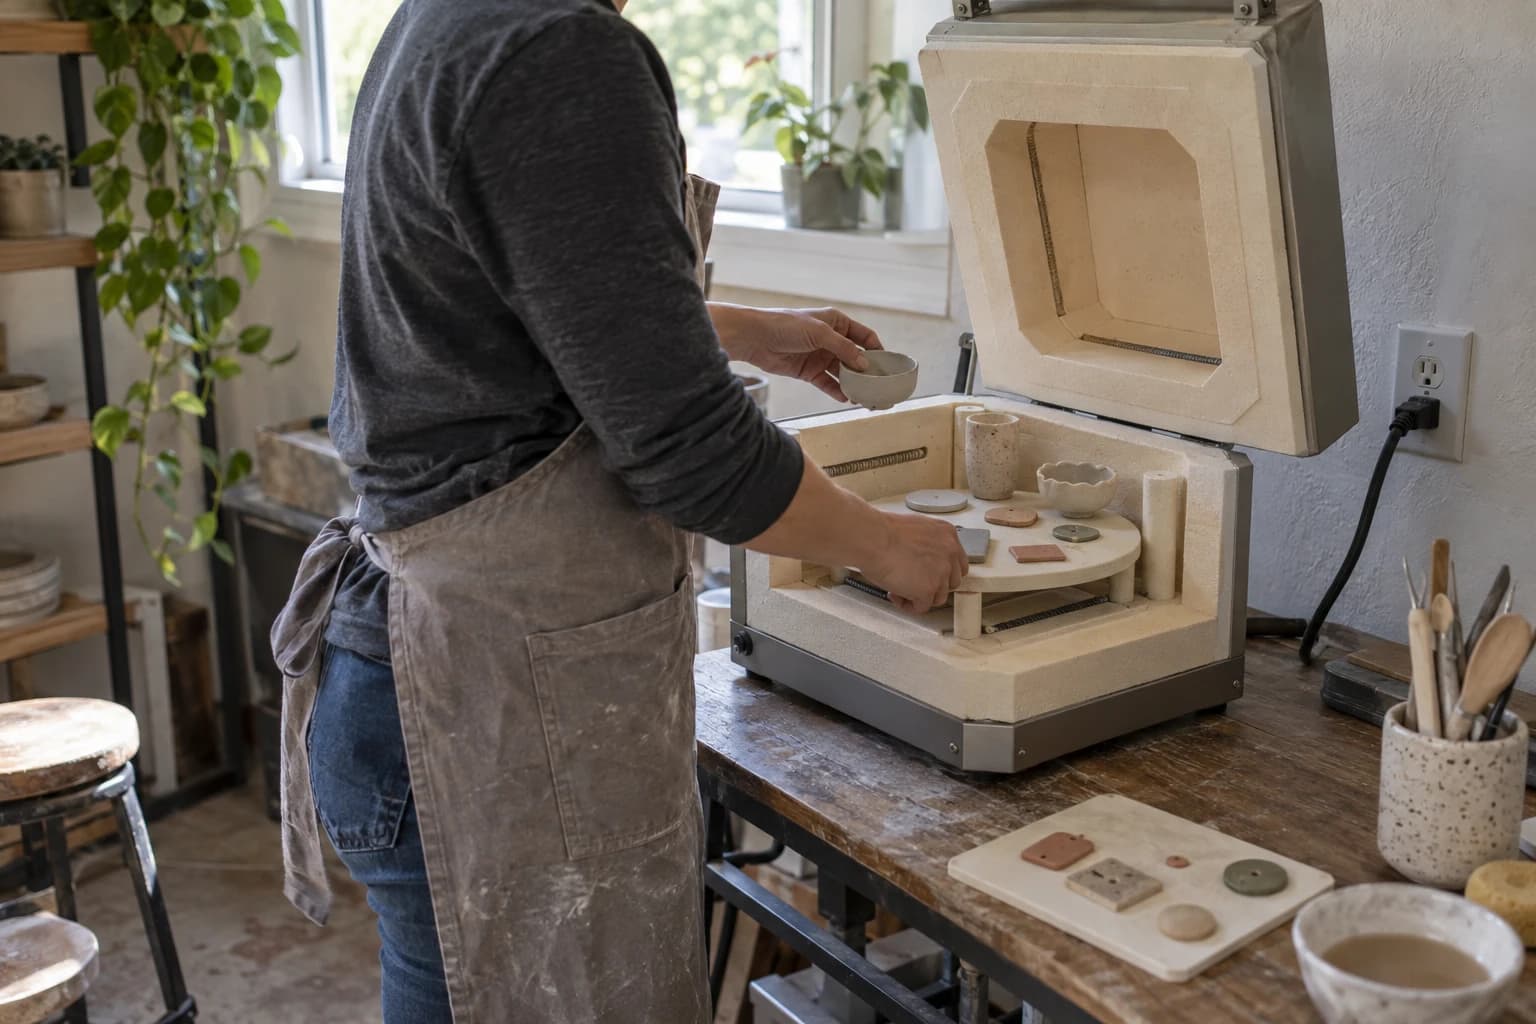
Begin with the conservative starting setting described in the kiln manual. This gives remaining moisture time to leave the ware and lets you observe whether the kiln, room, and load are behaving normally. Pieces should be thoroughly dry before loading, with extra care for thick bases, enclosed forms, and joined parts.
For a bisque firing, the early portion matters because clay is changing as water and organic material leave it. For a glaze firing, the ware is already fired, but thick glaze application, damp shelves, or a heavily loaded kiln can still change the pace you need.
2. Increase in planned steps
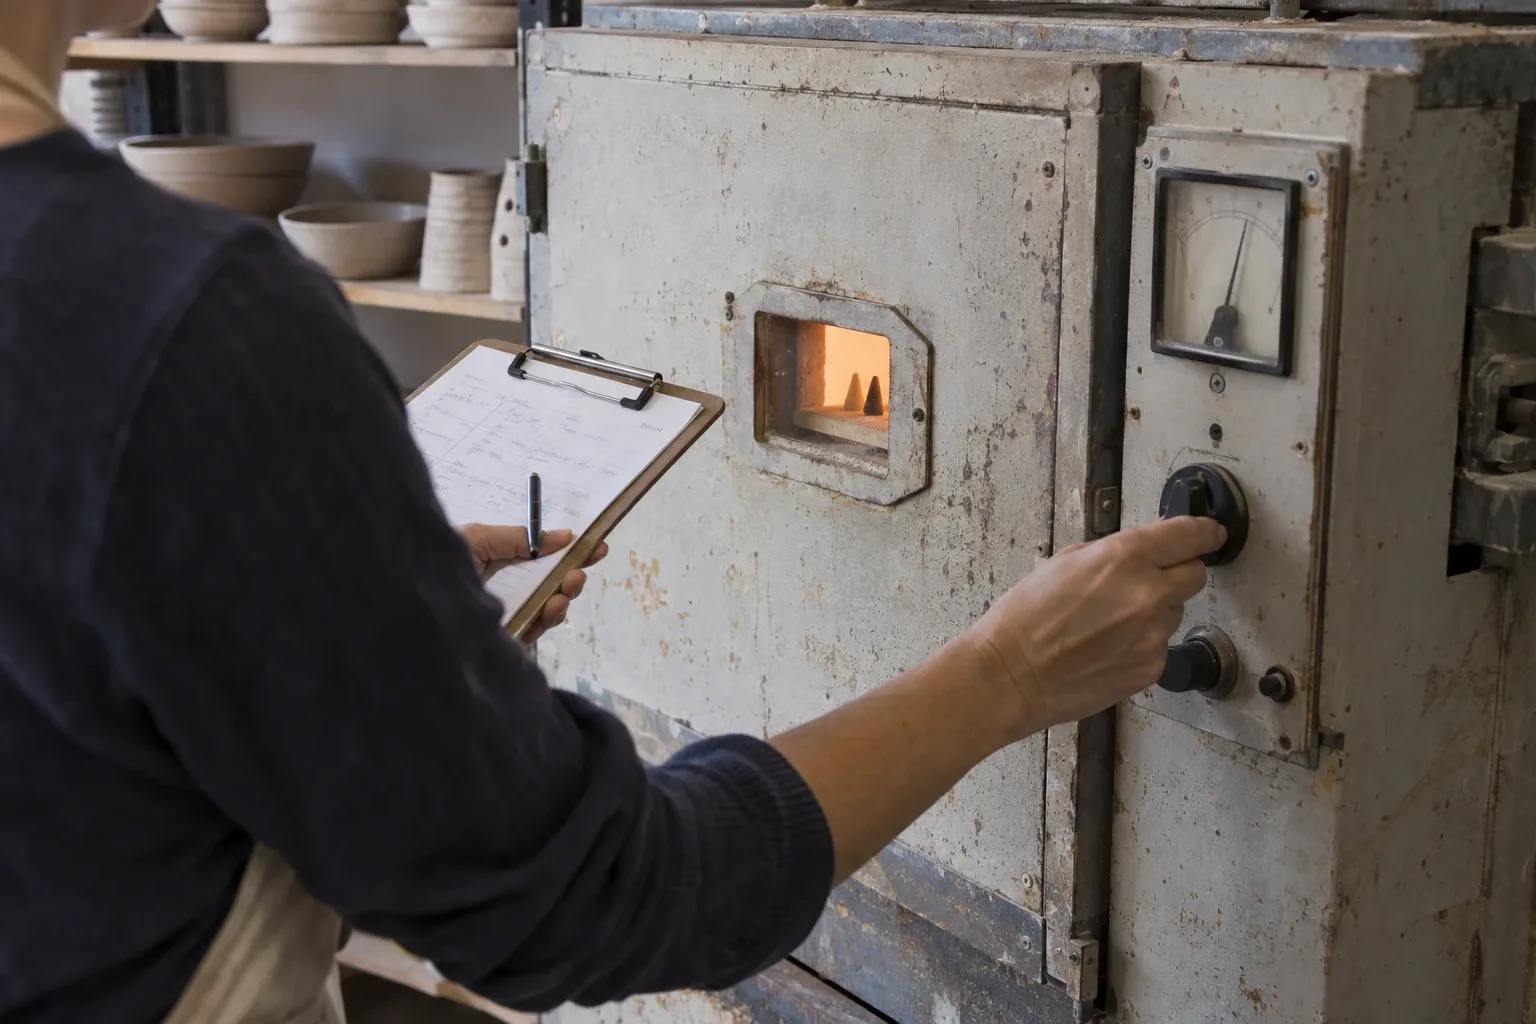
Move through the permitted switch settings in a consistent order. Record the clock time whenever you change a switch. If your kiln has more than one switch, note which switch changed and whether the change affected the visible pyrometer reading or the cone pack.
The goal is not to force the kiln to climb as quickly as possible. The goal is to create a repeatable firing that reaches the target cone without overheating the ware. If the manual gives a recommended sequence, use that sequence as your baseline.
3. Finish by watching the cones
Near the target, use the pyrometer as a reference and witness cones as the heatwork check. A displayed temperature can rise while the ware experiences a different result because load size, firing speed, element condition, and kiln placement all affect the firing.
For related background on building a broader firing plan, compare this kiln firing schedule guide. A manual kiln needs the same clear target, but the operator supplies more of the timing and adjustment.
How should you use witness cones in a manual kiln?
Place a small cone pack where you can see it safely through the kiln's observation opening, following the kiln and cone manufacturer's directions. Use a guard cone below the target and a guide cone above it when the pack allows. The target cone tells you when the intended heatwork has been reached, while the neighboring cones show whether the firing is moving faster or slower than expected.
Make the cone pack part of the firing record. Write down:
- The cone numbers used.
- Where the pack sat in the kiln.
- The clock time when the guide, target, and guard cones changed.
- Whether the cones bent evenly or leaned toward one side.
- Which switches were on at each observation.
A target cone still standing at the end usually means the firing needs more heatwork, but first check whether the pack was visible and correctly positioned. A target cone that bends before you expect it may indicate excessive heatwork, unevenness, or a switch change made too early. Do not diagnose the entire kiln from one cone pack if the load is large or the kiln is known to have uneven zones. For the next test, use additional packs if your manual permits and compare their positions.
Only open observation openings or inspect cones in the way the kiln manual permits. Use the specified protective equipment and keep your face and hands away from hot openings.
When does a timed hold help?
A hold means maintaining the firing near a chosen stage for a planned period. On a manual kiln, this is usually a clock-based task rather than a programmed command. You may keep the relevant switch setting steady while recording the start and end time, but the kiln manual and the clay or glaze instructions decide whether a hold is appropriate.
A hold can be useful when a product instruction calls for one or when a test is designed to compare surfaces at the same target. It is not a substitute for properly dried ware, a suitable ramp, or the correct cone target. Adding a long hold simply because a piece looks unfinished can push the firing beyond the intended heatwork.
For a first manual firing, avoid changing several things at once. If you add a hold, keep the load, switch sequence, and cone placement as similar as possible to the previous test. Then you can tell whether the hold made a meaningful difference.
A repeatable adjustment checklist
Use this short review after every firing:
1. Check the target: Did the clay and glaze instructions call for the same cone? 2. Check the ware: Was every piece dry, and were thick or enclosed forms separated for observation? 3. Check the load: Was the kiln unusually full, lightly loaded, or arranged differently? 4. Check the record: What time did each switch change occur? 5. Check the cones: Did the guide, target, and guard cones bend as expected? 6. Check the result: Note color, glaze fit, pinholes, bloating, warping, cracks, and variation by shelf. 7. Choose one change: Adjust one switch-change time, hold, load arrangement, or cone-pack location for the next test.
Keep the result record beside the firing notes rather than relying on memory. A simple table with time, switch setting, pyrometer reading, cone observation, and comments is enough.
If the kiln repeatedly misses its target despite a consistent process, stop treating the schedule as the only variable. Check the kiln manual for troubleshooting guidance and have electrical questions handled by a qualified electrician. Installation, circuit capacity, placement, and ventilation must also meet local requirements. Claylune's guide to an electric kiln for firing pottery can help you review the wider equipment workflow, but your kiln manual remains the authority for operation.
FAQ
Can I use the same manual schedule for bisque and glaze firing?
No. Start with the correct cone target and instructions for the specific clay or glaze. Bisque firing also requires attention to drying and the early moisture-release stage, while glaze firing focuses on the glaze's maturation and surface result.
Should I follow the pyrometer or the witness cones?
Use both, but they answer different questions. The pyrometer shows the kiln's measured temperature, while witness cones show the heatwork experienced at their location. When they appear to disagree, record both and consult the kiln manual before changing the schedule.
How long should I hold the kiln at the end?
There is no universal hold time for every clay, glaze, kiln, and load. Use the material instructions or a test plan, and do not add a hold merely to compensate for damp ware or an uncertain schedule.
Can I leave a manual kiln running while I am away?
Follow the kiln manufacturer's operating and supervision instructions and any local rules. Do not create a supervision or unattended-firing policy from a general schedule article. If the manual is unclear, contact the manufacturer before firing.
Keep this nearby while you make, then let the next piece be your own.