TL;DR
For many earthenware, stoneware, and porcelain bodies, a practical bisque starting point is cone 06 to cone 04, approximately 1,828°F to 1,945°F. Choose the lower end for more absorbent bisque and the higher end for a stronger, less porous piece, but let the clay manufacturer's instructions and your test results decide.
Bisque firing temperature chart
The table below gives useful starting ranges for an electric kiln. The temperatures are approximate because pyrometric cones measure heat-work, not one fixed temperature.
| Clay body or studio use | Common bisque cone range | Approximate temperature range* | Practical starting choice | |---|---:|---:|---| | Low-fire earthenware | Cone 06 to 04 | 1,828°F to 1,945°F, 998°C to 1,063°C | Cone 06 for a more absorbent surface | | Mid-range stoneware | Cone 06 to 04 | 1,828°F to 1,945°F, 998°C to 1,063°C | Cone 05 or 04 for a firmer bisque | | High-fire stoneware | Cone 06 to 04 | 1,828°F to 1,945°F, 998°C to 1,063°C | Start near cone 05 unless the clay label says otherwise | | Porcelain | Cone 06 to 04 | 1,828°F to 1,945°F, 998°C to 1,063°C | Use a test batch to balance strength and glaze absorption |
\*Approximate values are commonly associated with cones at a stated firing rate. Your kiln controller's temperature reading may not match the cone exactly.
The important point is that bisque temperature does not usually match the clay's final glaze-firing temperature. A stoneware body may be glaze fired much hotter than its bisque firing. Bisque is intended to remove remaining water and organic material while leaving the clay porous enough to accept glaze.
Before programming the kiln, check the clay package or manufacturer's technical information. Some bodies have a narrower recommended bisque range, and grogged, paper, or unusually thick forms may need a more cautious schedule.
For a closer explanation of why cone numbers and temperature readings differ, see the kiln temperature cone chart.
Which bisque cone should you choose?
Use cone 06 when glaze absorption and easy application matter most. A cooler bisque generally leaves more open porosity, which can help some dipping and brushing processes. The trade-off is a more fragile, dusty, or easily chipped bisque surface.
Use cone 04 when you want a somewhat stronger bisque ware and still need useful porosity. It can be a good starting point for pieces that need more handling before glazing. The trade-off is that a hotter bisque may absorb glaze more slowly, so dipping time and glaze thickness may need adjustment.
Cone 05 sits between those choices. It is useful when cone 06 feels too soft but cone 04 produces less absorption than you want. Do not treat cone 05 as automatically correct for every clay body. Treat it as a testable middle setting.
A simple decision aid:
- Choose cone 06 if your priority is maximum glaze absorption.
- Choose cone 05 if you want a balanced first test.
- Choose cone 04 if your bisque pieces need more handling strength.
- Stop and check the clay instructions if the body has a specified bisque cone.
Does bisque temperature depend on the final firing cone?
Not directly. A cone 10 stoneware may still be bisque fired around cone 06 to cone 04, just as a low-fire body may be. The final firing cone describes when the clay or glaze matures. The bisque cone describes how much heat-work the first firing applies before glazing.
The final firing still affects your choice indirectly. If a clay body is already close to vitrification at a lower firing temperature, a hotter bisque may reduce absorption too much. If your glaze application depends on a very absorbent surface, begin at the lower end of the recommended bisque range and test.
Do not use a bisque chart as permission to fire a clay body beyond its stated range. Overfiring can change porosity, shape, color, or fit with the glaze.
How should you use the chart in an electric kiln?
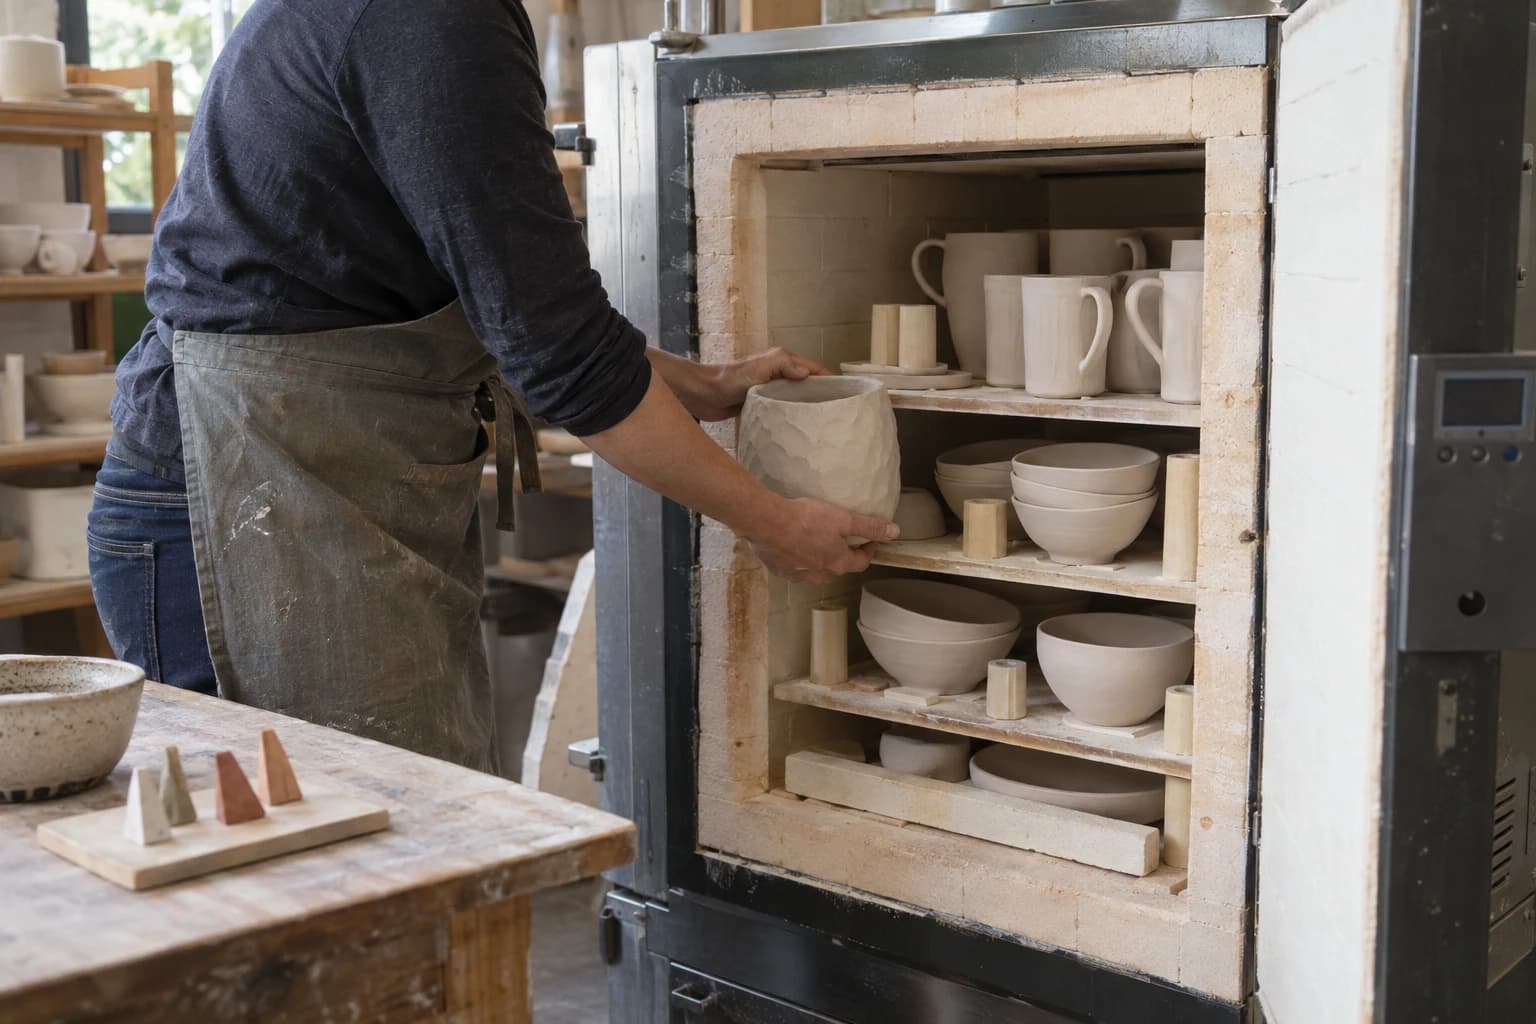
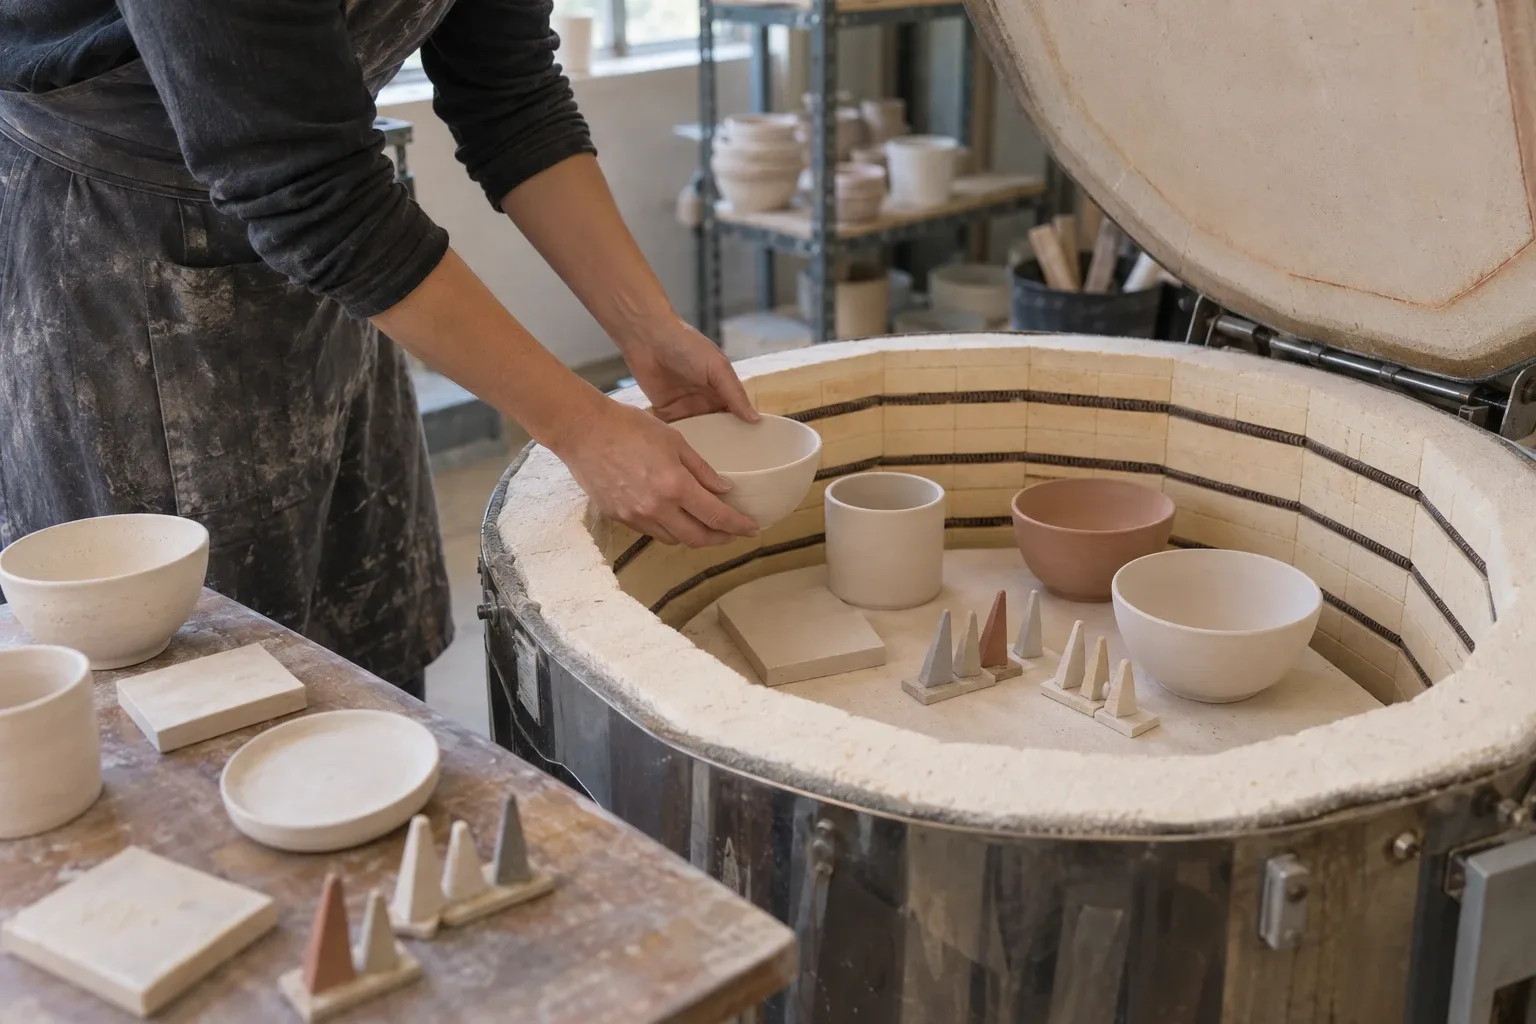
Treat the chart as a starting point, then build a repeatable test. Sort a small group of similar pieces by thickness and dryness. Mark a few test tiles or simple forms with the clay body and planned bisque cone. Keep the load reasonably similar from one test to the next so the comparison means something.
Before starting, check these points:
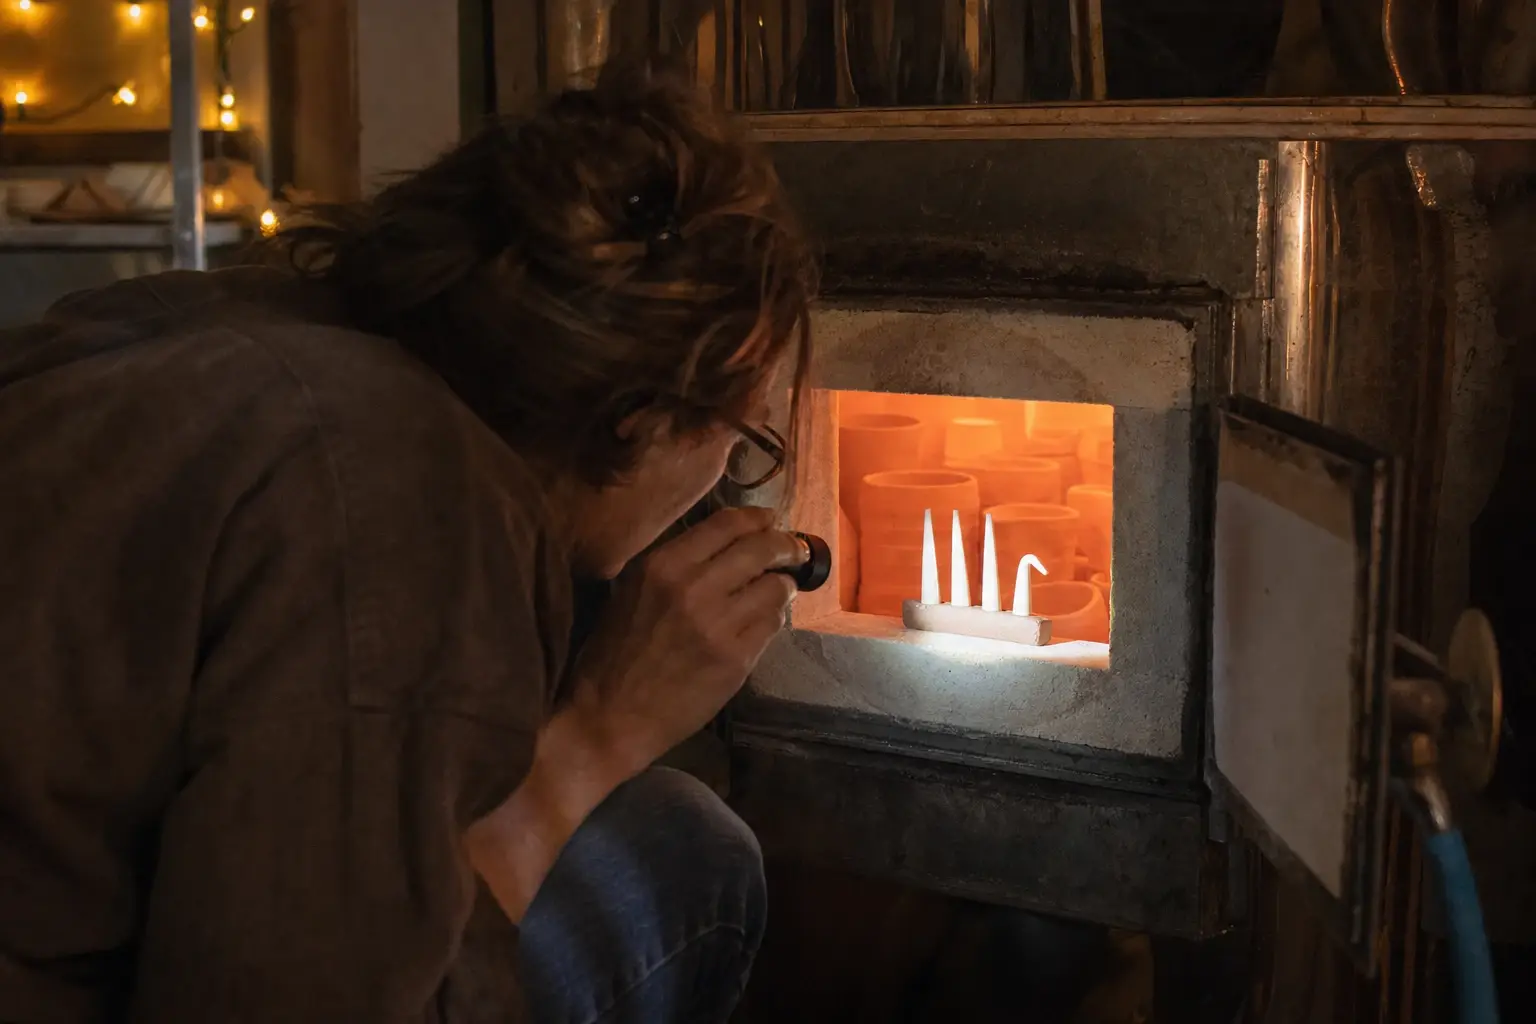
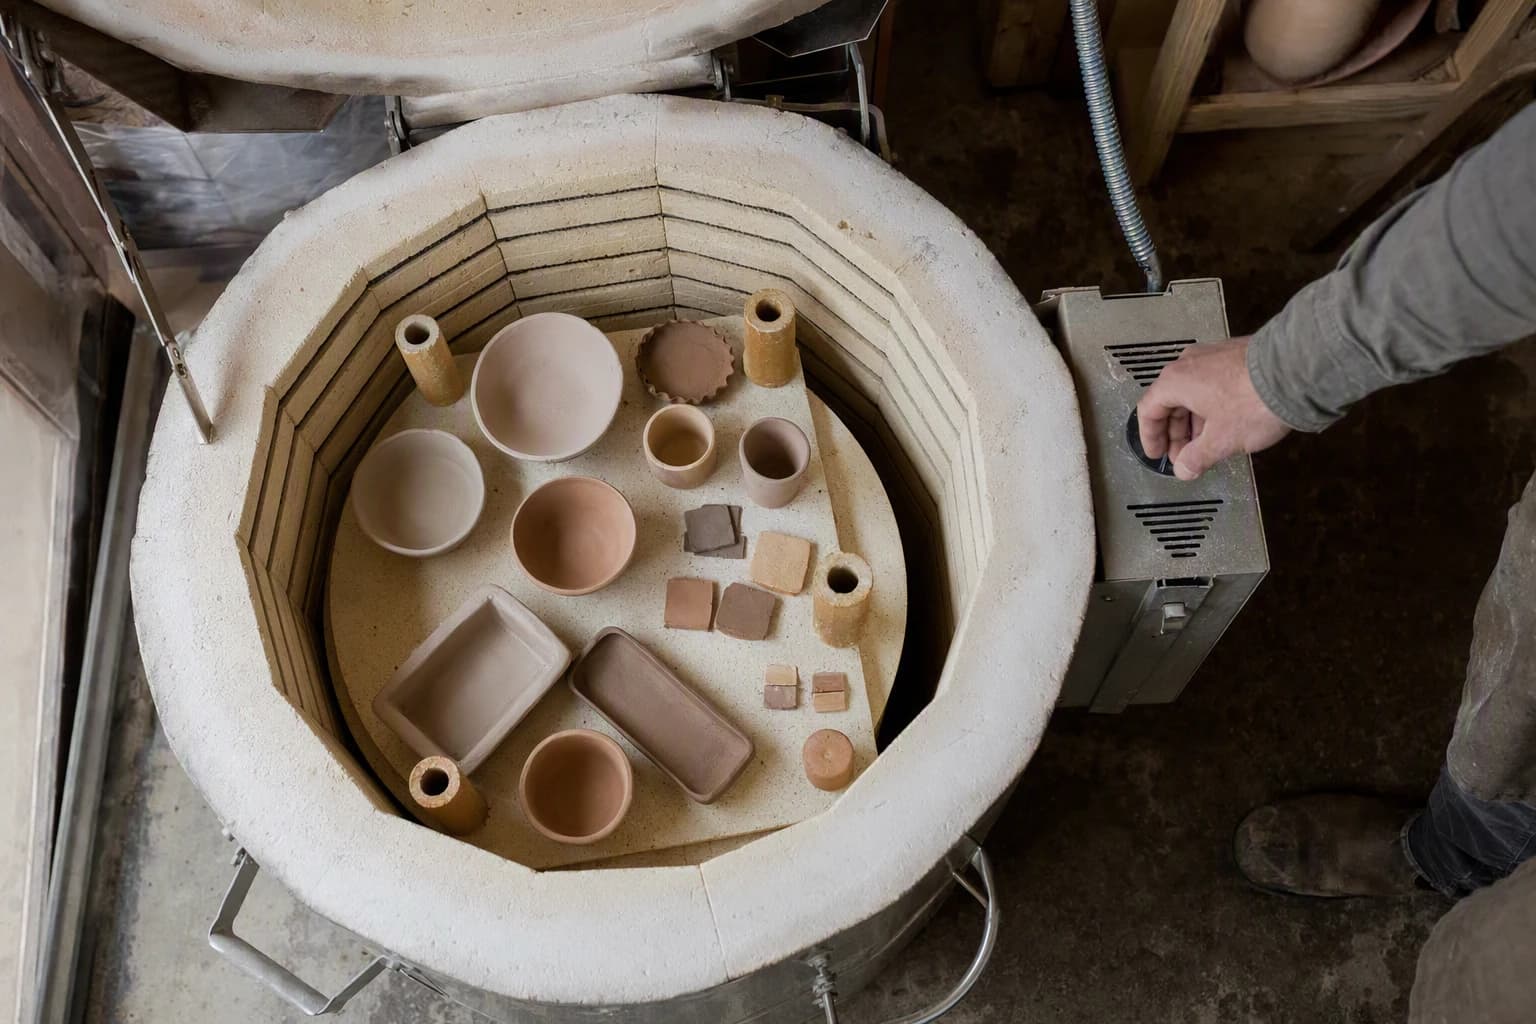
1. Confirm that every piece is bone dry, including handles, enclosed areas, and thick attachments. 2. Remove loose crumbs and dust from the kiln shelf and ware. 3. Leave space between pieces so they do not touch as you load them. 4. Place witness cones where you can inspect the firing result, following the cone manufacturer's placement guidance. 5. Use the kiln controller and firing schedule recommended for your clay body, rather than copying a temperature-only number into a different program. 6. Let the kiln cool according to the manual before opening and evaluating the load.
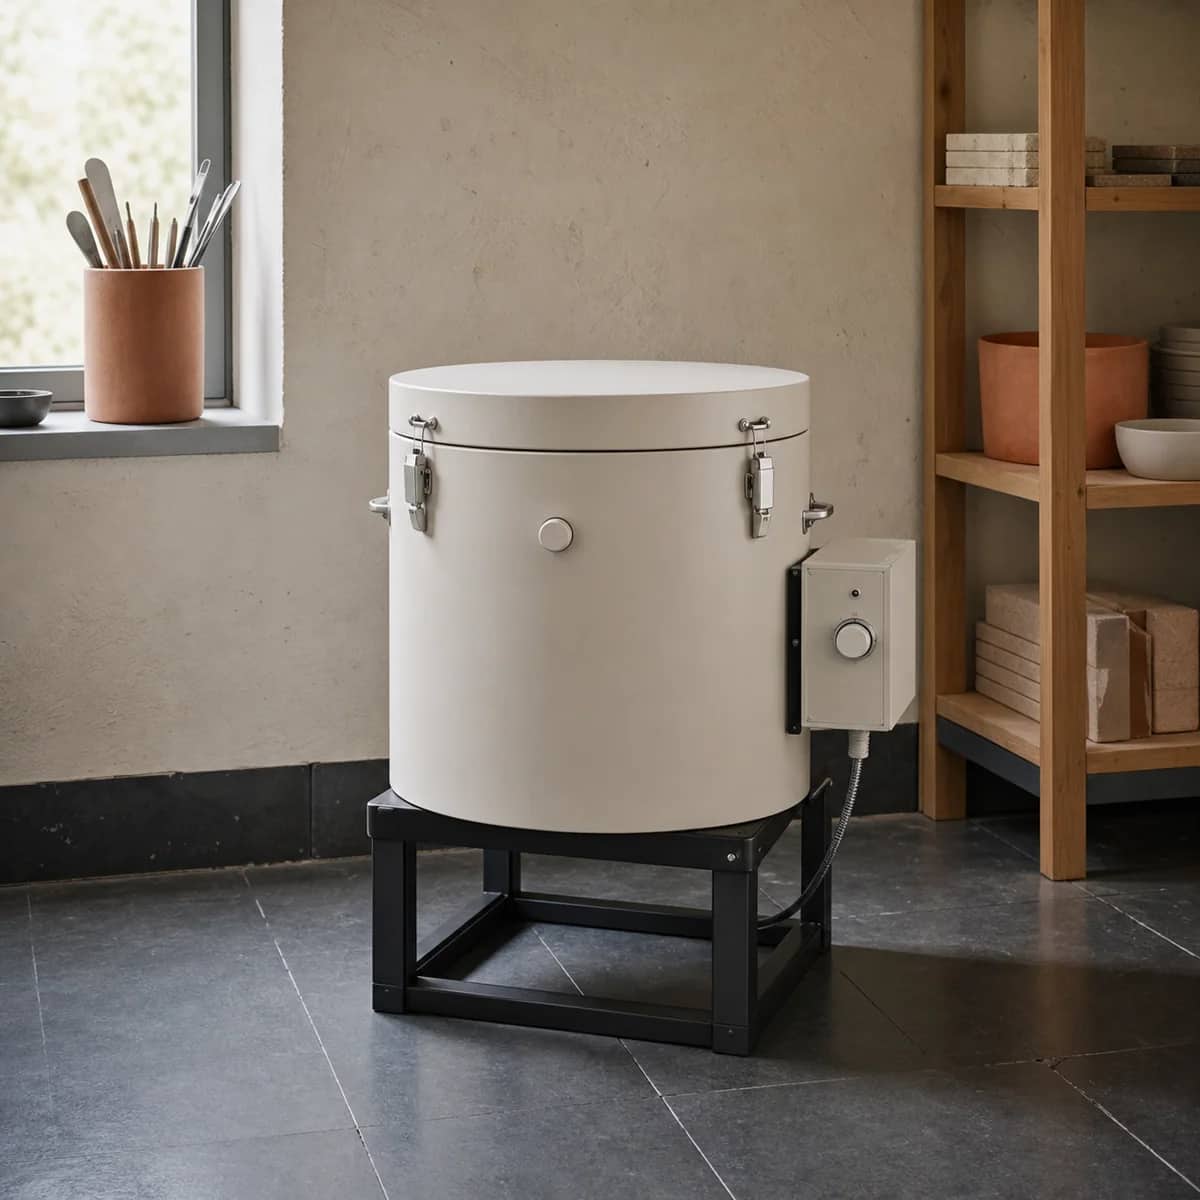
For broader equipment and placement considerations, use this electric kiln for firing pottery guide. Follow the kiln manual and local electrical requirements for operation and installation. A qualified electrician must decide electrical work, and local rules must decide placement and ventilation requirements.
Check absorption, strength, and glaze behavior
After the test firing, inspect three things before changing the cone.
First, look at the surface. A good bisque should be firm enough to handle without excessive dusting or edge damage. Second, test glaze application on a tile or spare piece. Note whether the glaze settles evenly, dries too quickly, or remains easy to move after brushing. Third, compare how easily the bisque chips or breaks during ordinary studio handling. This is a workflow observation, not a laboratory strength test.
Change one variable at a time. If cone 06 gives good glaze absorption but the pieces are too fragile, test cone 05 or cone 04. If cone 04 produces a surface that resists your glaze, test cone 05 before changing the glaze recipe and firing schedule together.
Record the clay body, bisque cone, approximate controller program, load type, and observations. A short firing log will be more useful than a chart when you repeat the same forms.
FAQ
Is cone 06 hotter than cone 04?
No. Cone 04 is hotter than cone 06. In the common low-fire bisque range, cone 06 is approximately 1,828°F and cone 04 approximately 1,945°F, though cone values depend on heat-work and firing rate.
Can I bisque fire all clay at cone 04?
No. Many common bodies tolerate cone 04 bisque, but you must check the clay manufacturer's range. A body with a lower limit or special additives may require a different setting.
Is bisque temperature the same as glaze temperature?
Usually not. Bisque is commonly fired lower than the final glaze firing so the clay remains porous enough to accept glaze. Use the clay and glaze manufacturer's firing recommendations.
Should I use the kiln display or witness cones?
Use both as useful information. The display reports the programmed or measured kiln conditions, while witness cones show heat-work at their location. Read the kiln manual for proper cone use and interpretation.
Keep this nearby while you make, then let the next piece be your own.