TL;DR
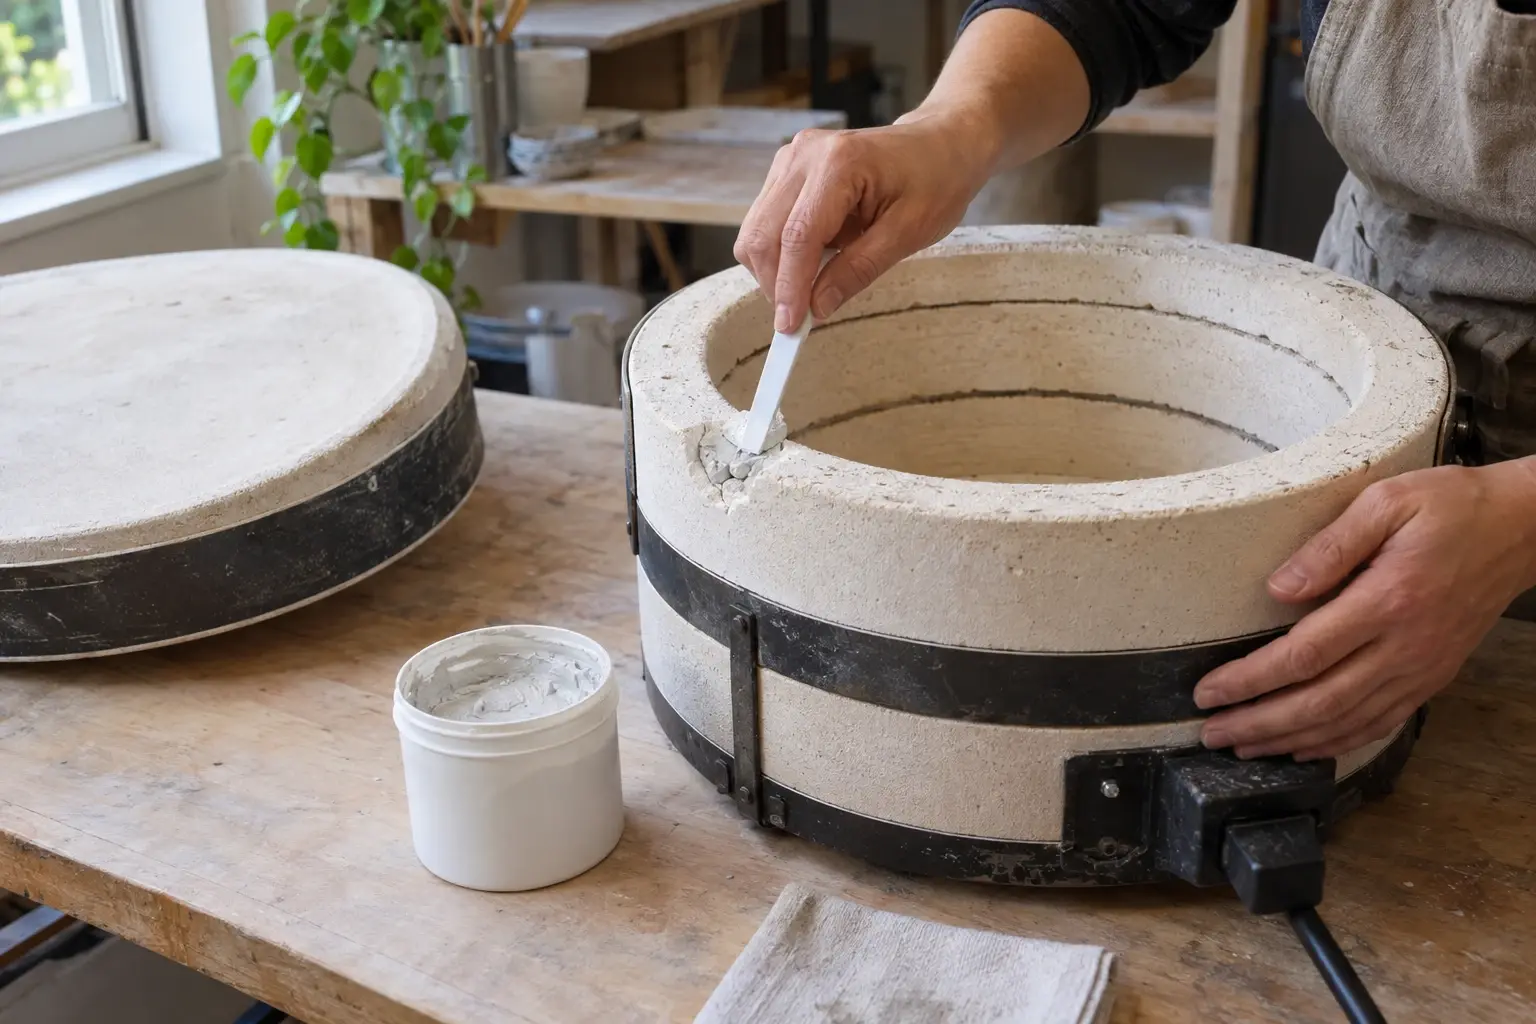
Kiln cement can repair some small cracks, chips, and damaged joints in refractory kiln brick when the surrounding brick is stable and the damage is limited. It is not a universal fix for loose brick, damaged heating elements, electrical faults, major lid or floor damage, or cracks that continue to open. Clean and dry the surface, apply only as much cement as the product instructions require, allow it to cure as directed, and stop using the kiln if the repair does not remain stable.
Can kiln cement repair every kiln crack?
No. The first decision is whether you are repairing a small surface defect or trying to hold a failing kiln structure together.
Kiln cement may be appropriate for:
- A narrow crack in a refractory brick that remains firmly seated
- A small chip or missing corner away from an element groove
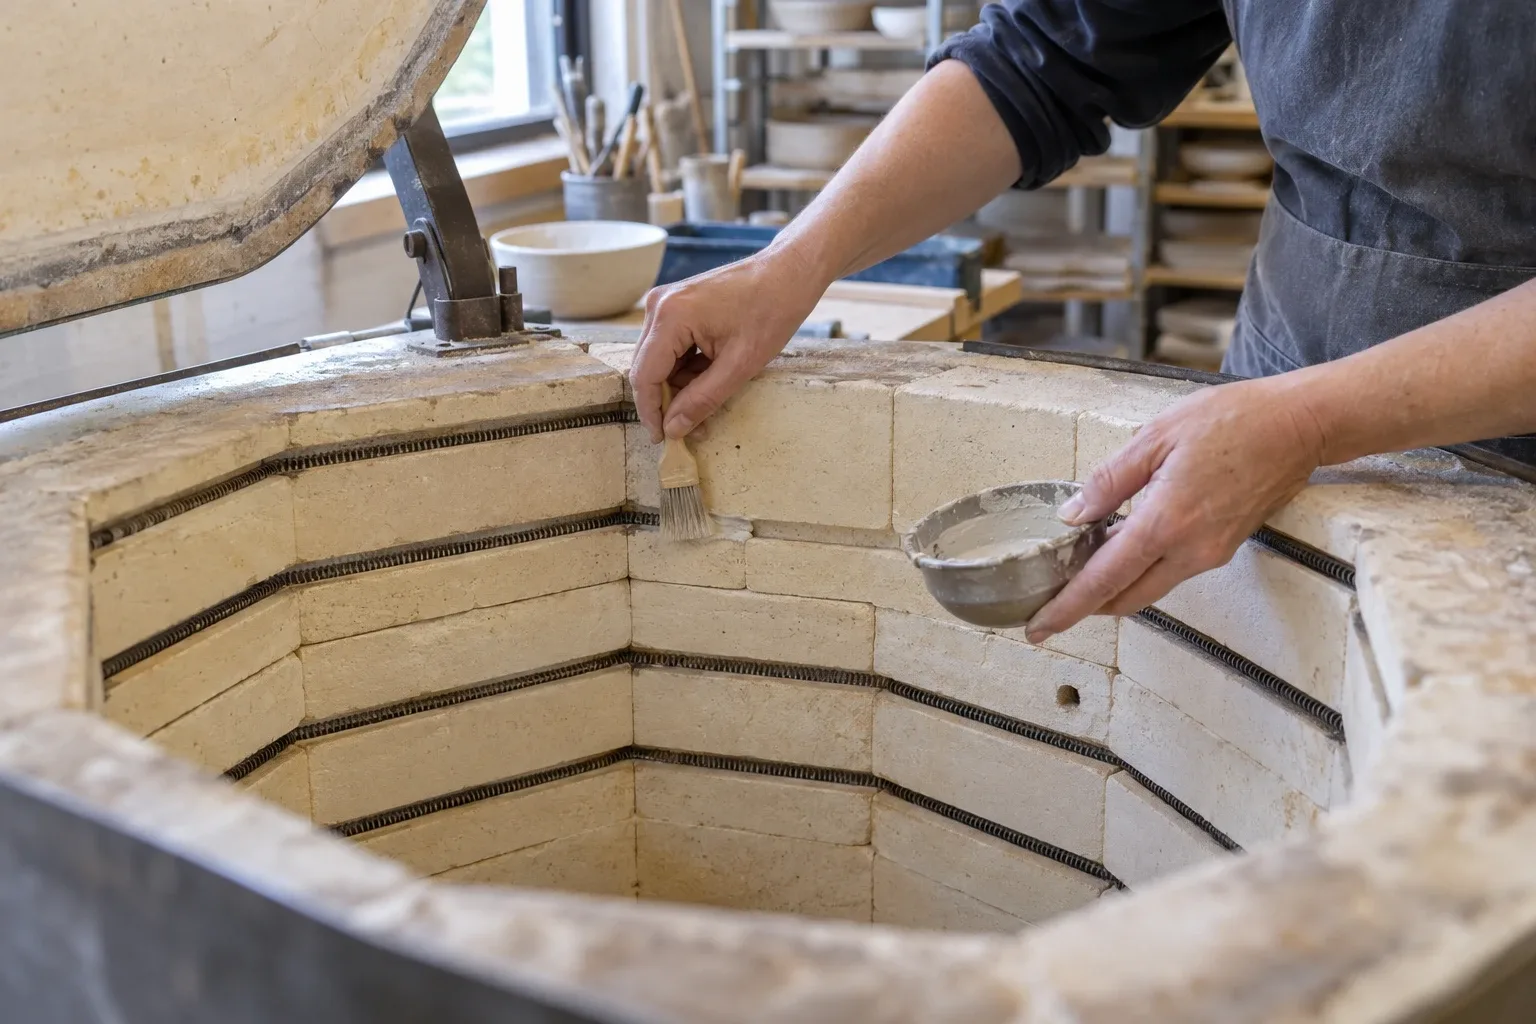
- A shallow gap at a refractory joint
- A minor separation that does not move when the kiln is cool
Kiln cement is a poor choice when:
- A brick is loose, badly crushed, or missing a large section
- The crack passes through an element channel or exposes a heating element
- The lid, floor, hinge, band, or shell is distorted
- The damage reaches wiring, terminals, switches, or control components
- The same joint opens again after a repair
For a part that is damaged beyond a small patch, compare a correctly matched kiln repair part instead of adding more cement. Exact kiln model information matters because refractory shapes and element locations are not interchangeable by appearance alone.
Prepare the kiln before kiln cement repair
Repair only when the kiln is completely cool and out of service. Follow the kiln manual for shutdown and isolation steps. Do not remove covers, handle wiring, or work on electrical components unless the manual permits the task and a qualified person is responsible for the electrical work.
Before mixing or opening the cement, make a short inspection record:
1. Photograph the damage from a few angles. 2. Note whether the crack is in the hot-face brick, a joint, a lid, or another component. 3. Press lightly beside the crack with a blunt, non-damaging tool. Check whether the brick moves or crumbles. 4. Look for exposed elements, dark heat-damaged areas, or a gap that continues behind the visible surface. 5. Measure the damaged area so you can compare it after curing and after the first cautious firing.
Remove loose dust and friable material with a soft brush or the method specified by the cement manufacturer. The surface should be clean and dry. Do not enlarge a stable crack just to make it look more uniform, and do not use household glue, mortar, or an unlisted filler in a kiln.
Protect the surrounding area from dust and wet cement. Use the personal protective equipment required by the product label and keep the workspace free of clay dust and loose fibers. If the damage is difficult to see or clean without disturbing an element, stop and seek qualified repair help.
How do you apply kiln cement to a small crack?
Read the kiln cement label before application. Products differ in consistency, compatible materials, working time, storage, and curing requirements. The product instructions and kiln manual decide the process, not a generic recipe.
A practical application sequence is:
1. Confirm that the crack is stable and the brick is still seated. 2. Prepare the cement exactly as directed. Do not add water or another material unless the label says to. 3. Work a small amount into the clean crack or joint so it contacts the sound refractory surface. 4. Fill the defect without building a large mound over the surrounding brick. 5. Remove excess cement from areas where it could interfere with the lid, shelves, element grooves, thermocouple, or kiln furniture. 6. Smooth the patch only as far as the product instructions allow. 7. Mark the repair location and record the product name, date, and visible size of the defect.
A thin, well-bonded repair is generally easier to inspect than a thick layer spread across an unstable area. Do not coat heating elements or bridge over an element groove unless the kiln manufacturer and cement instructions specifically identify that use. If the crack is near an element, replacement or qualified inspection may be safer than trying to cover it.
For broader troubleshooting, use the inspection approach in Kiln Repair: What You Can Do and When to Call an Electrician, especially when the visible brick damage may be connected to an electrical or structural problem.
How should the repair cure and get tested?
Leave the repair undisturbed for the full curing period stated on the cement label. Do not assume that a firm surface means the material is ready for heat. Keep the kiln closed or positioned as the manual and product instructions require during curing, and prevent dust or contact from disturbing the patch.
After curing, inspect the repair while the kiln is cool:
- Is the patch still bonded at both edges?
- Has it shrunk away from the crack?
- Are there new chips, gaps, or loose fragments?
- Does the lid or another mating surface close without rubbing the repair?
- Is any element, groove, thermocouple, or shelf path obstructed?
If the product instructions call for a staged initial heating or other conditioning process, follow them exactly. Use the kiln manual for the firing procedure. Keep the first post-repair load simple and easy to inspect rather than filling the kiln with valuable work. After cooling, compare the patch with your photographs and measurements. A repair that opens, flakes, or leaves loose material is not ready for normal use.
When should you replace a part or stop using the kiln?
Stop and reassess when the crack grows, the brick moves, or the repair separates. Also stop when you find an exposed or damaged element, scorched wiring, a loose terminal, a distorted shell, a damaged door or lid seal, or a fault code that the manual does not resolve.
A replacement brick, element, thermocouple, lid component, or other matched part may be the better choice when the original component has lost its shape or function. For electrical work, circuit questions, or anything outside the manual's owner-service instructions, use a qualified electrician or technician and follow local electrical requirements. Do not treat kiln cement as structural reinforcement or electrical insulation.
A compact kiln can make inspection easier, but limited space does not remove the need for correct placement, ventilation, and service access. Review the broader setup constraints before returning a repaired kiln to regular production with this guide to a small electric kiln for pottery.
FAQ
Can I use kiln cement on a kiln element?
Do not coat or reposition an element with kiln cement unless the kiln manual and the cement product specifically direct that use. A damaged element normally calls for inspection or replacement, not a surface patch.
Can I fire immediately after applying kiln cement?
Usually, you should not assume that immediate firing is acceptable. Follow the product's stated curing and initial-heating directions, then inspect the repair before loading work.
Why did my kiln cement repair crack again?
The brick may be moving, the defect may be deeper than it appeared, the surfaces may not have been clean or dry, or the cement may not suit the materials and location. Repeated failure is a reason to reassess the brick or part rather than apply another layer.
Should I repair a cracked kiln floor with cement?
Treat floor cracks cautiously because shelves, posts, and ware depend on a stable surface. If the floor is loose, uneven, badly chipped, or affecting how the kiln loads, ask the manufacturer or a qualified technician whether the floor needs replacement.
Keep this nearby while you make, then let the next piece be your own.