TL;DR
A kiln temperature cone chart does not say that cone 06 is one single temperature. Each cone bends at a different point depending on firing speed and the total heat-work the ware absorbs, so the same cone can bend across a range of temperatures. Use cones to judge what your pots actually experienced, and use the thermocouple and controller to run a consistent, repeatable schedule.
Why did my cone bend but the kiln said cone 06?
A common studio moment: the controller finishes the firing at the programmed temperature, but the witness cone on the shelf is barely tipping, or it has slumped into a puddle. Neither the cone nor the controller is broken. They are measuring different things.
The controller reports what its thermocouple senses at that moment: air temperature at a specific spot in the kiln. A pyrometric cone is a small formulated bar that bends after it has absorbed a certain amount of heat over time. That total is called heat-work. A fast firing can reach a high temperature before the cone bends; a slow firing with long soaks can bend the cone at a lower temperature. The cone integrates time and temperature. The thermocouple reports temperature only.
This is why a cone chart always lists a temperature range for each cone, keyed to firing rate. Cone 06, for example, corresponds to different temperatures depending on whether the firing climbed slowly or quickly. If you read the chart as a lookup table of exact numbers, you will be confused the first time your results disagree with it.
What heat-work actually means for your pots
Glaze melting, clay body densification, and crystal growth all depend on heat-work, not on the peak temperature alone. Two firings that both peak at the same controller reading can produce different surfaces if one held longer or climbed more slowly through the working range.
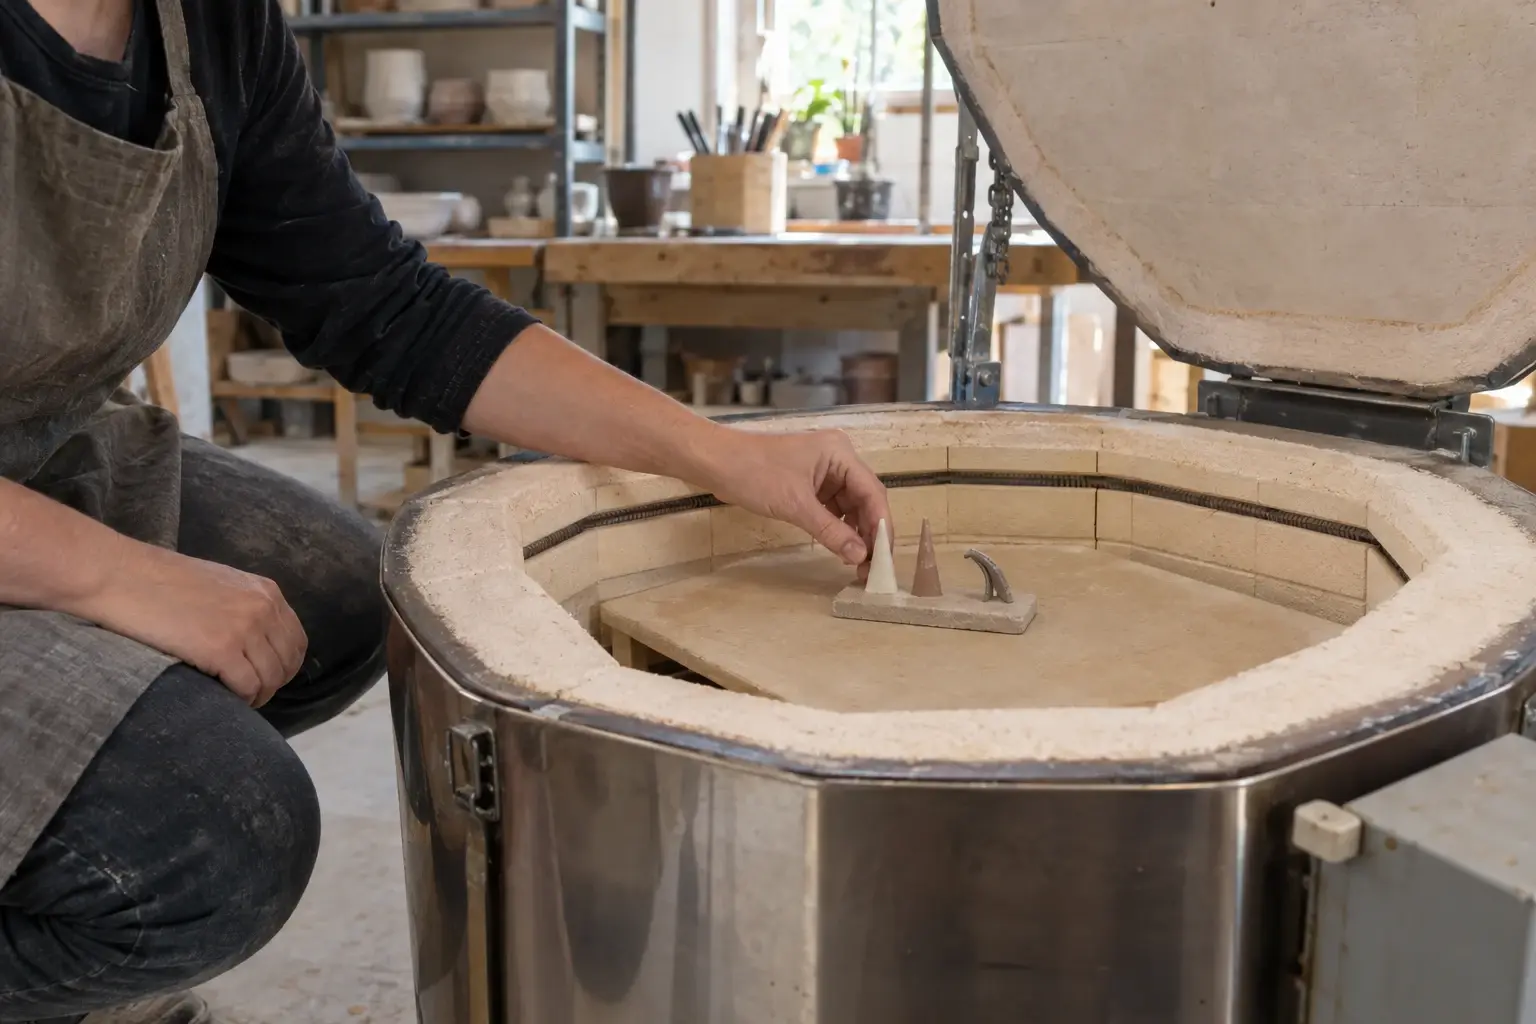
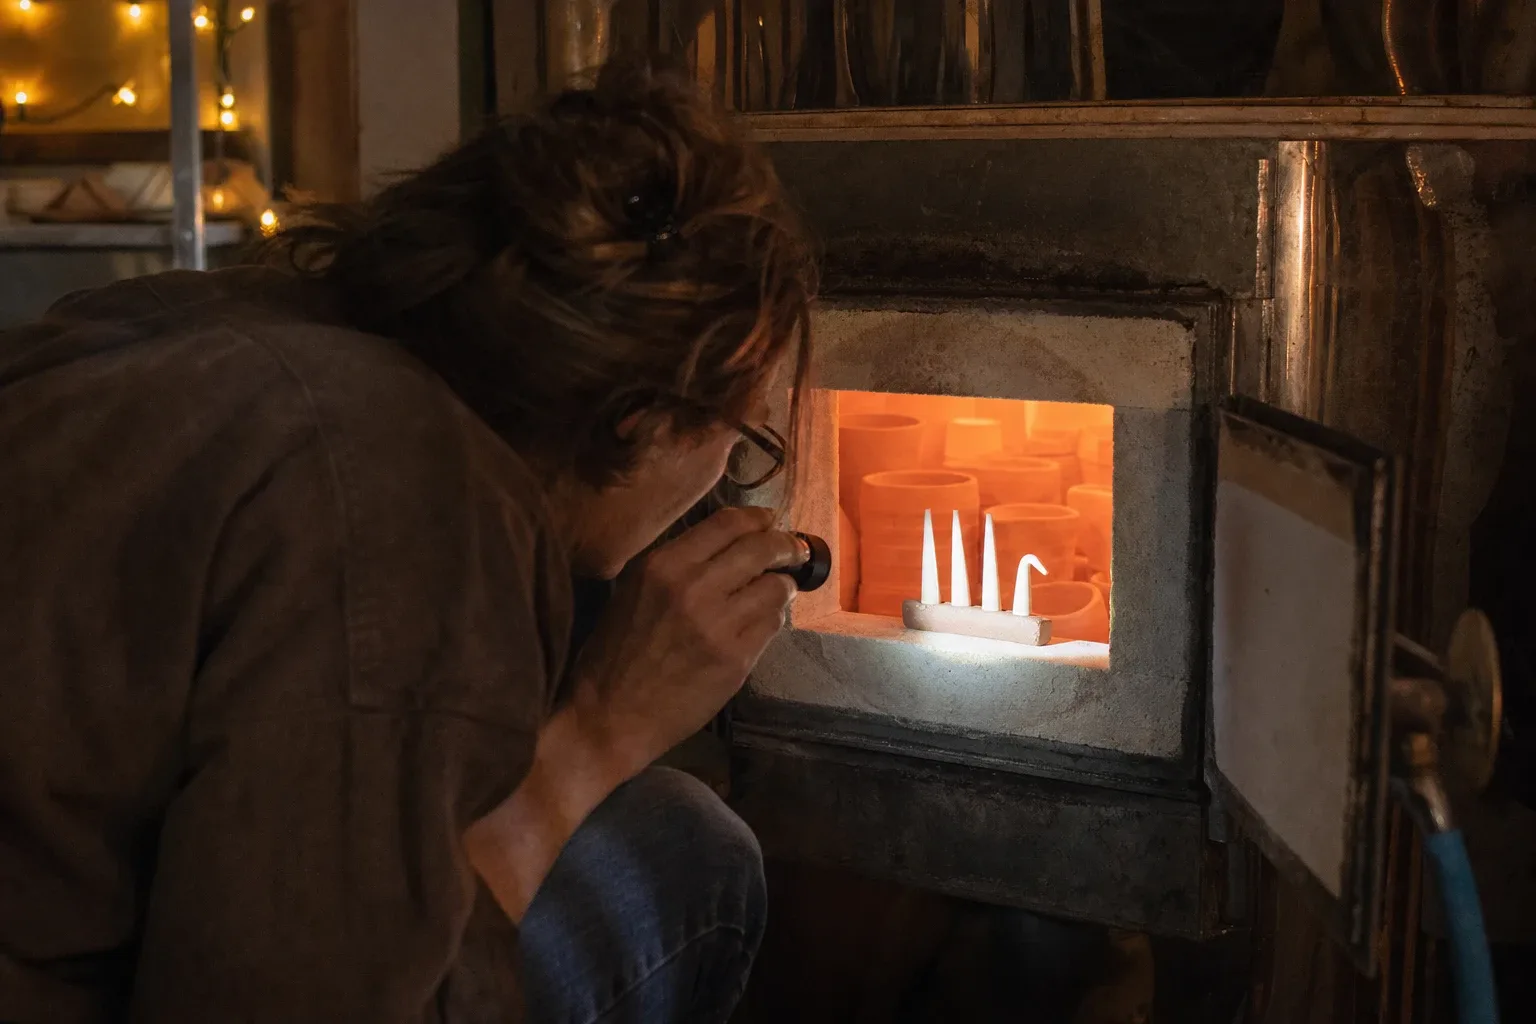
Cones respond the same way your ware does. That is their whole value. A cone placed on the shelf next to your pots has experienced essentially the same firing your pots have, in the same spot in the kiln. The controller cannot tell you that. Two thermocouples in the same kiln can read several degrees apart, and the back corners of a loaded kiln can lag behind the front. A witness cone on each shelf catches those differences directly.
How to read a cone chart without misusing it
Cone charts are organized by cone number, with columns for temperature at different firing rates. When you consult one:
1. Find the cone number your clay or glaze calls for, such as cone 6 or cone 10. 2. Look at the temperature column that matches your firing speed, not just the first number on the row. 3. Treat the number as a reference point for comparing schedules, not a target the controller must hit exactly. 4. Remember that your controller's thermocouple, especially an older one, may read offset from the chart's assumptions.
The chart is most useful for planning and comparing. It tells you roughly where cone 6 sits relative to cone 5 and cone 7, so you know how much room you have when you adjust a schedule. It cannot tell you what happened inside your specific kiln on a specific day.
Using cones and the controller together
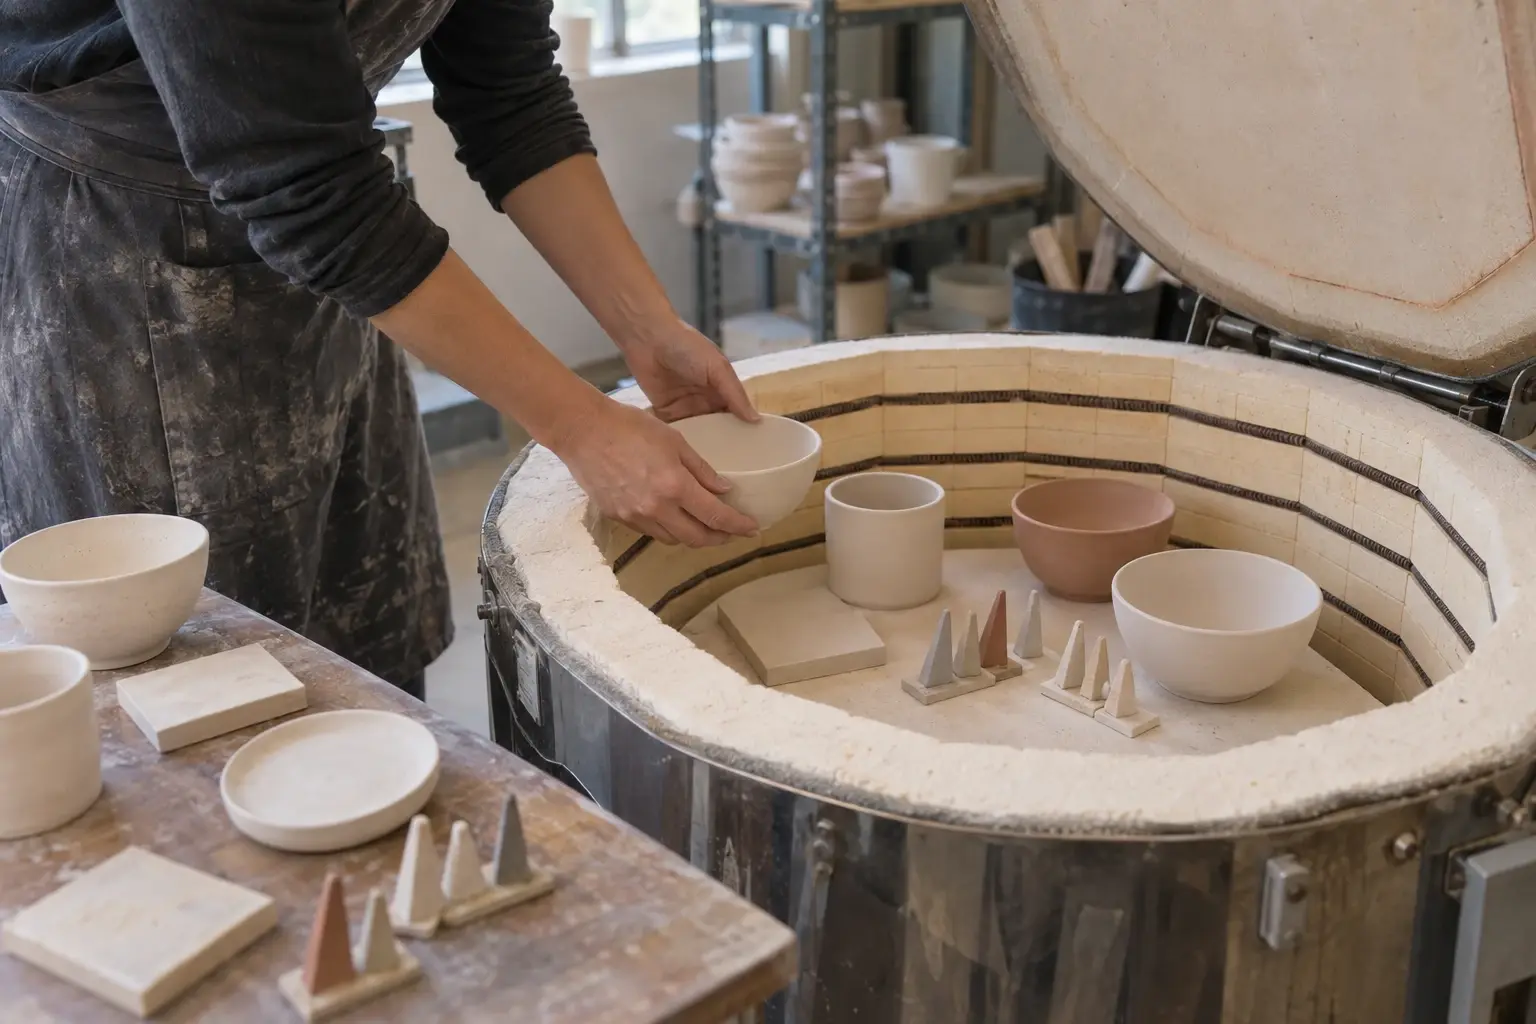
The practical setup is simple and cheap. Buy self-supporting witness cones in the numbers surrounding your firing range. If you fire to cone 6, get cones 5, 6, and 7. Place one set on each shelf, visible through a peephole if possible, standing in a cone pack made of a small coil of the same clay you use.
After each firing, read the three cones as a sentence:
- Cone 5 tipped over, cone 6 bent to roughly the halfway slant, cone 7 untouched: a mature cone 6 firing.
- Cone 6 barely leaning and cone 7 starting to bend: you have fired somewhere between 6 and 7, hotter than intended.
- Cone 6 only slightly tipped: underfired, whatever the controller said.
Then compare that result with what the controller reported. If they agree consistently, your thermocouple is close to your shelf conditions. If the controller always says one thing and the cones always say another, you have learned your kiln's offset. That offset is normal and stable enough to plan around, though drifting thermocouples age and eventually need replacement; if readings start shifting between firings, that is a maintenance issue worth investigating before you change your whole schedule.
This pairing matters most when you build or refine a kiln firing schedule. The controller gives you repeatability: the same ramps, holds, and peaks every time. The cones tell you whether that repeatable program is actually producing the maturity you want, shelf by shelf.
What this means for choosing and running your kiln
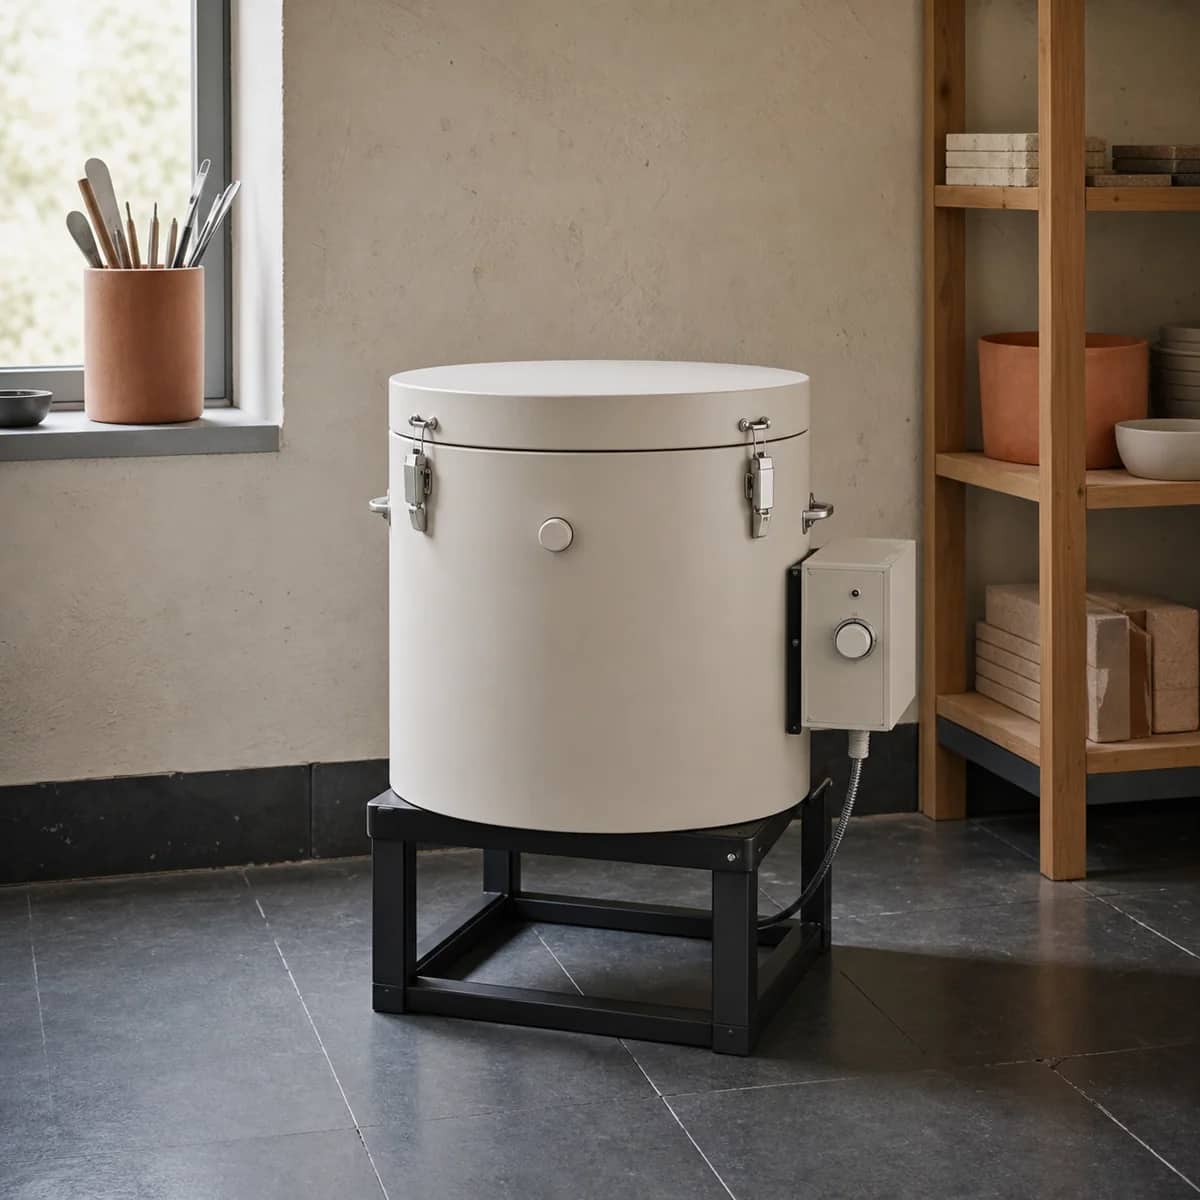
If you are comparing models for a home or small studio, controller quality and thermocouple type matter, but so does your plan to verify results with witness cones. An inexpensive kiln plus a disciplined cone habit will outperform a premium kiln nobody checks. A studio electric kiln with a programmable controller and accessible peepholes makes witness cone use easy; when choosing, look for those two features specifically.
For glaze development, the same logic applies to test tiles made from a consistent clay body. Fire a batch of tiles from one glaze at slightly different schedules and read the cones from each firing. You are mapping heat-work to surface, which is far more useful than mapping a single temperature to a surface.
One ordinary routine to adopt: keep a firing log with the date, program used, controller peak, cone results per shelf, and a note on the glaze surface. After three or four firings you will have a picture of your kiln that no chart can give you.
FAQ
Is cone 6 always around 2232 F?
No. That figure comes from the chart's standard firing-rate column, and the real bending temperature shifts with firing speed. A slower climb or a long hold bends the same cone at a lower temperature. Trust the cone on your shelf over any single number.
Can I rely on the controller's cone-fire mode instead of witness cones?
A cone-fire mode estimates heat-work from time and temperature, but it assumes a reasonably even load and an accurate thermocouple. Witness cones on the shelves verify the estimate against what your actual pots experienced. Many potters use both.
Why did cones on different shelves bend differently?
Kilns are not uniform. Shelves near elements run hotter, corners lag, and heavy loads change airflow. Different bending between shelves is normal and useful information: it tells you where to place heat-sensitive work and how evenly your kiln distributes heat.
My controller and cones disagree by a lot. What now?
First, confirm you are reading cones at the right firing rate on the chart. Then check the thermocouple: aging thermocouples drift and eventually read low, which causes overfiring. Replacing a thermocouple is often a straightforward job, but anything involving the electrical supply should go to a qualified electrician, and your kiln manual should guide the diagnosis.
Keep this nearby while you make, then let the next piece be your own.