TL;DR
For a home pottery kiln, choose a kiln ventilation system that is compatible with the kiln manual and can exhaust to the outdoors without disturbing the room’s workflow. Compare a manufacturer-approved downdraft system with a properly located hood or room-exhaust approach, then have installation checked against local requirements by the appropriate qualified professional.
What should a kiln ventilation system do?
The system should move kiln emissions out of the occupied studio and discharge them outdoors through a planned route. It should not simply circulate air around the room or rely on opening a nearby window while the kiln operates.
Start with the kiln manual. Look for the recommended ventilation method, connection points, clearance requirements, and any restrictions on ducting or fan placement. The manual decides whether a particular vent is compatible with that kiln. Local building, electrical, and property rules decide whether the proposed installation is allowed.
Ventilation is only one part of the setup. Keep the kiln away from combustible materials, maintain the clearances specified by the manufacturer, and avoid placing it where routine movement could block the exhaust path or bring people close to hot surfaces. For a broader equipment and placement checklist, see this guide to choosing an electric kiln for a home or small studio.
Which exhaust option fits your studio?
Downdraft ventilation
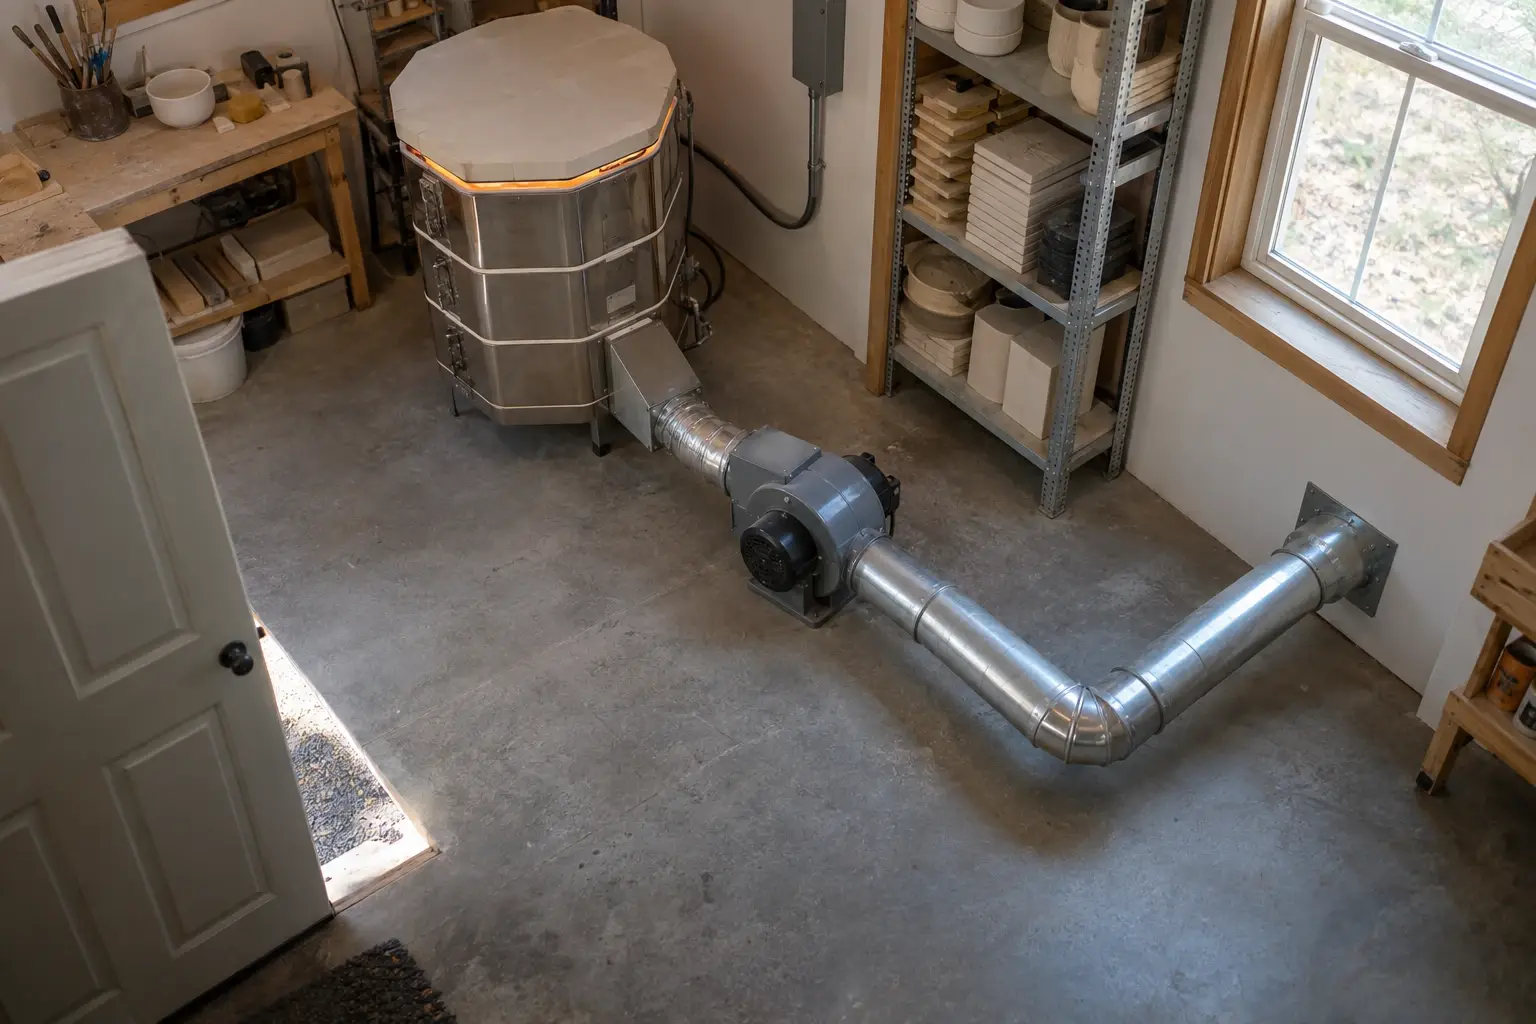
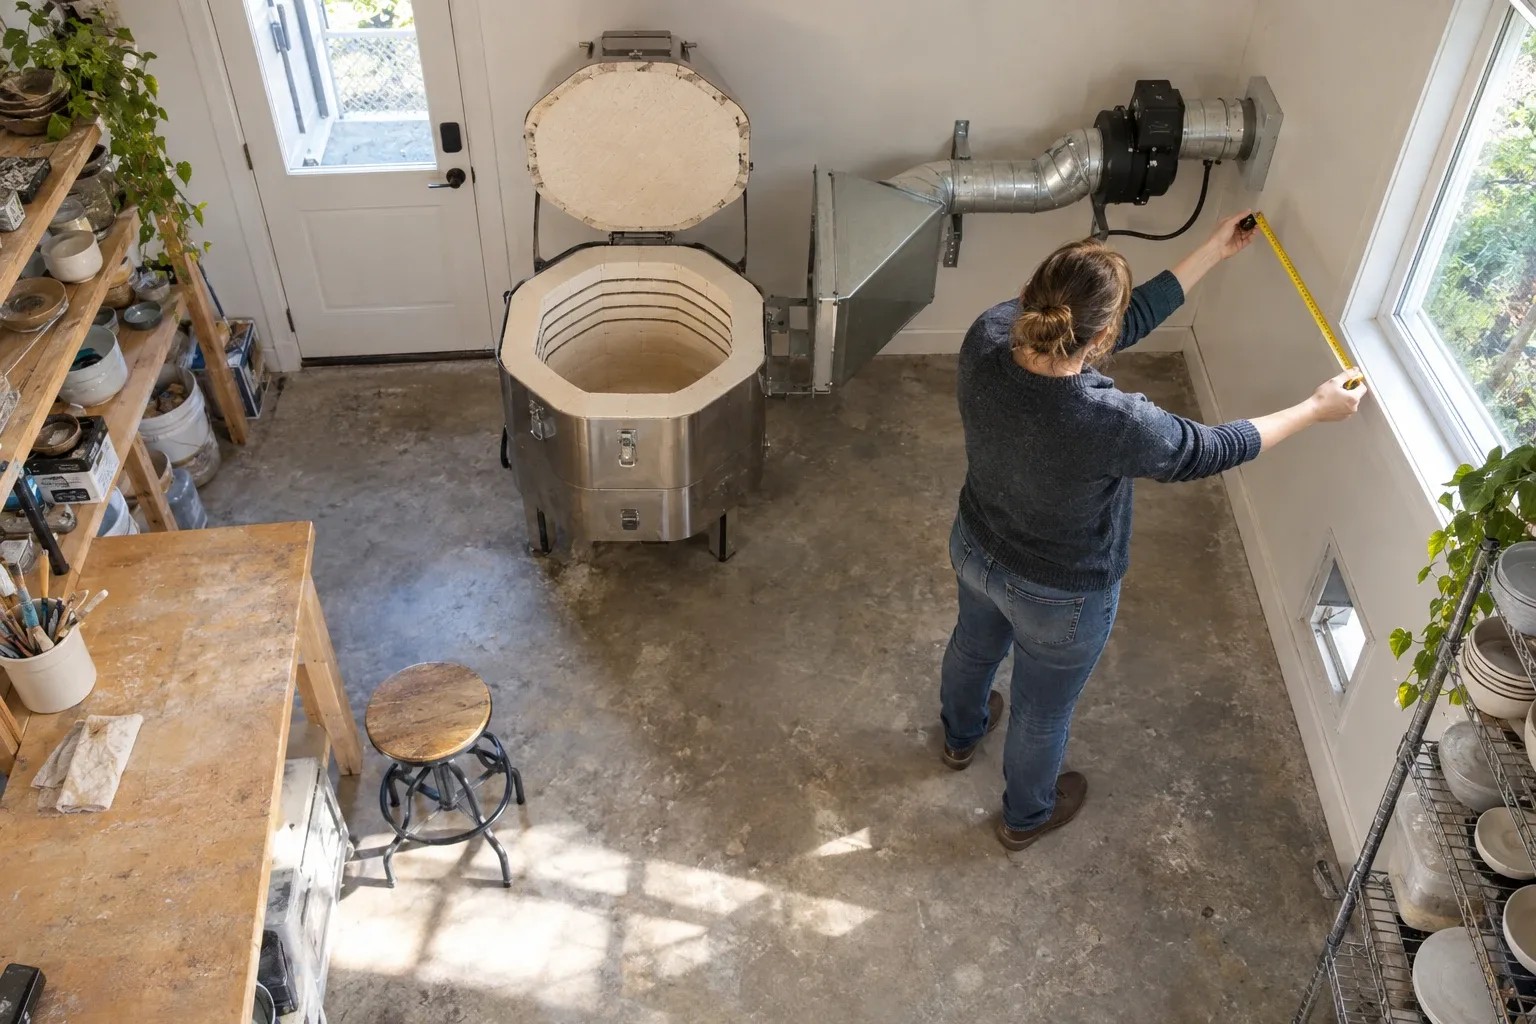
A downdraft system draws air from the kiln area and sends it through ducting to an outdoor termination. This approach can provide a defined exhaust path and may be the cleanest fit when the kiln supports that type of connection.
Check the manual before choosing one. The kiln’s construction, approved connection point, duct route, and fan arrangement all matter. A short, direct route is usually easier to plan than a long route with several bends, but the final design must follow the equipment instructions and local requirements.
Hood or overhead exhaust
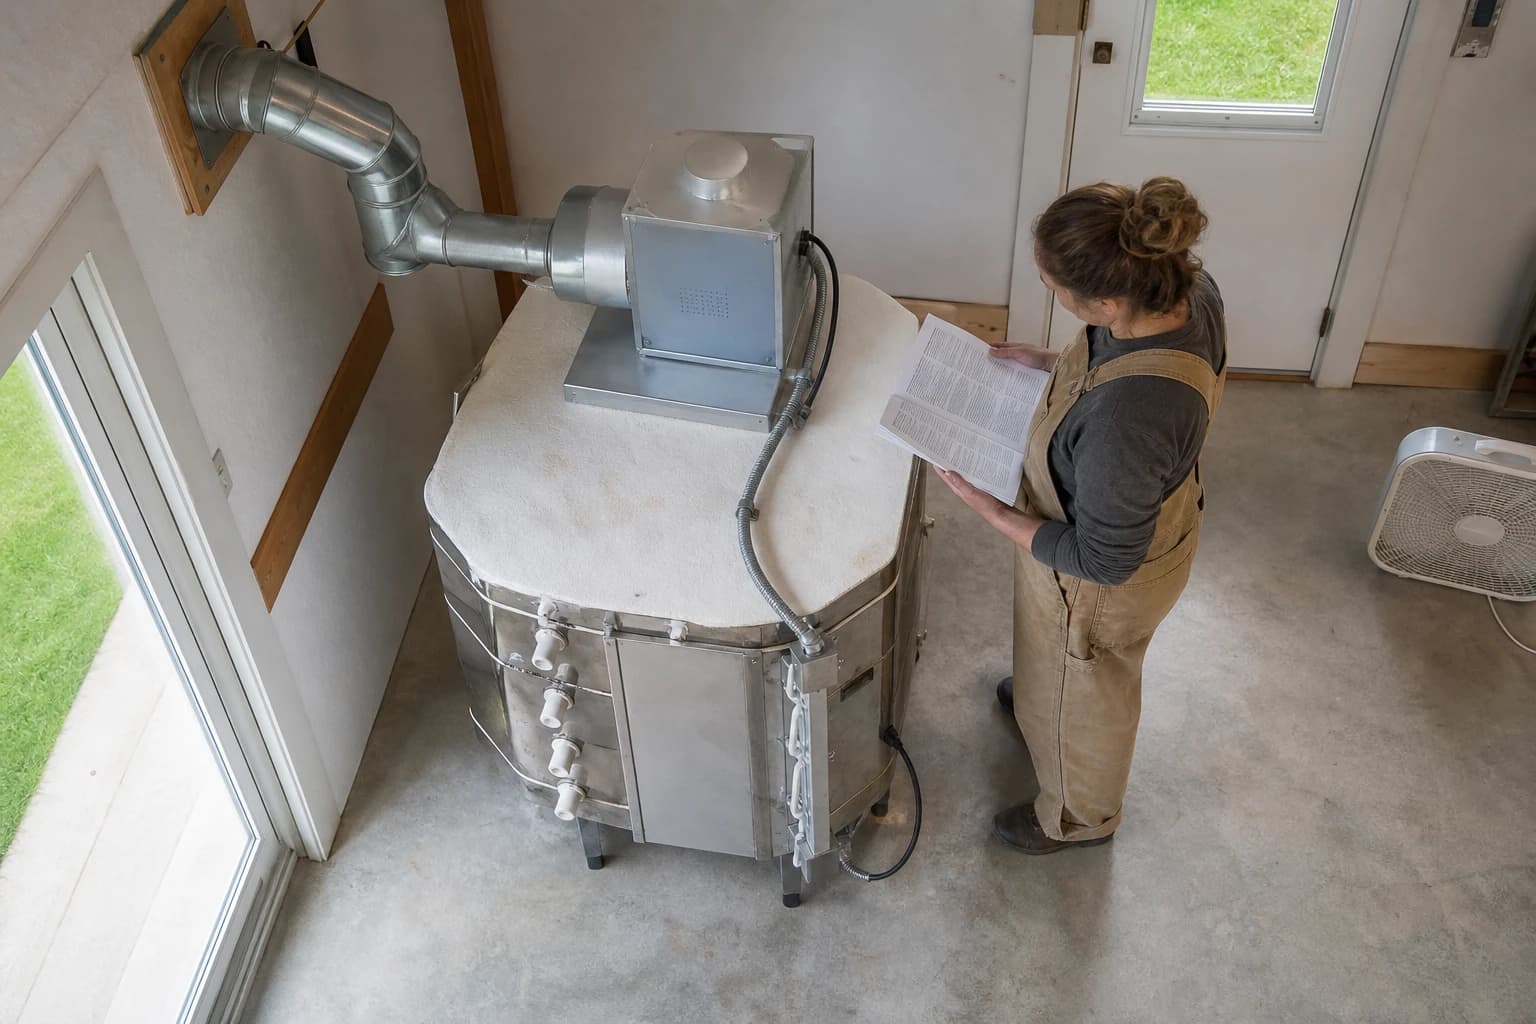
A hood captures rising heat and emissions above the kiln. It can suit a room where a vertical or overhead route is practical, but the hood must be positioned so it captures the kiln area without interfering with access, shelves, lighting, or maintenance.
A hood that is too far away, too small for the intended capture area, or poorly placed may not collect emissions effectively. Treat the hood, fan, ducting, and outdoor termination as one system rather than buying a fan first and trying to make the rest fit.
Room exhaust
A wall-mounted exhaust fan may help exchange room air, but it is not automatically a substitute for a kiln-specific vent. Use it only when the kiln manufacturer and local requirements support that approach. Consider where replacement air will enter, whether the exhaust will affect other appliances, and whether the discharge location could send fumes toward windows, doors, or neighboring spaces.
How do you plan airflow and placement?
Draw the room before purchasing equipment. Mark the kiln, doors, windows, work surfaces, storage, air intakes, and the proposed outdoor exhaust point. Then trace the shortest practical duct route without crossing areas where it could be damaged or become a trip hazard.
Plan replacement air as carefully as exhaust air. When air leaves a room, new air must enter through a deliberate path. Otherwise, the room may pull air from unwanted locations or make doors difficult to operate. Do not assume that a cracked window is an adequate solution; the room layout, weather, building construction, and ventilation equipment all affect the result.
Keep the kiln out of bedrooms, occupied living areas, and cramped storage spaces. A dedicated utility room, garage, or studio may be more workable if it provides the required clearances, a suitable exhaust route, and access for inspection. This home pottery studio setup guide can help you map equipment zones before committing to a location.
What should you confirm before installation?
Use this decision checklist:
- Read the kiln manual and identify its approved ventilation options.
- Confirm the proposed kiln location and manufacturer-specified clearances.
- Choose an outdoor exhaust route that does not terminate near doors, windows, or frequently occupied areas.
- Check how replacement air will enter the room.
- Identify duct bends, penetrations, and surfaces that need protection or sealing.
- Confirm that the fan and duct materials suit the planned temperature and environment according to the manufacturer’s instructions.
- Ask the local authority or building professional which permits, rules, or inspections apply.
- Have electrical work handled by a qualified electrician when the installation involves new circuits, outlets, or changes to the building’s electrical system.
Do not drill, wire, or adapt the system based only on a product photograph or a generic online diagram. The equipment manual and local requirements must decide the installation details.
Test the workflow before firing
Before the first firing, walk through the room with the kiln off. Check that doors open fully, the exhaust route remains accessible, shelves do not obstruct the kiln, and no stored materials sit in the required clearance area.
Then operate the ventilation system according to the manual’s instructions and observe ordinary workflow details: whether the fan is easy to reach, whether its sound interferes with other work, whether the duct route vibrates, and whether the exhaust point affects nearby openings. Stop if you notice unusual heat, smoke, odor entering the room, unexpected vibration, or any condition that does not match the manual.
Keep a simple record of the kiln model, ventilation components, installation date, and any service contacts. If you change the kiln location, duct route, or room use later, reassess the whole setup rather than assuming the original arrangement still fits.
When should you ask for professional help?
Ask the kiln manufacturer about compatibility before buying a vent. Ask a qualified electrician about electrical changes, and consult the local authority or a building professional about permits, clearances, exhaust termination, and other site rules.
A ventilation system is not a safety guarantee by itself. Safe operation also depends on the kiln’s condition, correct firing materials, clearances, controls, maintenance, and following the manual every time.
Keep this nearby while you make, then let the next piece be your own.