TL;DR
To set up a home pottery studio, start by defining the space you have, your cleaning routine, and where the electric kiln will go. Then decide whether you also need a wheel. The most reliable order is to plan the wet work zone, the drying area, and storage first, check ventilation and electrical conditions, and choose equipment last, based on the size of your pieces and your firing rhythm.
How do you set up a home pottery studio, and where should it go?
Prioritize a room that's separate from bedrooms, the living room, and any areas where food is prepared. Also make sure the floors, walls, doors, and windows are easy to wipe down. A basement, garage, spare room, or detached workshop can be easier to organize, but what's actually available will depend on local building, electrical, and fire codes, plus any HOA or landlord rules.
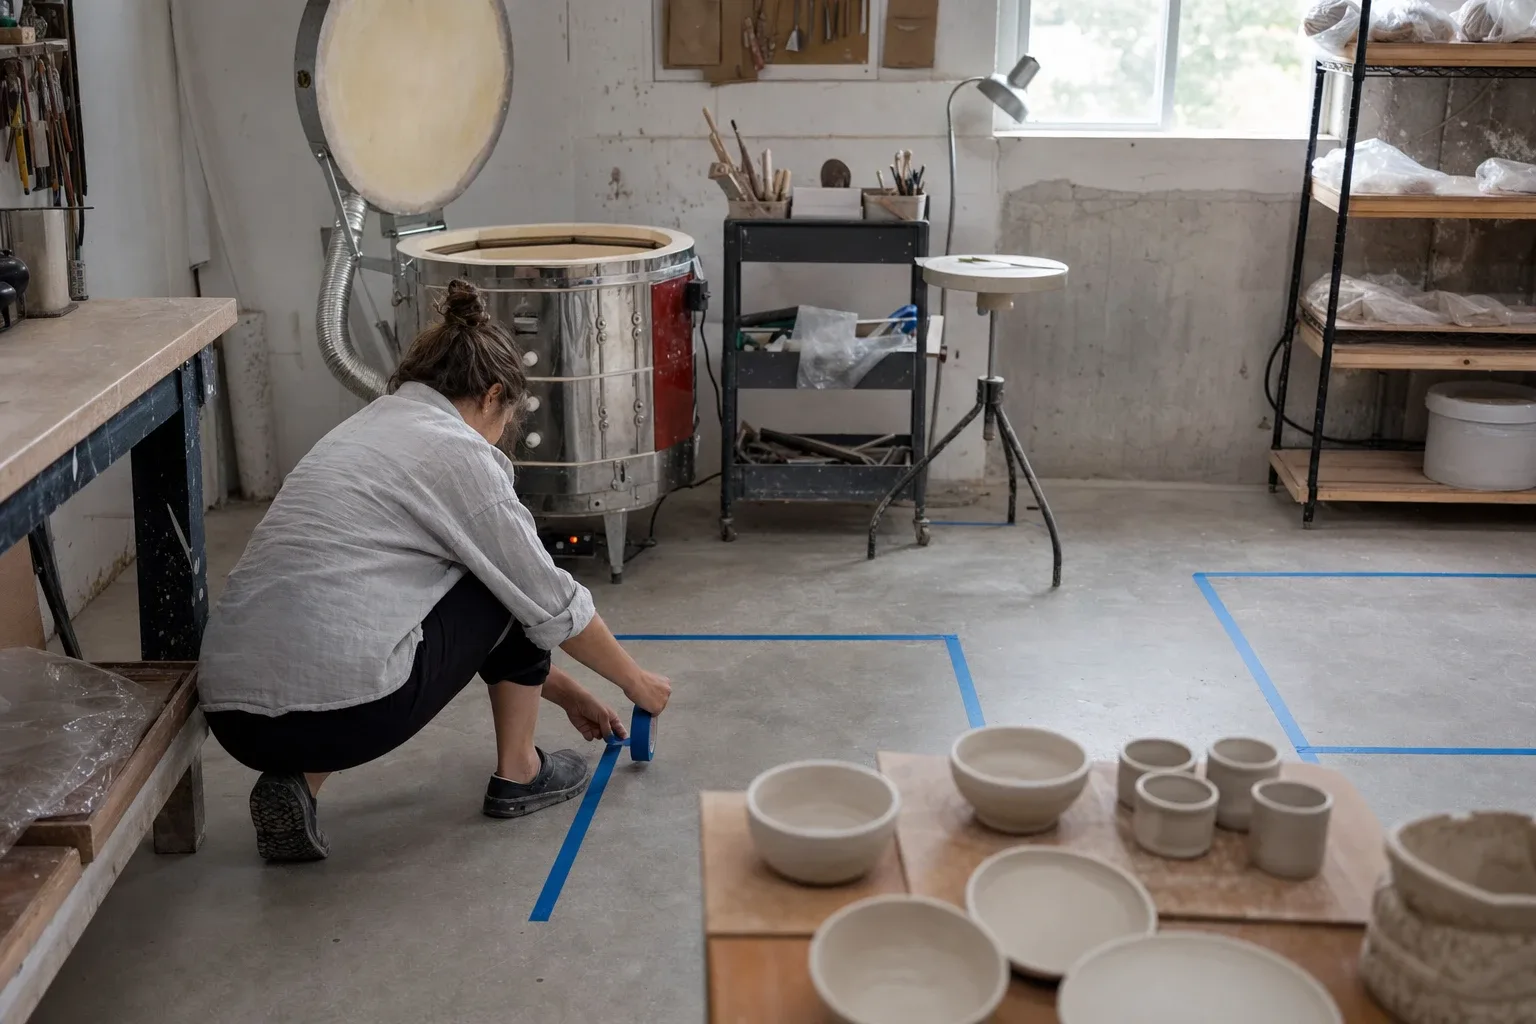
Don't fixate on square footage alone. Use painter's tape to mark out the wheel, work table, clay shelf, and cleanup area on the floor. Then walk through the whole process: grabbing clay, throwing, moving wet pieces, wiping down the table, letting pieces dry, and putting tools away. If you're constantly dodging equipment or there's no stable spot to set wet pieces down, the layout still needs work.
How should you divide up a home pottery studio?
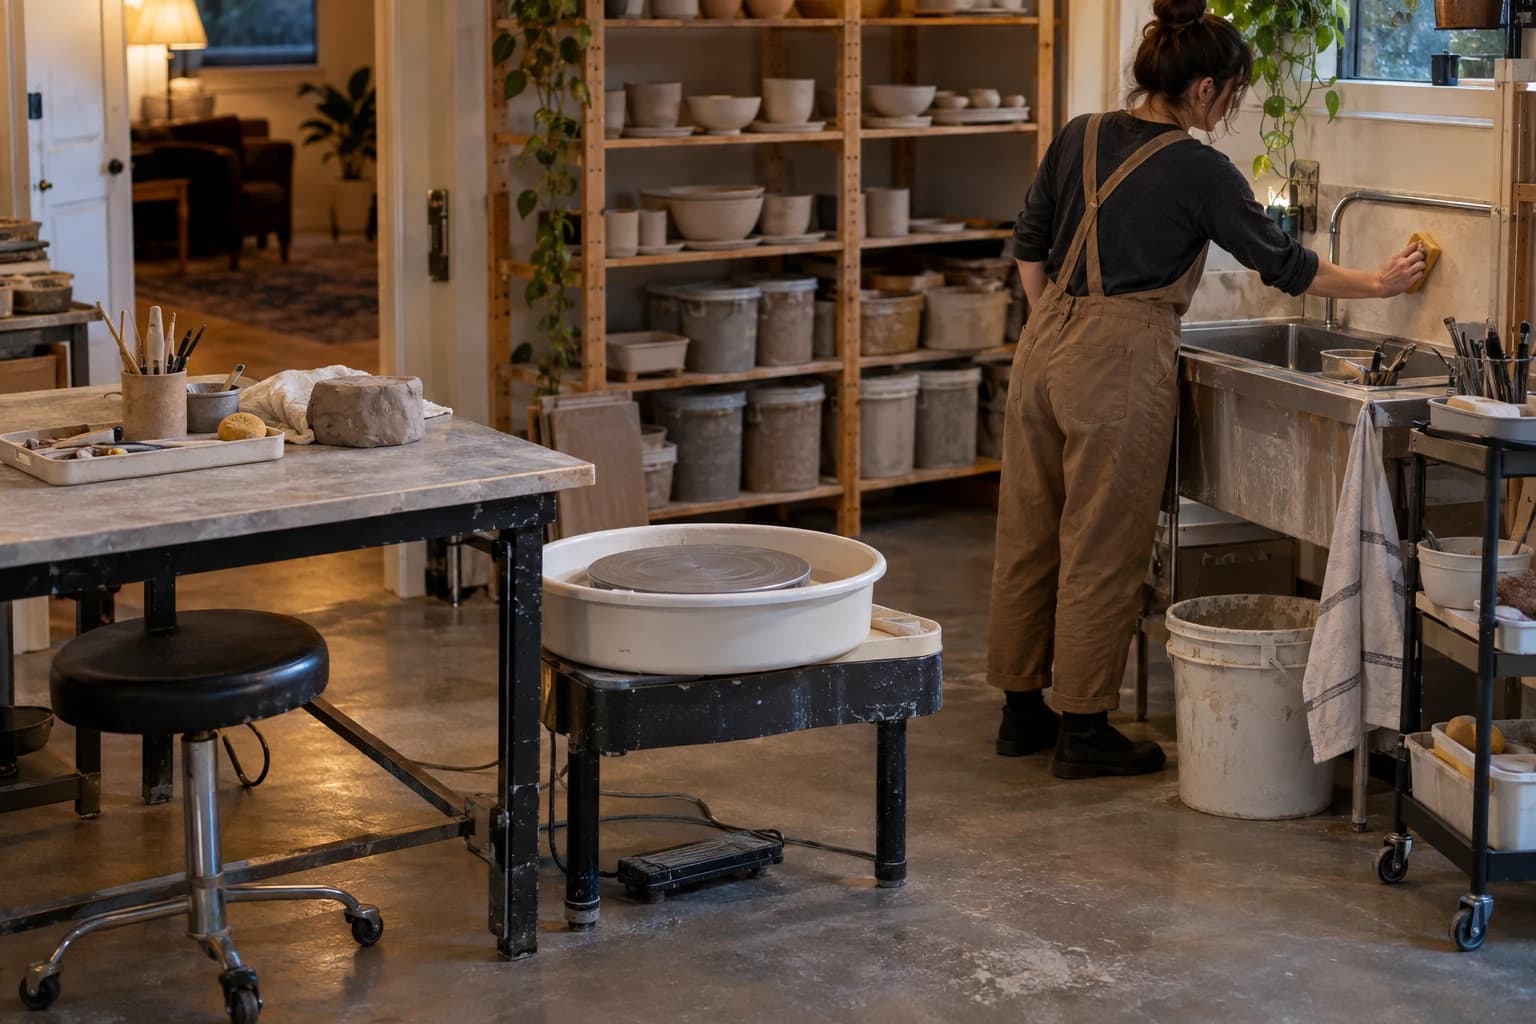
Organize the space around your workflow in four zones, instead of piling everything against the walls:
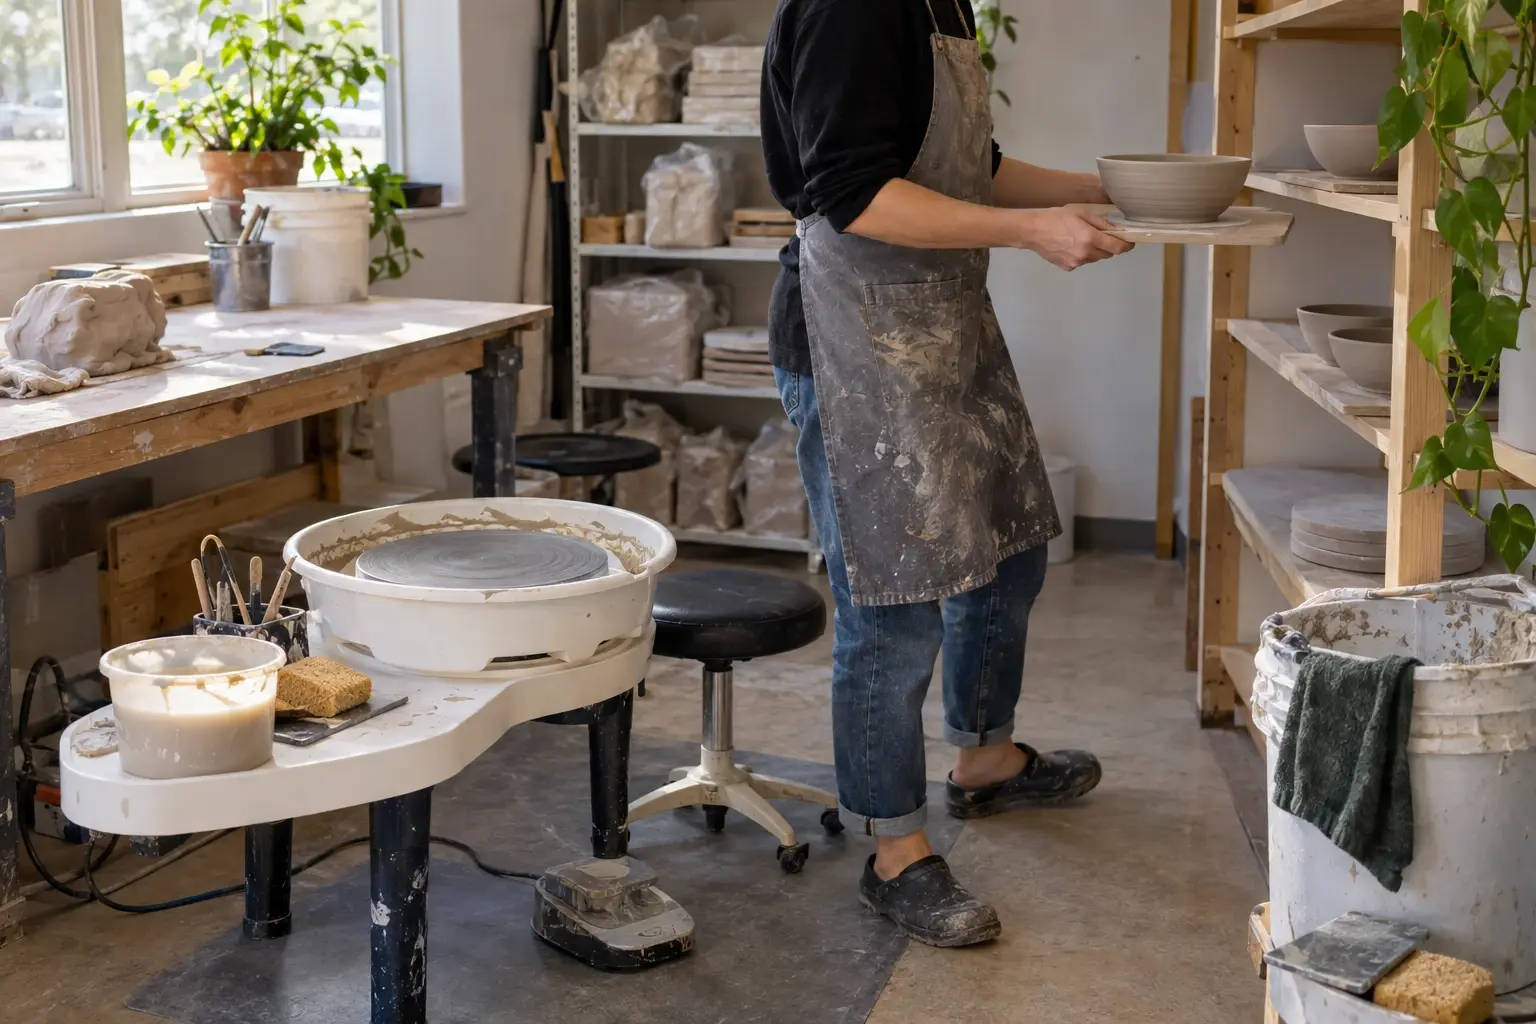
- Wet work zone: keep the wheel, wedging board, shaping tools, and a washable work table together so you can manage slurry in one spot.
- Drying and temporary storage zone: use shelves with enough support and give wet pieces a flat surface where they won't get bumped. Shelves shouldn't block doors, windows, or the paths to your equipment.
- Glaze and tools zone: sort your everyday tools by whether they're for shaping, trimming, or glazing. Small, separate containers are usually easier to manage than lots of big open ones.
- Cleanup zone: set up a system that lets slurry settle out, and avoid pouring large amounts of clay straight down the drain. How you actually handle cleanup water has to follow local regulations.
If you're short on space, start with a folding or rolling table and keep one work surface you can clear off completely. Rather than trying to fit the wheel, electric kiln, and tons of storage all at once, first make sure each piece can be used safely and comfortably in your real workflow.
What should you buy first: an electric kiln or a wheel?
If you don't have a steady throwing routine yet, spend a while working by hand, with slabs, or at an outside studio before deciding you need a wheel. A wheel requires a stable seated posture, a clear cleanup path, and a setup that keeps slurry from spreading everywhere. Its size, noise level, pedal position, and ease of maintenance should all be chosen with the room in mind. You can check out this beginner's guide to choosing an electric pottery wheel.
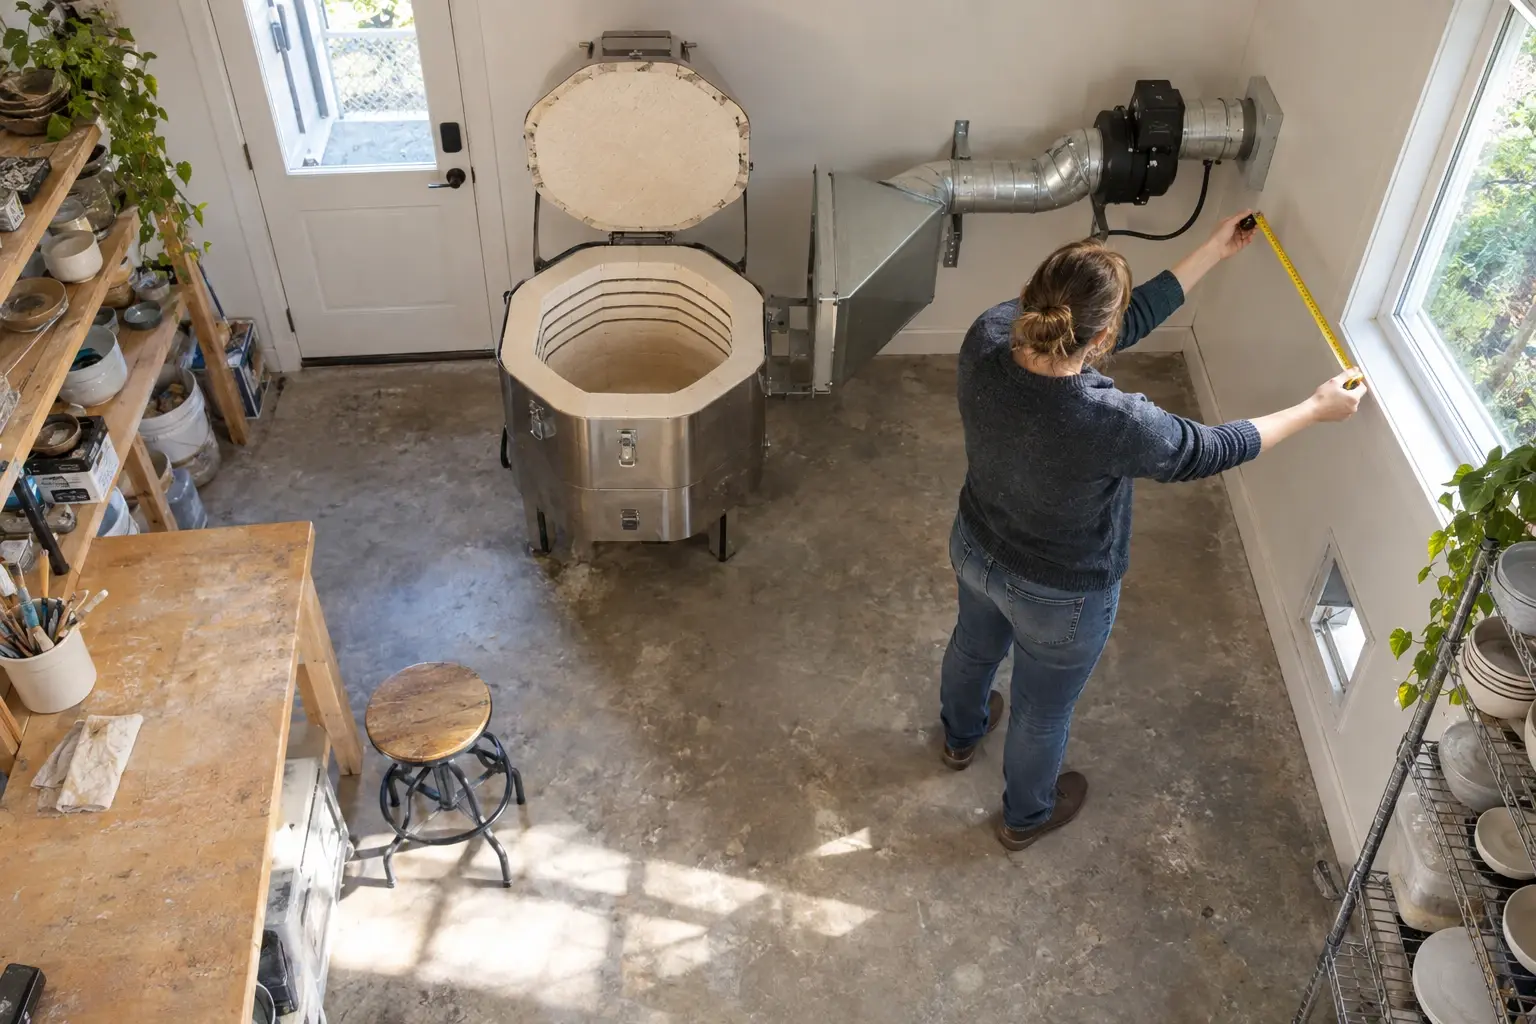
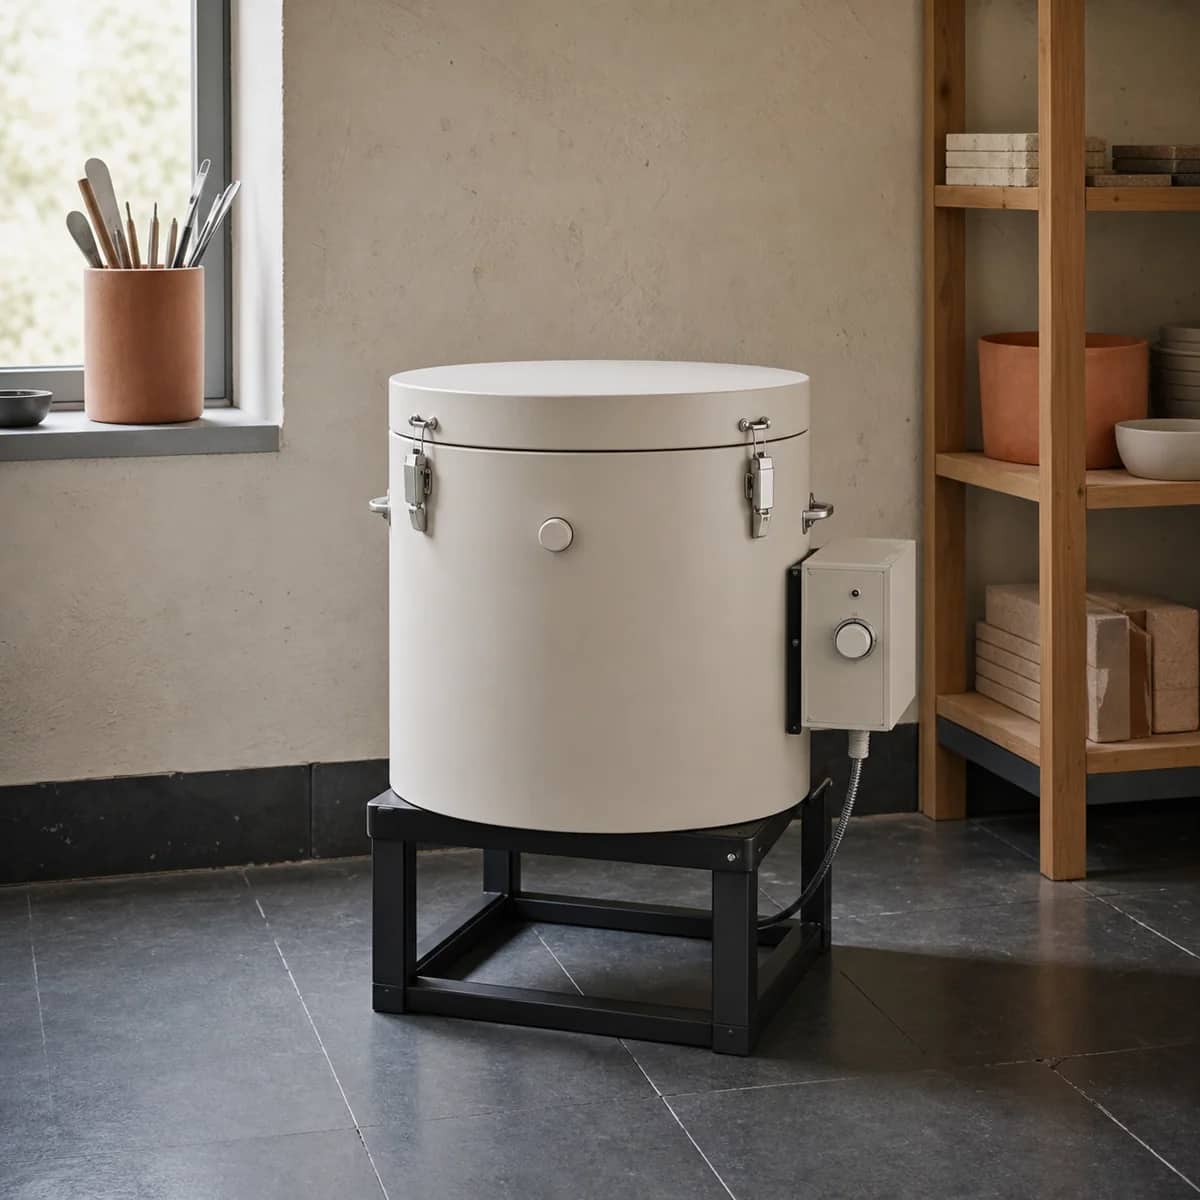
If you already need to fire pieces regularly, the electric kiln is usually the hardest thing to rearrange later, since it involves placement, heat clearance space, your electrical supply, and local codes. Before buying, read the installation and operating manual for the model you're considering and confirm that the room, wiring, and ventilation meet the requirements. All electrical work should be decided with a licensed electrician and in line with local codes, don't make modifications or connections yourself. For details on capacity, control systems, and pre-installation checks, see this guide to choosing a home or small studio electric kiln.
Here's a practical order for deciding:
1. Write down the maximum size of the pieces you typically make and how many go into each load. 2. Track how much transporting, cleaning, and waiting time you're willing to take on. 3. Determine whether your main bottleneck is work space or firing logistics. 4. Buy only the equipment that solves your current bottleneck, and reserve room for future upgrades.
How do you handle ventilation and dust in a home pottery studio?
Ventilation is no substitute for good cleaning habits, and cracking a window isn't proof that you have enough airflow. Minimize dust-generating tasks like sanding, sweeping dry clay, or pouring powdered raw materials, and prioritize damp cloths, wet mopping, and slow movements. Don't kick dry dust into the air only to clean it up afterward with conventional methods.
Clay, powdered glazes, and freshly removed residue should be stored in labeled containers, never mixed with food, dishes, or household products. Whenever possible, keep your work clothes and tools in the studio area and clean them before leaving the room. If you can't separate the space from your daily living areas, or you can't reasonably sort out ventilation, doors, windows, and a cleanup path, an outside studio may make more sense than forcing a setup at home.
The ventilation, clearances, placement, and operating conditions for the electric kiln must follow the equipment manual and local codes. Don't put it anywhere you can't supervise continuously, maintain per the instructions, or that interferes with the walkways of your home.
How do you store tools, clay, and finished pieces without losing track of everything?
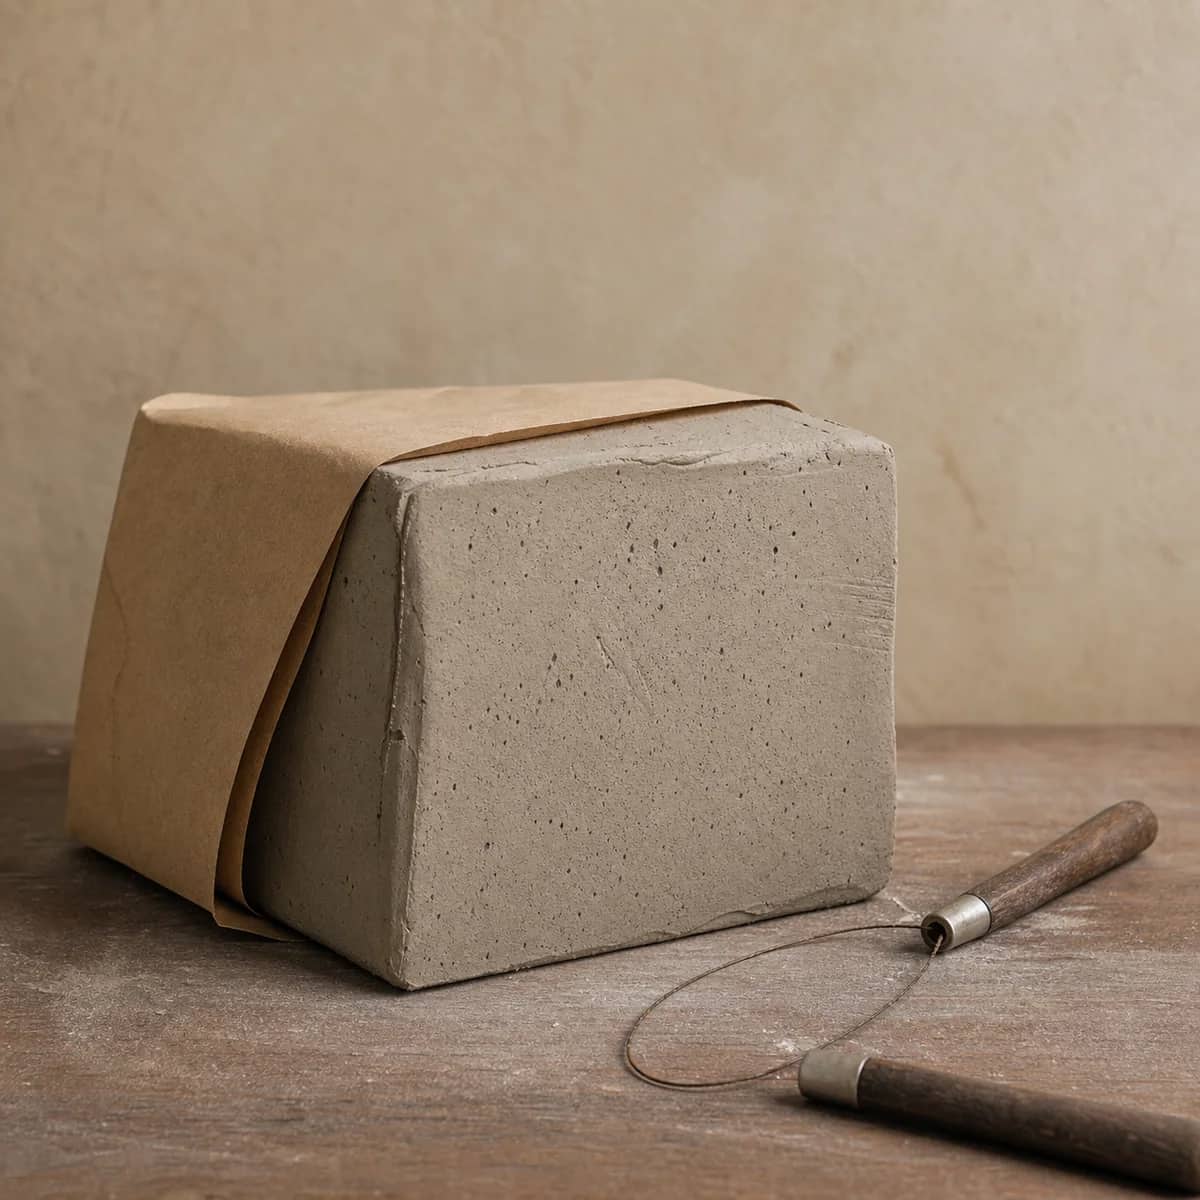
Organize by how often you use things first, not by when you bought them. Keep daily-use tools, ribs, sponges, cutting wire, and trimming tools, right next to the wheel or work table. Put molds, backup tools, and occasionally used packing materials on the higher shelves. Label every clay container with the material name, its state, and the date you opened it so different clays don't get mixed up.
Shelves for wet pieces need to hold the weight and leave enough clearance to grab things. Keep pieces adequately spaced, and when moving them, support the base and sides at the same time. Store glaze test tiles, pieces waiting to be trimmed, and pieces waiting to be fired on separate trays. Use simple labels to note the piece, the clay, and its stage. That makes it much easier to spot problems in your process than relying on memory.
You can build a tool and supply list broken down into "shaping, trimming, decorating, glazing, and cleanup." At the start, keep only the basic tools you need to finish your current pieces. Add specialized equipment when you notice a particular stage keeps holding you back.
Check your setup with a checklist
Once you've done your first layout, walk through the process in this order:
- Can you get clay from storage without crossing through your living areas?
- When you're at the wheel, are water, a sponge, and cleanup tools within reach?
- Can you move wet pieces to the shelf without bumping them?
- During cleanup, does the slurry follow its own handling path?
- Do tools, clay, and glazes each have a fixed spot and a label?
- Have you confirmed the kiln location based on the manual, local electrical requirements, and a licensed electrician's input?
- Are the equipment doors, windows, walkways, and maintenance points still usable?
Physically walk through this checklist and run through the "make, dry, clean, put away" cycle several times. Change only one layout decision at a time, shifting a shelf or rotating the work table, and see which option cuts down on extra steps and makes cleaning easier. If you need to buy equipment, you can first put together a shortlist from the Claylune studio equipment and materials catalog and then go back and check each option against the conditions of your room.
FAQ: common questions about setting up a home pottery studio
Can I start if I don't have a dedicated room?
Yes, you can start with a work area you can pack away, but you need to plan the wet work, clay storage, and cleanup system first. Equipment that needs a specific location and conditions, like an electric kiln, shouldn't be placed temporarily just because space is tight.
Can I put an electric kiln in an ordinary room?
You can't decide based on the room's name alone. You need to check the location, ventilation, clearance around the unit, electrical supply, and local codes. The final word should come from the equipment manual, a licensed electrician, and local requirements.
What should I buy first for a home studio?
Start with basic tools and an easy-to-clean work table that improve your current process. Decide whether you need a wheel or an electric kiln after you've confirmed the type of pieces you make, your layout, your cleanup path, and your installation conditions.
Keep this nearby while you make, then let the next piece be your own.