
TL;DR
An electric mini kiln works for test tiles, jewelry components, and small decorative pieces, but most throwing work quickly outgrows the chamber. Check the interior dimensions against your tallest and widest forms, confirm your household circuit can supply the required amperage, and plan ventilation before buying.
What a mini kiln can and cannot fire
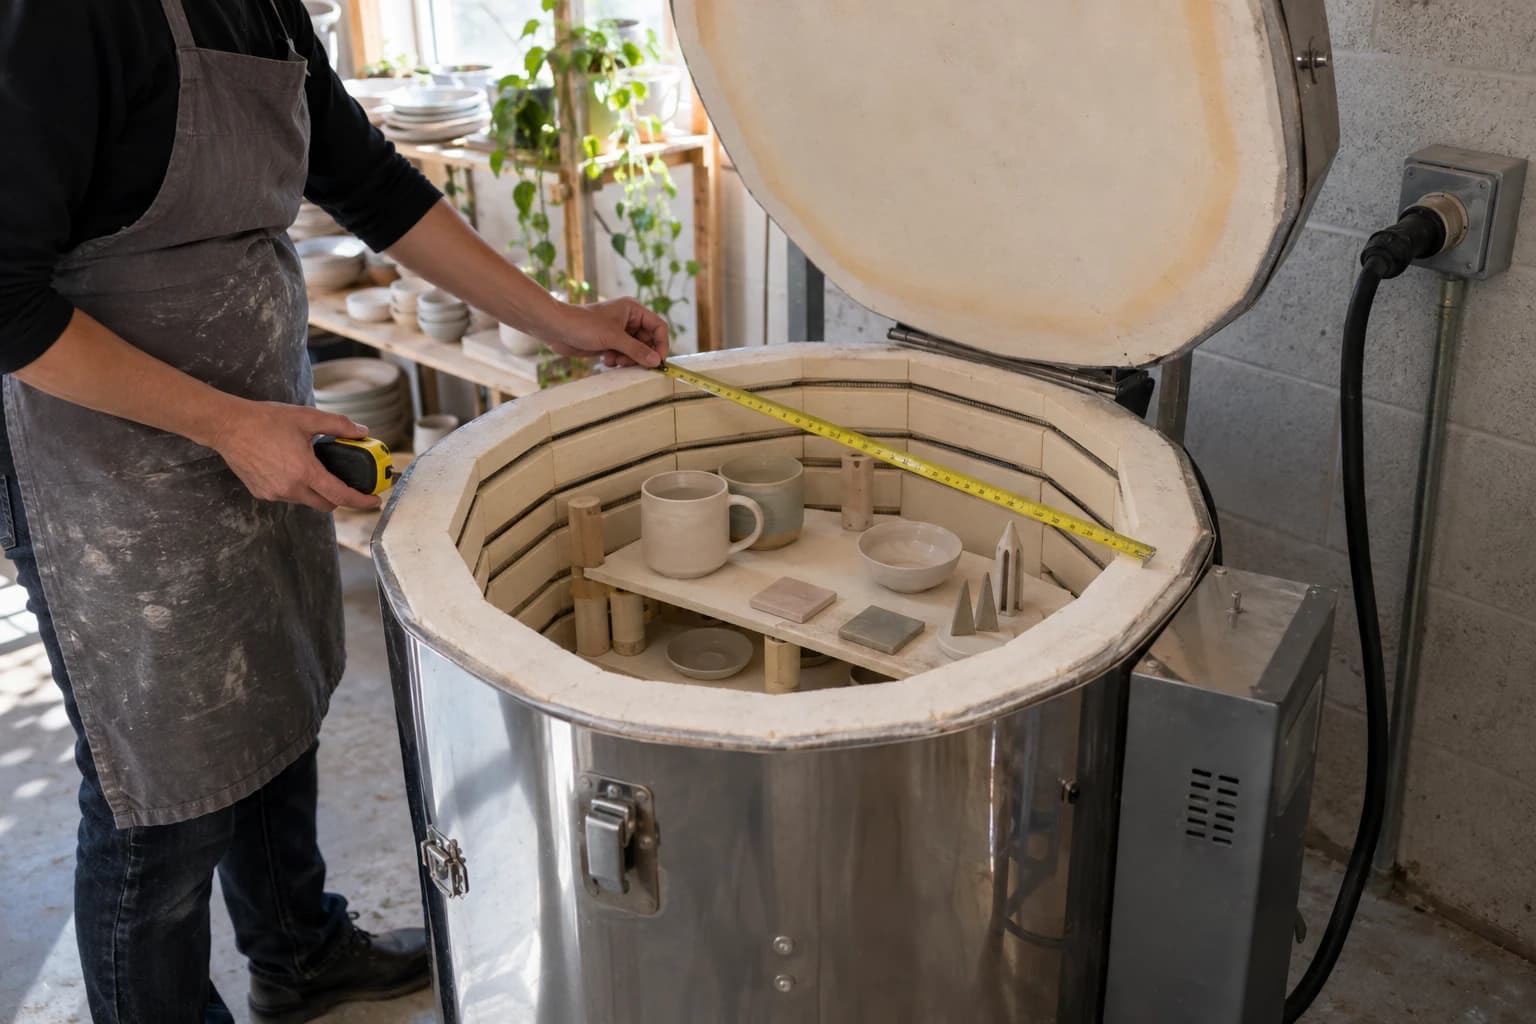
Most electric mini kilns offer 0.3 to 1.5 cubic feet of usable chamber space. A 10-inch diameter bowl or a 12-inch tall vase will not fit. Small pinch pots, test tiles, pendants, buttons, and miniature sculptural work are realistic projects. If you throw cylinders or bowls on a wheel, measure the forms you make most often and compare those dimensions to the kiln's interior before deciding.
Mini kilns typically reach cone 6 or cone 10, so they can bisque and glaze fire stoneware and porcelain. Some models stop at cone 04, limiting you to low-fire clay and glazes. Check the maximum cone rating in the manual.
Electrical supply and circuit capacity
A compact kiln still draws significant current. Many plug into a standard 120V household outlet and pull 12 to 15 amps at full power. Verify that the circuit is dedicated and not shared with other appliances. If the kiln requires 240V, you will need a qualified electrician to install the appropriate receptacle and breaker. Never adapt a plug or use an extension cord.
Refer to your kiln's manual for exact voltage, amperage, and breaker requirements, and consult your local electrical code before installation. For broader electrical planning, see how to choose a pottery electric kiln for a home or small studio.
Ventilation and placement
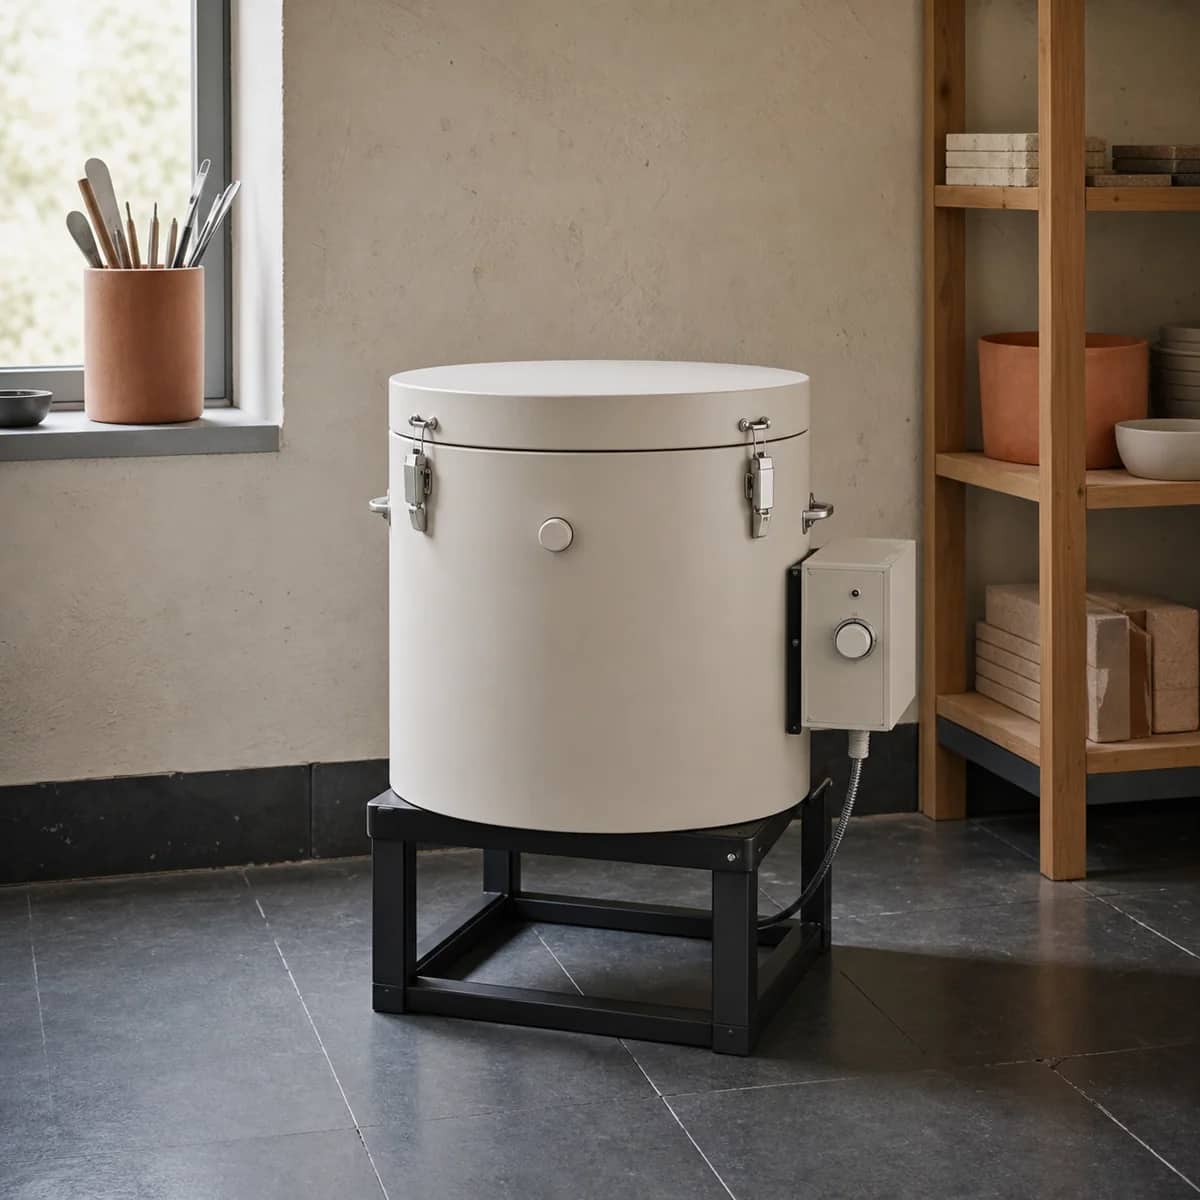
Even a small kiln releases moisture, organic binder fumes, and combustion byproducts during firing. Place the kiln on a noncombustible surface at least 12 inches from walls and flammable materials. Consult the manual for exact clearance requirements.
Fire in a room with a window or external door you can open, or install a small exhaust fan. A downdraft vent system is not required for occasional hobby firing, but consistent indoor use benefits from mechanical ventilation. For detailed ventilation approaches, see electric kiln ventilation for a home studio.
Programming and firing limitations
Mini kilns with manual controls require you to monitor the kiln and adjust power settings by hand. Models with digital controllers let you program ramp rates, target temperatures, and holds. A programmable controller makes bisque and glaze schedules more repeatable.
Smaller chambers heat and cool faster than large kilns, which can stress thick or uneven work. Use conservative ramp rates, especially below 200°F during water-smoke and above 1600°F during quartz inversion. Record your schedules and witness cone results so you can adjust one variable at a time. For building a firing program, see how to set a kiln firing schedule.
Shelf configuration and loading
Most mini kilns include one or two small kiln shelves and a few posts. Stacking shelves vertically limits the height of each piece but increases total capacity. Load conservatively: leave at least half an inch between pieces and between any piece and the elements or walls. Glaze drips or accidental contact with elements will damage the kiln.
Use kiln wash on every shelf to protect it from glaze runs. Avoid overloading: a crowded kiln fires unevenly and risks thermal shock.
When to choose a larger kiln instead
If you regularly throw mugs, bowls, or plates on a pottery wheel, a mini kiln will become a constraint. A small electric kiln for pottery with 3 to 7 cubic feet of chamber space accommodates functional ware and still fits most home studios. Consider your making pace: firing one or two small pieces at a time is inefficient and expensive per piece when electricity and element wear are factored in.
Keep this nearby while you make, then let the next piece be your own.