TL;DR
A pottery trimming centering tool helps locate and steady a pot on the wheel when the piece is uneven, narrow, or difficult to center by hand. Choose one that matches your wheelhead, the forms you trim, and the amount of adjustment you need, then set it while the wheel is stopped and confirm that it does not interfere with the trimming path.
What is a pottery trimming centering tool?
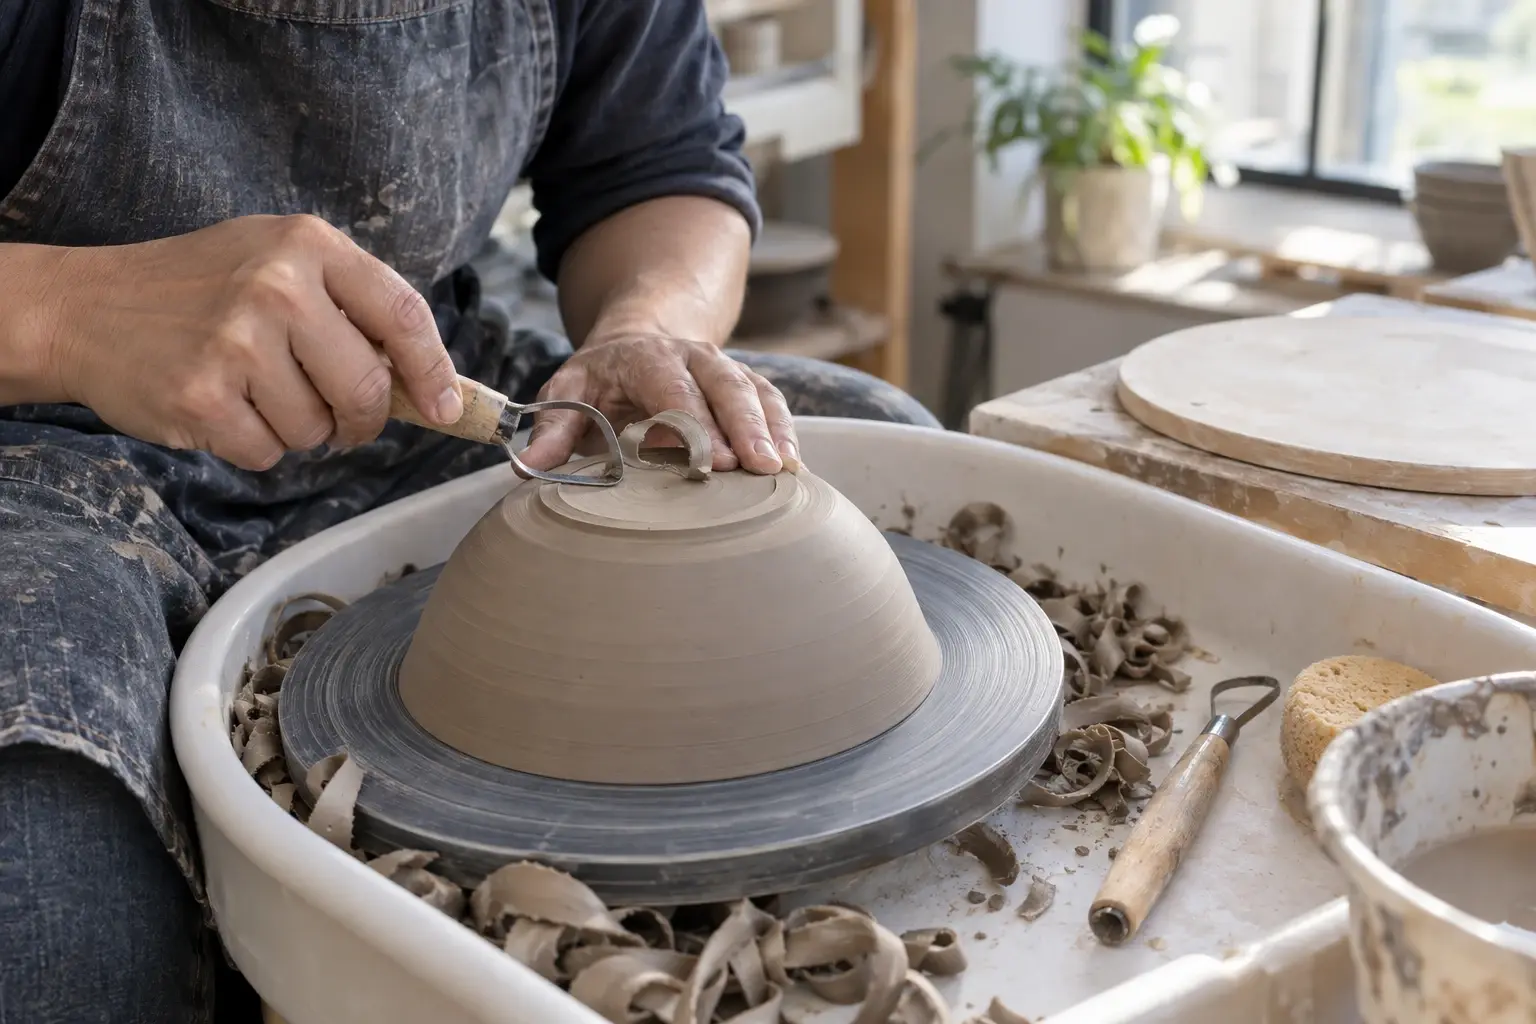
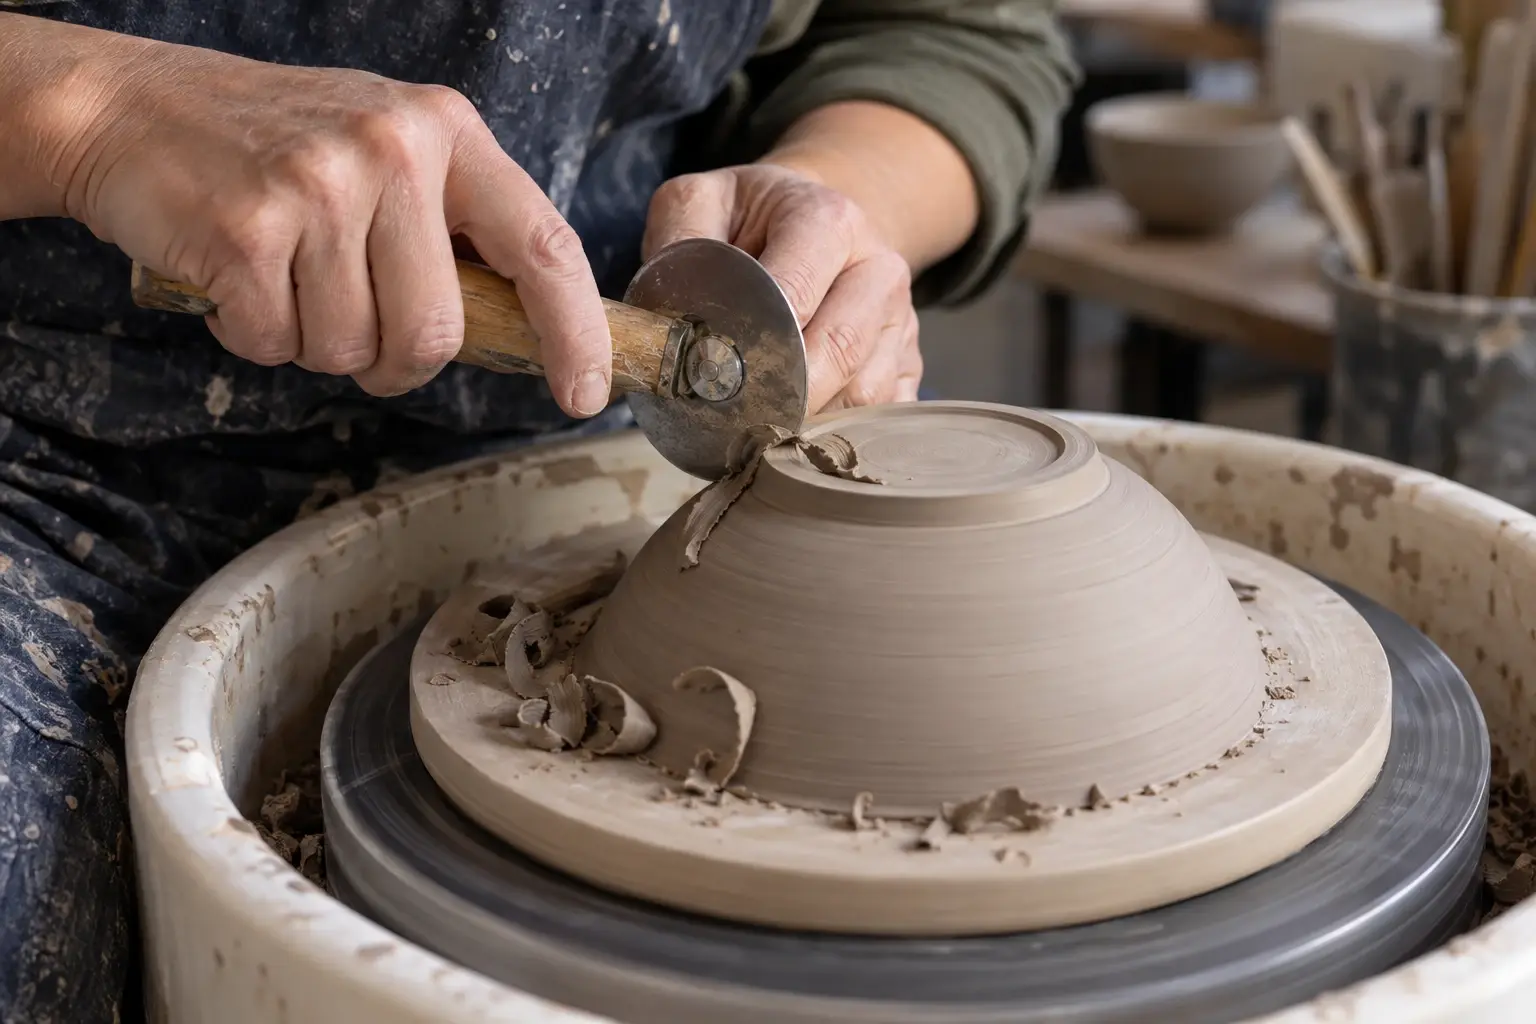
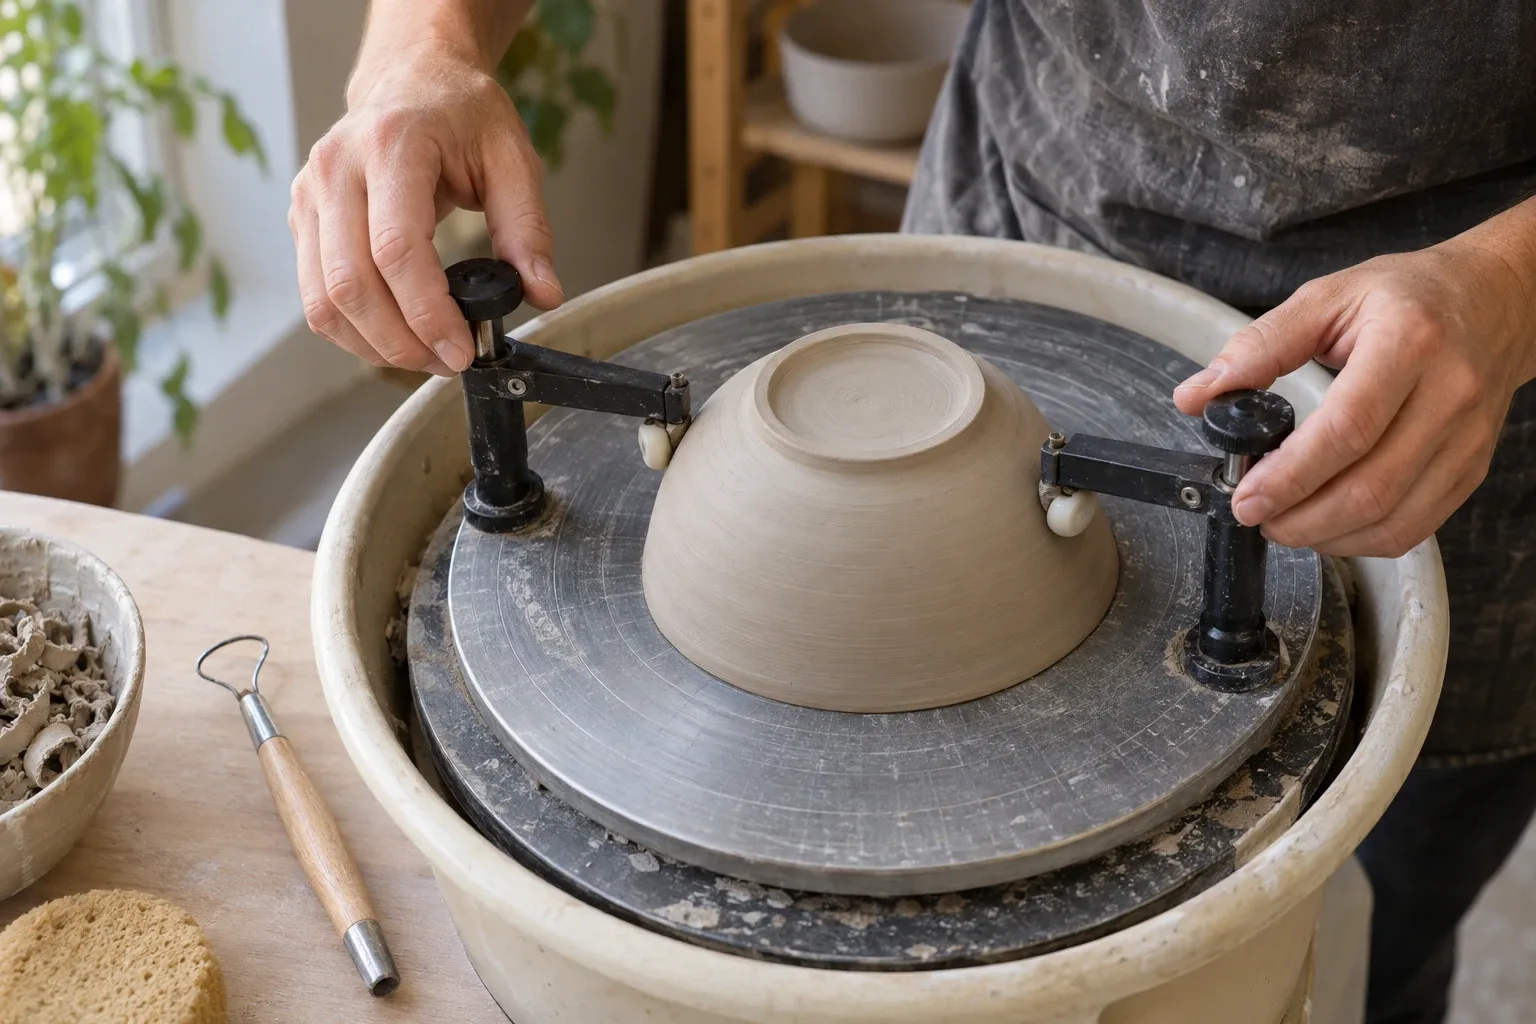
A pottery trimming centering tool is an accessory used to position a ceramic piece more consistently for trimming. Depending on the design, it may use adjustable guides, supports, pins, or a circular reference surface to help align the pot around the wheel’s center.
It does not replace a pottery trimming chuck. A chuck supports a form, often from the inside or around a profile, when the foot is difficult to reach. A centering tool is mainly a positioning and stabilization aid. Some tools can provide both functions, so check the maker’s instructions rather than assuming they work the same way.
The tool sits alongside your wheel, bat, trimming needle, loop tools, and other accessories. It should help you establish a repeatable position without becoming an obstruction during cutting.
When does it help with trimming?
A centering tool is most useful when the pot is sound but awkward to position. Common examples include:
- A bowl that has dried slightly unevenly and no longer sits neatly on the bat
- A tall or narrow form that shifts when you begin trimming
- A leather-hard piece with a foot that is not visually obvious from the outside
- A pot whose rim or walls are not perfectly symmetrical
- A form you need to remove and replace during several trimming passes
It cannot correct a pot that is badly warped, cracked, soft enough to deform, or too dry to trim cleanly. Before adding an accessory, check whether the real problem is clay readiness, an uneven bat, excess slip, or a foot ring that was marked off-center. The pottery trimming readiness guide can help you separate a positioning problem from a clay-condition problem.
How should you choose one?
Start with the forms you actually make rather than buying the most elaborate design. Compare these points:
| Check | Why it matters | |---|---| | Wheelhead and bat fit | The tool must sit securely without covering the area you need to trim. | | Adjustment range | A narrow range may suit cups but not broad bowls or tall vessels. | | Contact points | Supports should hold the form without concentrating pressure on a fragile rim or wall. | | Visibility | You need to see the foot and cutting path while the tool is in place. | | Height and clearance | The tool should not force your hand, tool shaft, or trimming loop into an awkward angle. | | Cleaning | Clay caught in joints or slots can affect the next setup, so simple surfaces are easier to maintain. |
If your work varies widely, prioritize adjustability and clearance. If you mostly trim similar cylinders or bowls, a simpler tool may be easier to set consistently. For a small studio, also consider where the accessory will live between sessions and whether it can be cleaned without spreading wet clay around your wheel.
How do you use it with a pottery wheel?
Use a repeatable setup instead of relying on visual alignment alone:
1. Remove loose clay, slip, and crumbs from the wheelhead, bat, and tool contact points. 2. Place the piece on the wheel and mark or identify the area that must remain accessible for trimming. 3. Stop the wheel before attaching or adjusting the centering tool. Follow the accessory instructions for its attachment method. 4. Position the guides or supports so they contact a sturdy part of the form without crushing the rim or pressing into a thin wall. 5. Turn the wheel by hand. Watch the foot, rim, and wall for obvious movement, and make small adjustments until the piece follows a consistent path. 6. Rotate the wheel by hand again with your trimming tool held nearby, but not cutting, to confirm that the tool and pot have enough clearance. 7. Begin at a low, controlled wheel speed. Take light cuts, pause to inspect the foot, and stop if the pot shifts or the support begins marking the clay.
Keep your fingers, sleeves, and tool handles clear of moving parts. Make adjustments only with the wheel stopped, and use the wheel manual for operating guidance. If the accessory requires a fixture or alteration to the wheel, ask the manufacturer or a qualified service professional before modifying equipment.
A simple test before buying or keeping one
Use three pieces that represent your normal work: a small cup, a bowl, and the most awkward form you regularly trim. For each piece, record whether the tool helps you:
- Reposition the pot without repeated trial and error
- Keep the foot accessible throughout the cut
- Avoid new marks or pressure points
- Change forms without a long re-setup
- See the trimming path clearly
If it improves positioning but blocks your hand or loop tool, it is not the right fit for that form. Compare the result with your usual method and change one variable at a time, such as support height or contact location. Pair the accessory with a focused set of pottery trimming tools, rather than treating the centering aid as a substitute for suitable cutting edges.
Keep this nearby while you make, then let the next piece be your own.