TL;DR
A pottery foot trimming tool should remove clay predictably without digging into the base or leaving a ragged ring. Start with one comfortable loop tool for broad removal and one smaller tool for refining the edge, then trim only when the clay feels firm enough to hold its shape.
What pottery foot trimming tool should you buy?
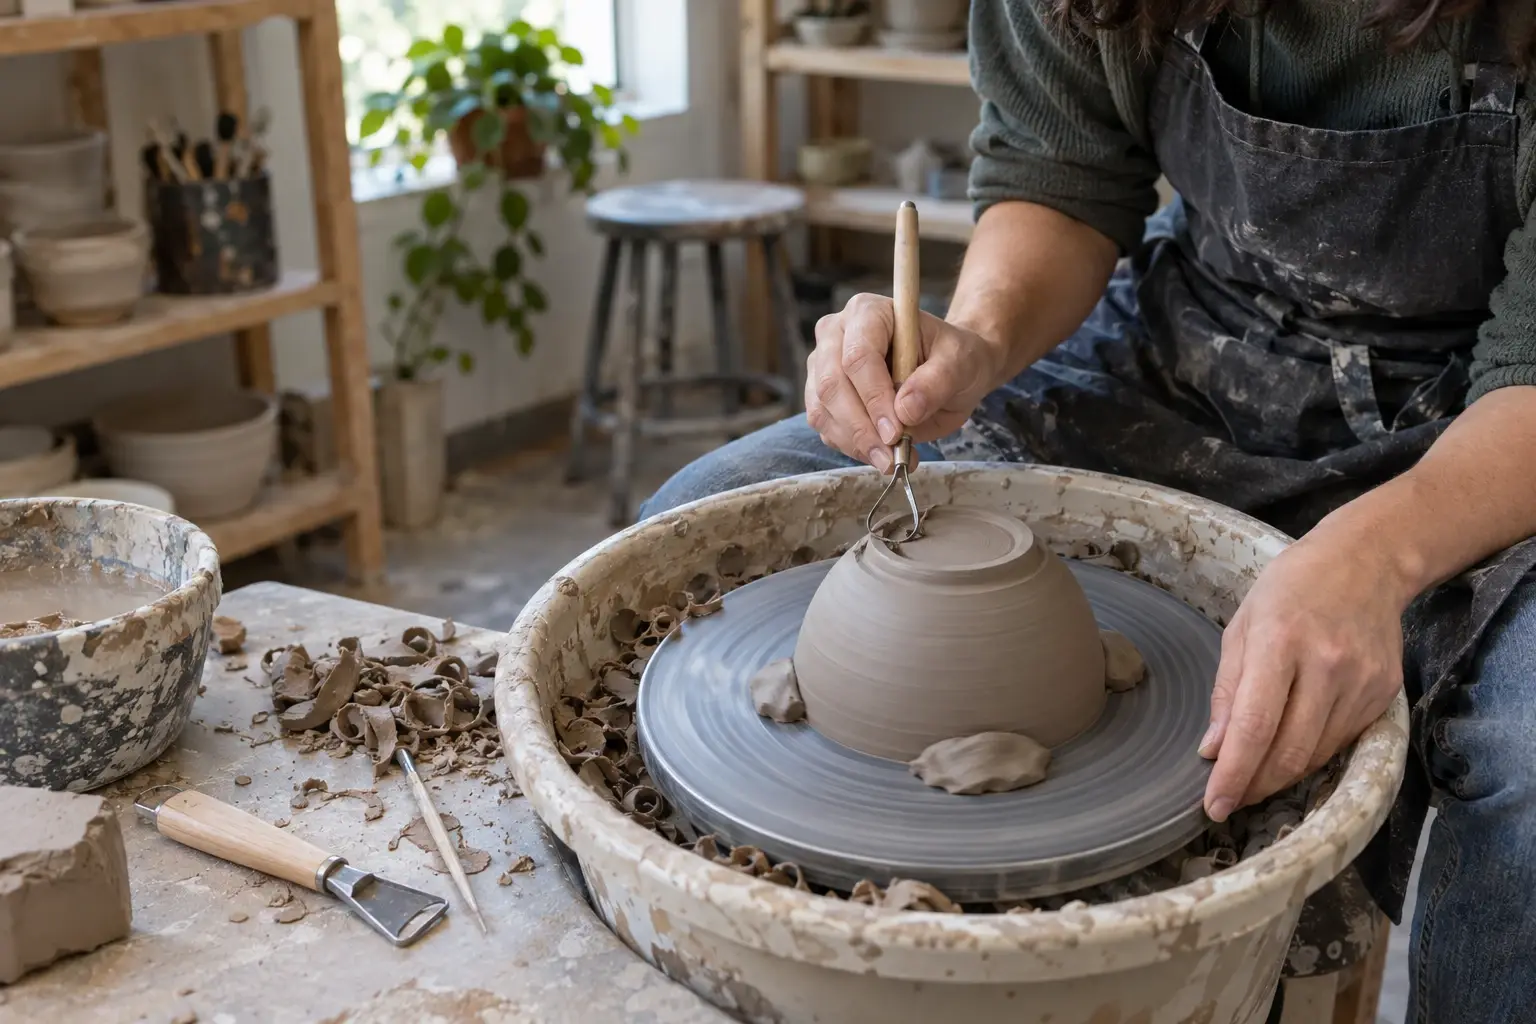
For most wheel-thrown bowls, mugs, and small plates, choose a trimming tool with a sturdy metal loop and a handle you can brace against your hand or the wheel tray. The best first tool is not necessarily the sharpest one. It is the one that gives you a controlled, shallow cut.
Use this quick match-up before buying:
- Wide, shallow loop: removes clay from broad bases and makes an initial recessed area.
- Narrow loop or pointed shape: defines the outside edge of a foot ring and reaches tighter curves.
- Flat-ended trimming tool: levels a small area or cleans the underside near the center.
- Rounded loop: follows soft bowl curves with less risk of making a hard groove.
If you are building a small kit, compare handle comfort, loop stiffness, and the shapes you actually need. This guide to pottery trimming tools can help you avoid buying several versions of the same tool.
When is clay ready for trimming a foot ring?
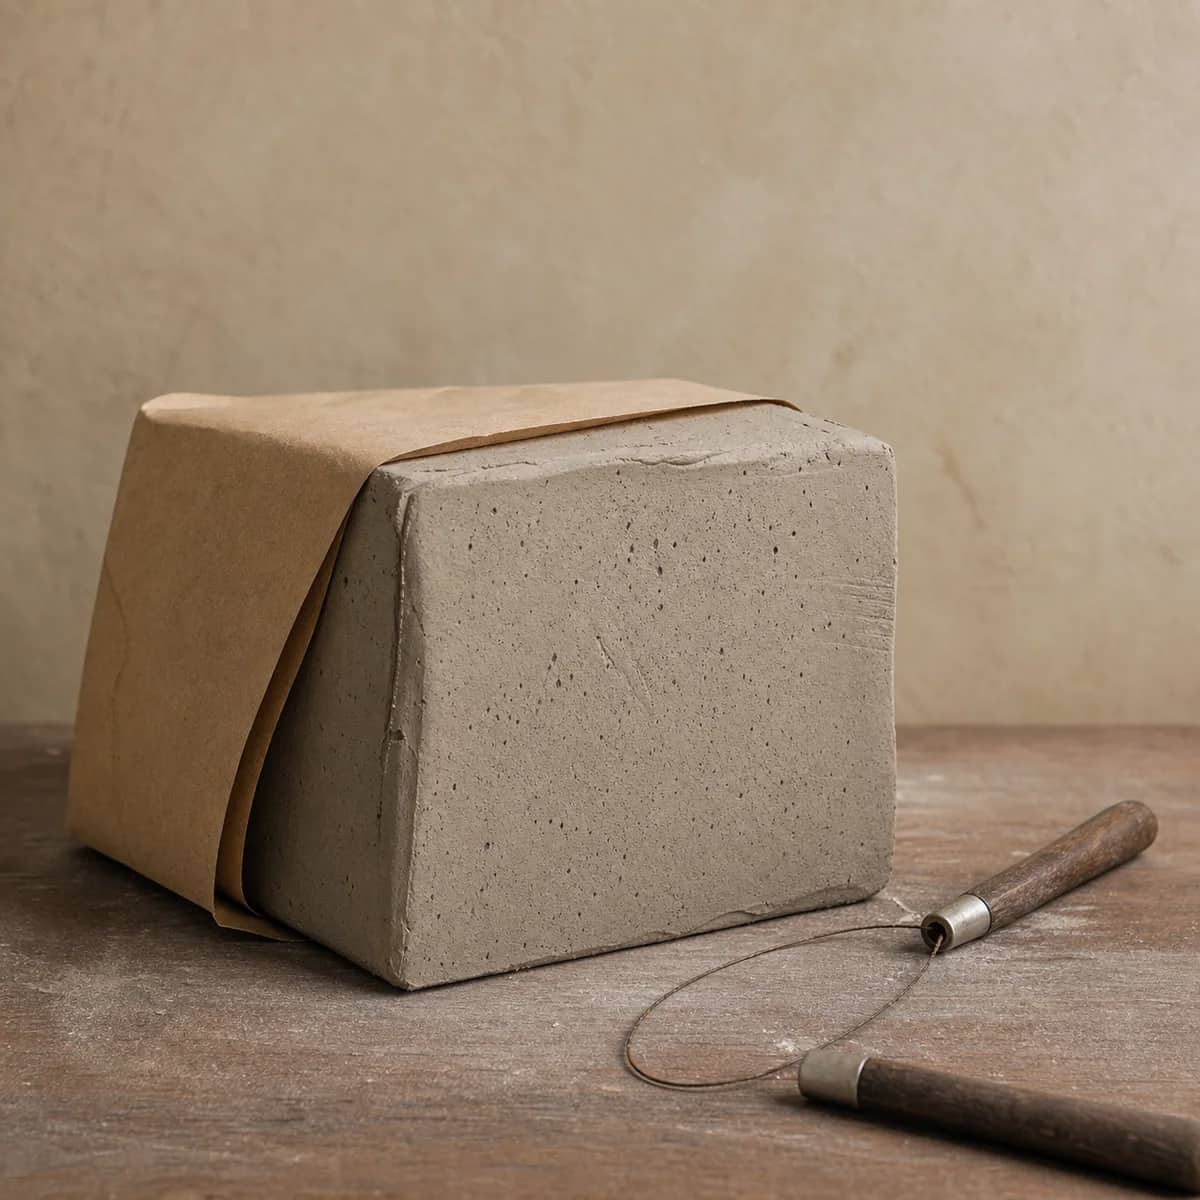
Trim at leather-hard, when the pot is firm enough to stay round when picked up but still cuts cleanly. If the tool smears clay or the wall flexes under light pressure, wait. If the tool skips across a dry, chalky surface, use a lighter cut and check whether the piece has become too firm for easy refinement.
Before placing the pot upside down, run a simple readiness test on the trimmed-away area or a matching test piece: make one short, shallow cut. A clean curl or crumbly shaving usually gives you more control than a sticky ribbon.
For a closer look at judging this stage, use the practical timing cues in Pottery Trimming: Know When Clay Is Ready.
Create the foot ring in three controlled passes
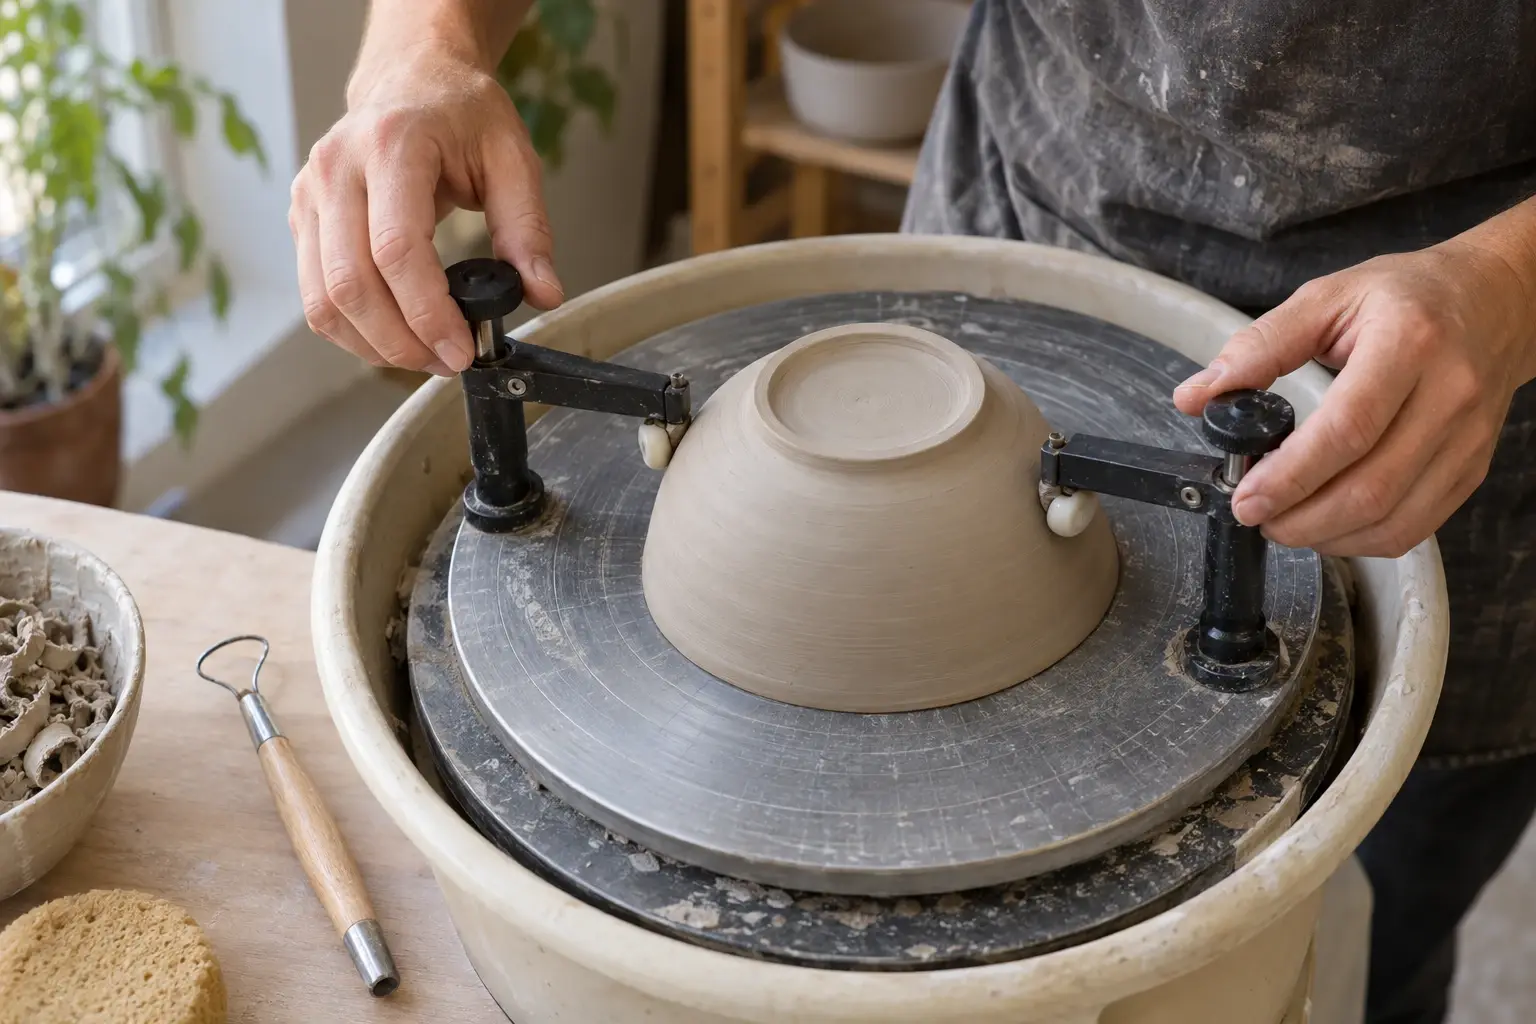
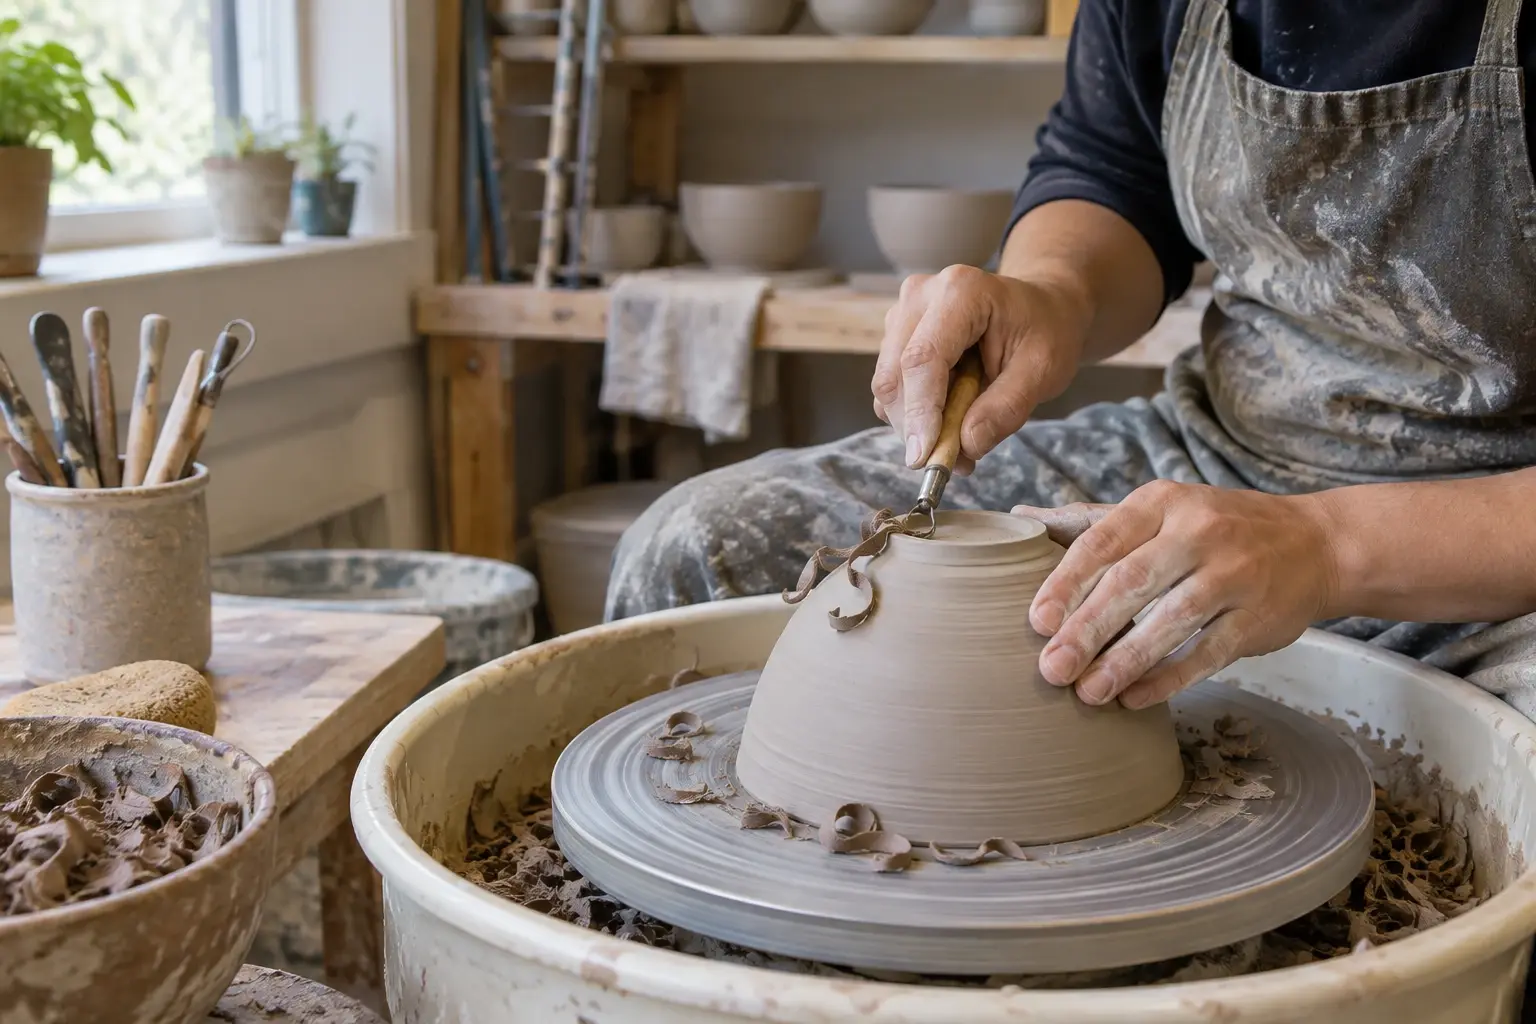
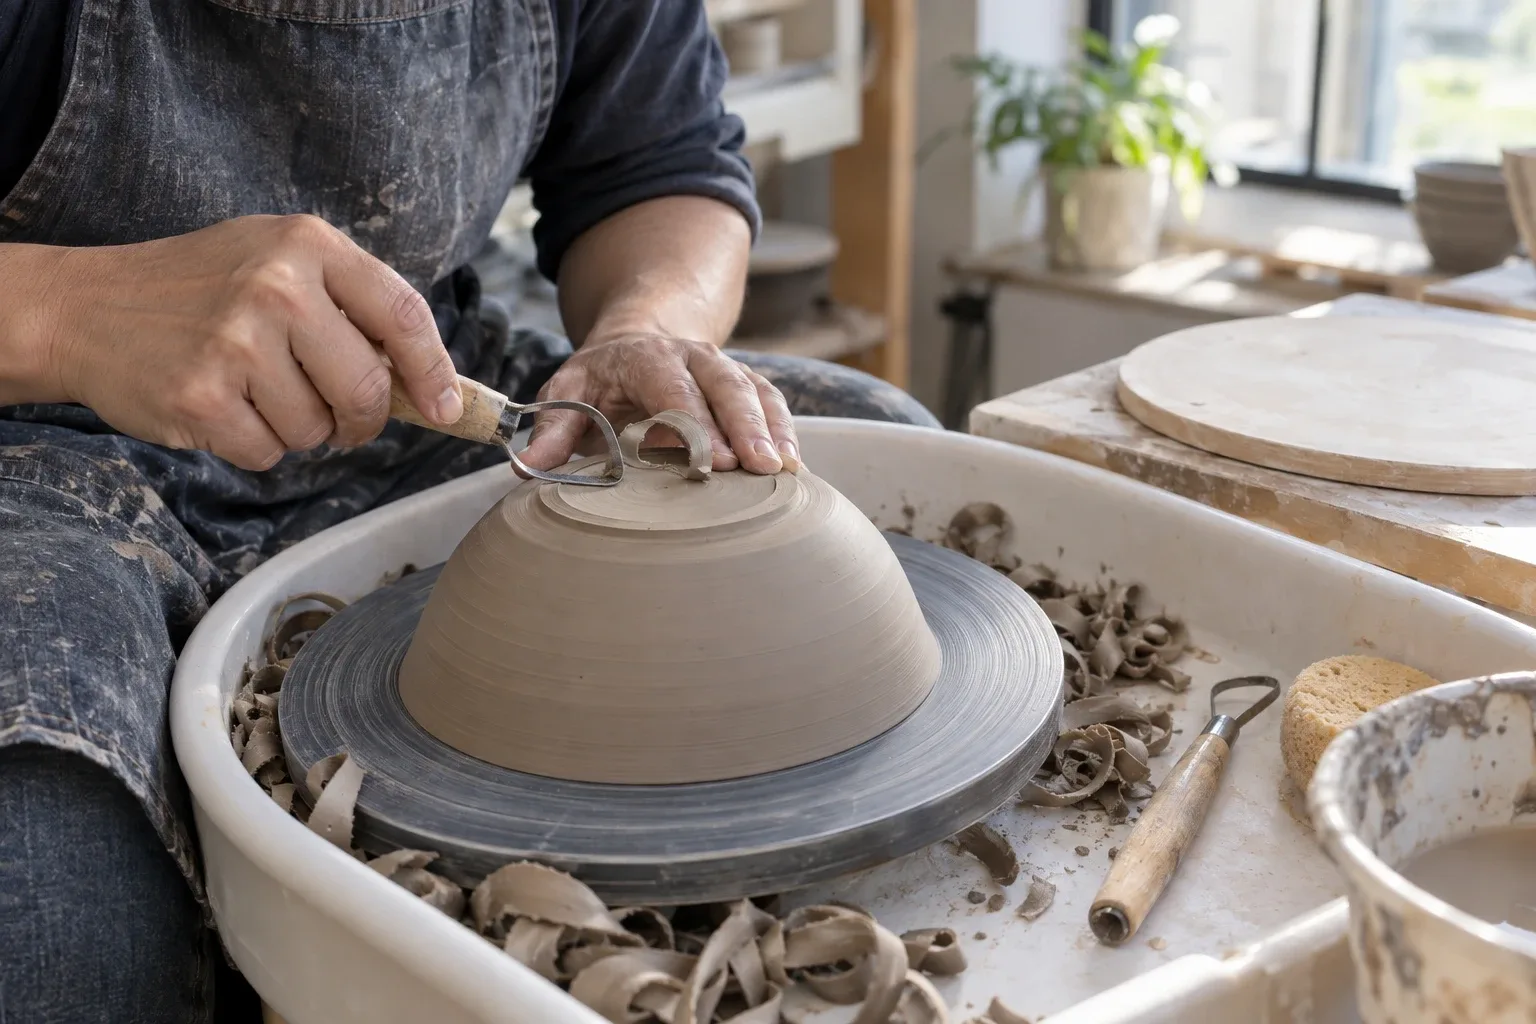
Center the upside-down pot securely, then use slow wheel speed and brace your trimming hand. Keep the tool handle stable while the loop meets the clay at a modest angle.
1. Map the base: Take light passes to find the thickest area and establish the outer boundary of the foot. 2. Remove the center: Work from the outer area toward the middle in shallow cuts. Stop regularly to feel the remaining thickness. 3. Refine the ring: Switch to a smaller tool only after the base is broadly shaped. Define a continuous ring with enough width to support the form evenly.
A trimming disc can be useful for broad, low forms when you want a consistent contact area. Compare its profile and handling with a loop tool in this pottery trimming disc guide.
Keep the foot stable, not merely decorative
A clean foot ring should support the pot evenly and suit the form above it. A wide serving bowl often benefits from a broader, lower ring than a narrow cup. Avoid cutting a deep channel simply because it looks finished. The remaining base still needs enough clay to feel secure relative to the walls.
After trimming, set the pot on a flat bat or board and gently check for rocking. If it rocks, identify the high point before removing more clay. Make one small correction, then check again.
Common foot trimming mistakes
- Starting too wet: the base distorts, smears, or pulls off-center.
- Taking deep cuts: the tool catches and leaves a sudden trench.
- Defining the foot too early: you lose the chance to judge the base thickness first.
- Using one shape for every form: a large loop can be awkward on narrow cups, while a tiny loop makes broad bases slow and uneven.
- Chasing perfect symmetry: prioritize a stable, continuous contact ring over decorative grooves.
Build a small tool set around your forms
Buy tools after looking at the pieces you make most often. If you trim mostly mugs and cereal bowls, a medium loop plus a narrow detail tool is usually a more useful pair than a large assortment. If you make wide plates or platters, add a broader loop or consider a disc-style tool.
As your trimming becomes more consistent, compare edge geometry, steel quality, and handle feel with this overview of the best pottery trimming tools. Keep one familiar tool in regular use, so changes in clay firmness or technique are easier to notice than changes in the tool itself.
Keep this nearby while you make, then let the next piece be your own.