TL;DR
A pottery trimming chuck earns its place when a pot is too narrow, uneven, tall, or fragile to center securely on the wheelhead. You can throw the basic clay form in about twenty minutes, but a reusable chuck should dry completely and be fired before regular trimming. Choose a shallow bowl, cone, or open cylinder based on the shape it must support, then pad only the contact points if the surface needs protection.
When does a pottery trimming chuck help?
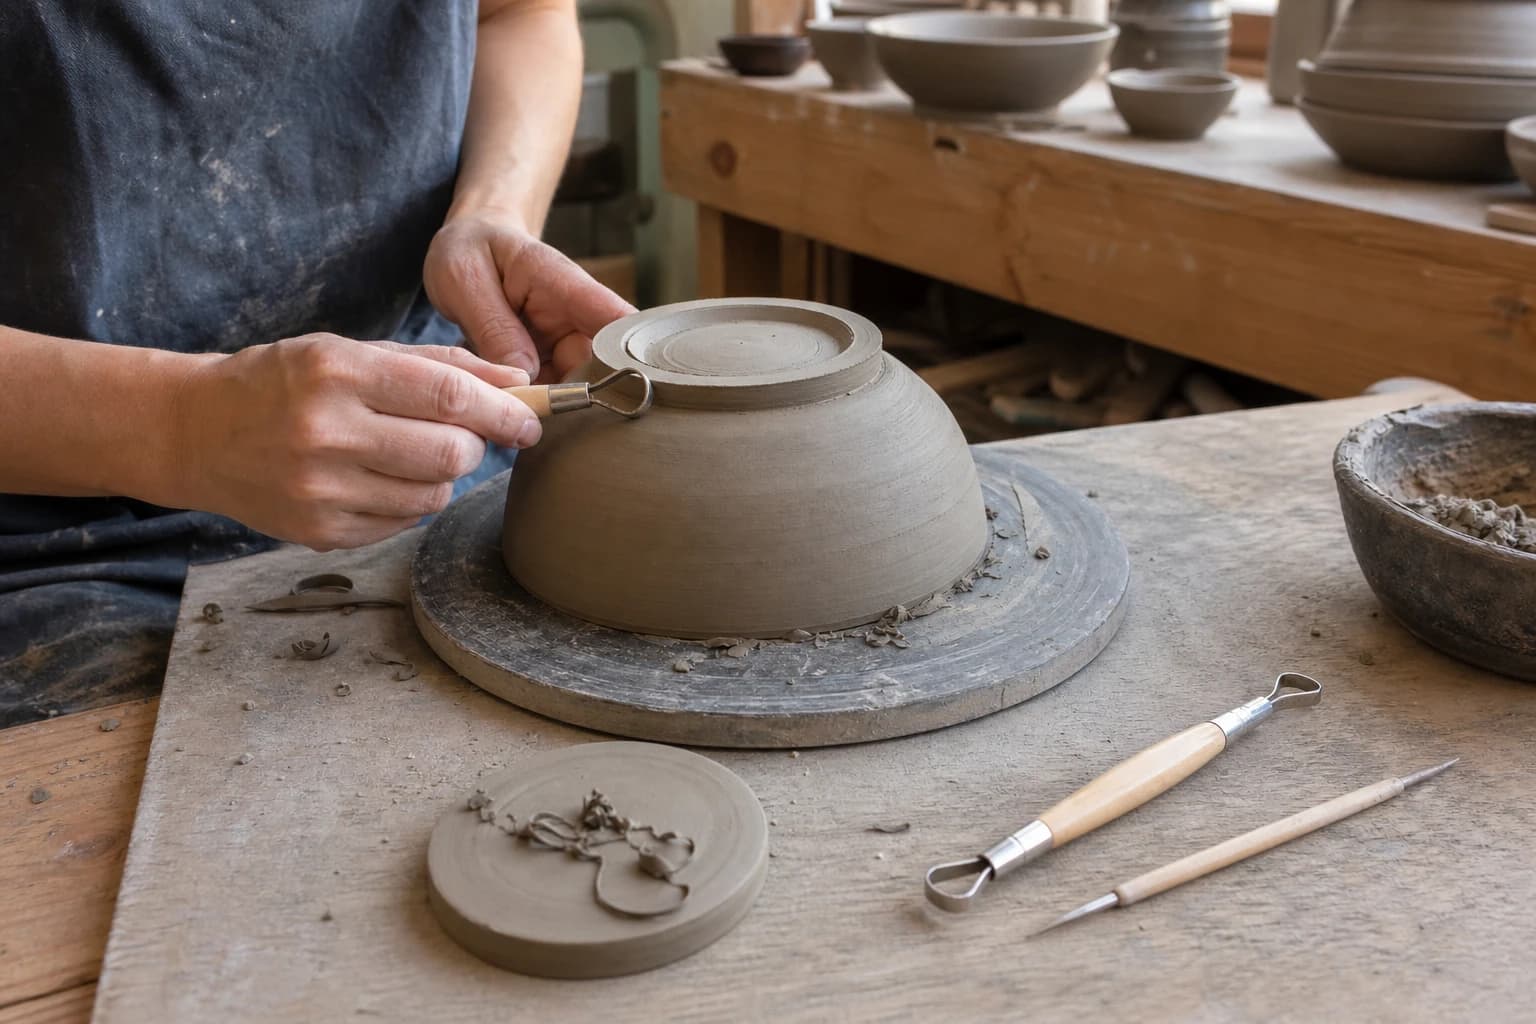
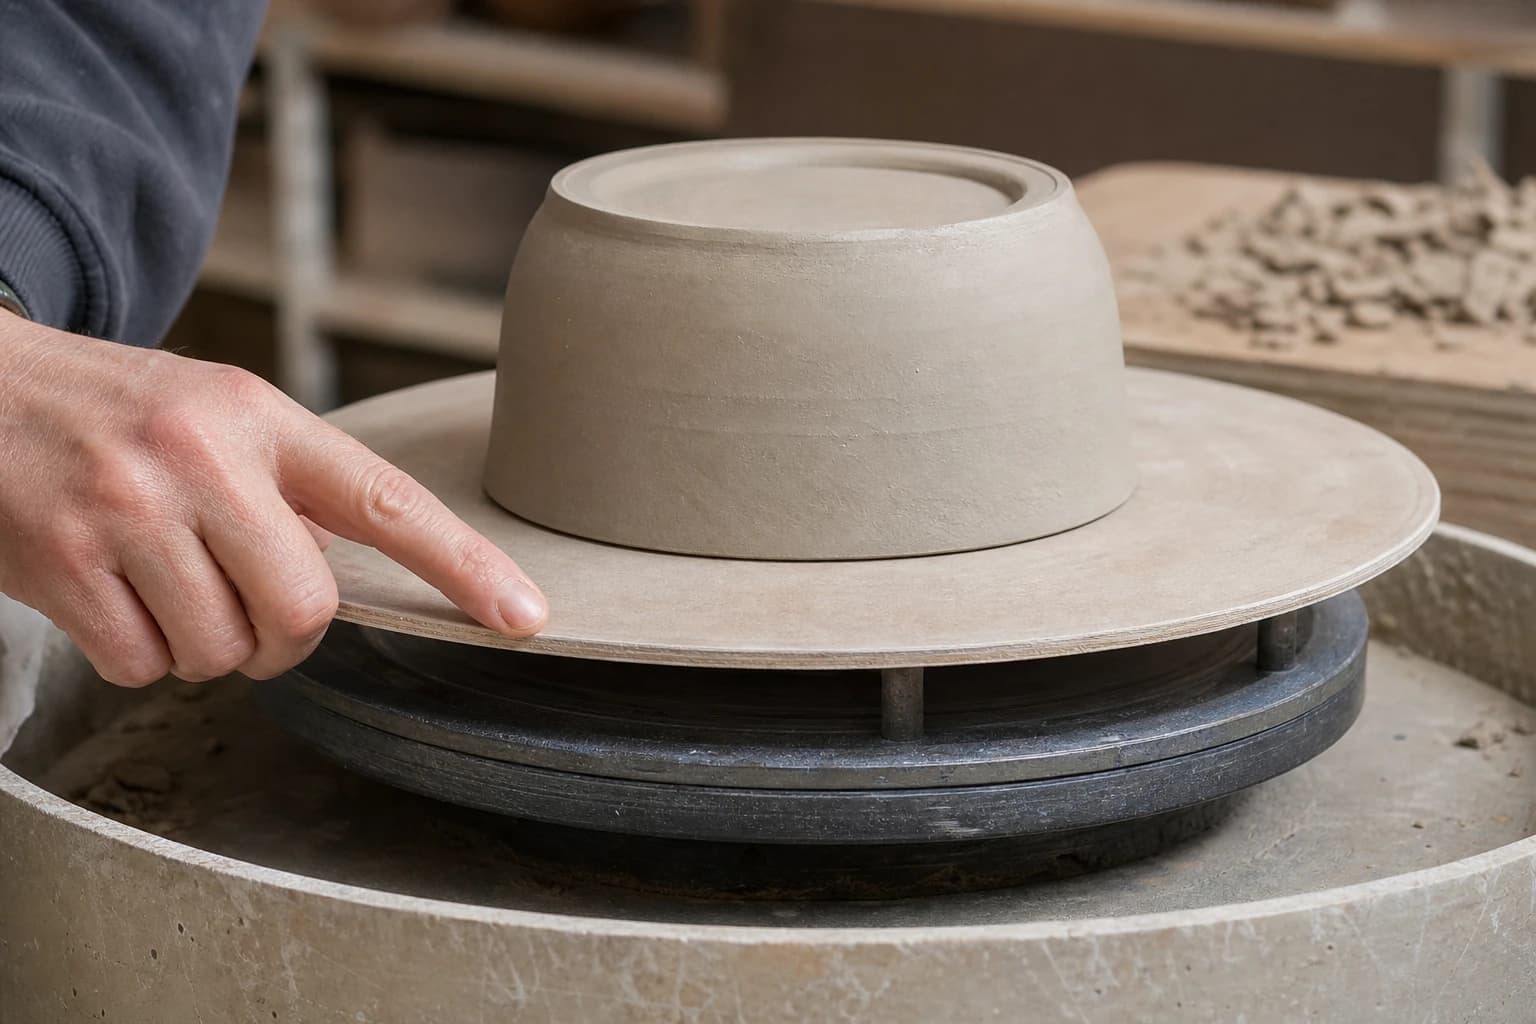
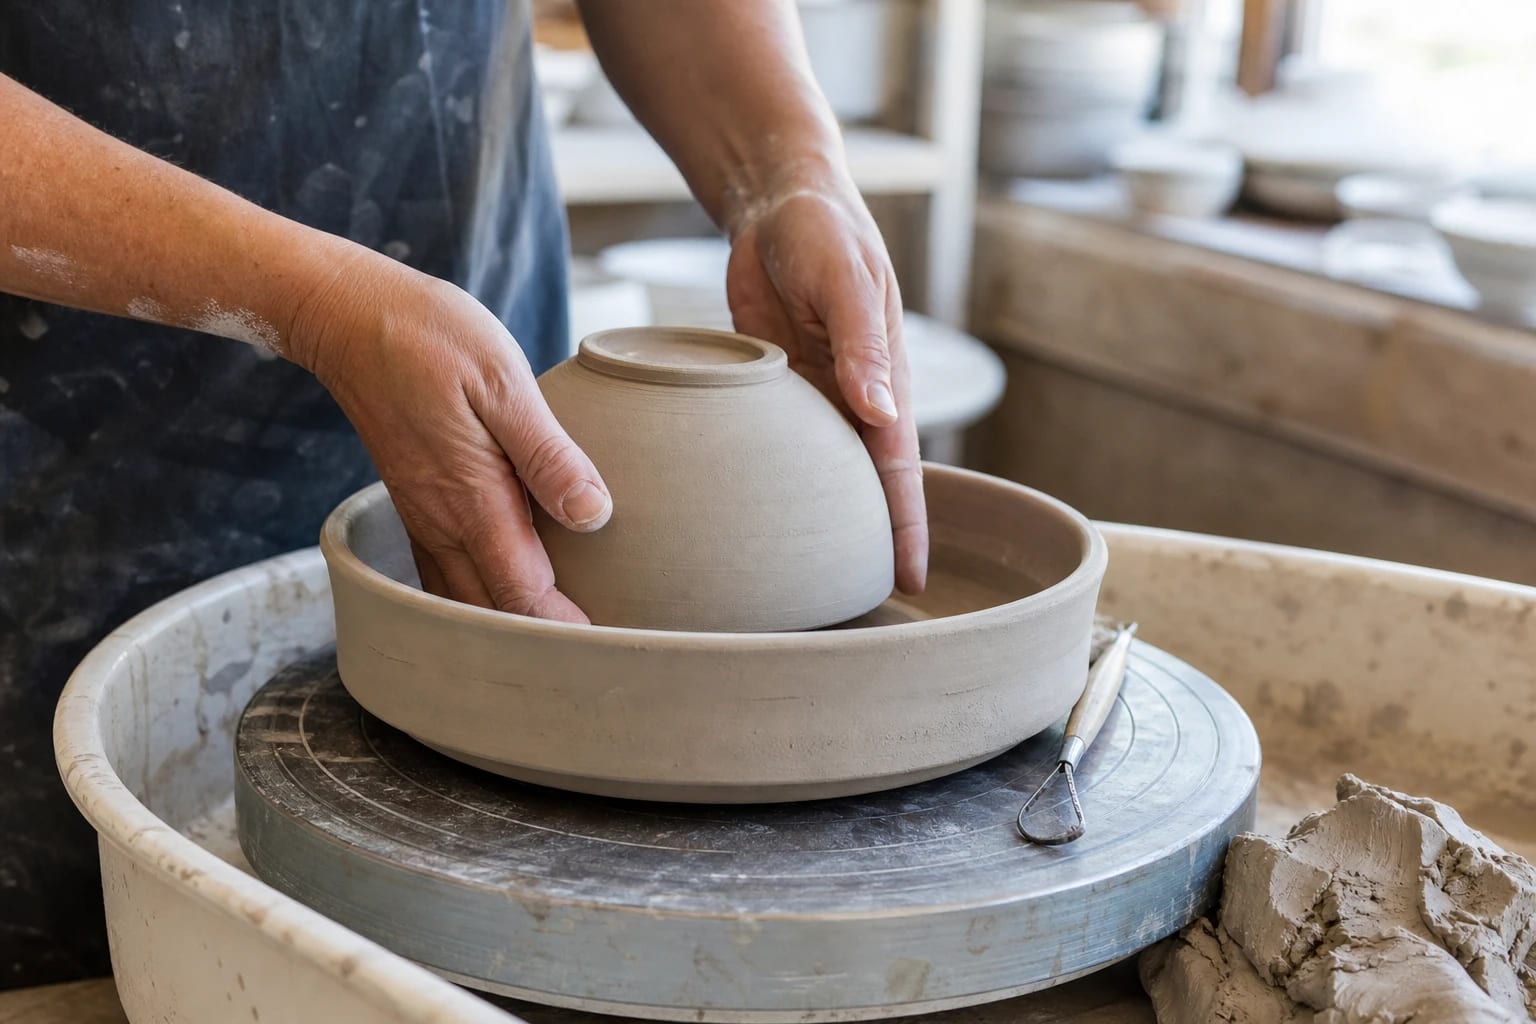
A chuck is a temporary support that holds a vessel while you trim an area that cannot sit safely on the wheelhead. It is especially useful when:
- The rim or upper wall is wider than the base.
- The foot is too small to grip with your fingers or a few clay lugs.
- The vessel is tall and tends to wobble when inverted.
- The outside wall is uneven enough that a rigid chuck can stabilize it.
- The pot has a delicate rim that should not carry the wheel's pressure.
A chuck is not a substitute for centering. Center the chuck first, then center the pot inside it as gently as the form allows. If you regularly trim straightforward cylinders and bowls, a few soft clay anchors or a trimming turntable may be faster. Compare the turntable's size and stability with your usual forms in how to choose a pottery trimming turntable.
How do you make a clay chuck in about twenty minutes?
This is a quick way to make the form, not a way to make a fired chuck ready immediately. Use a compatible clay body and keep the chuck's walls thick enough to resist flexing.
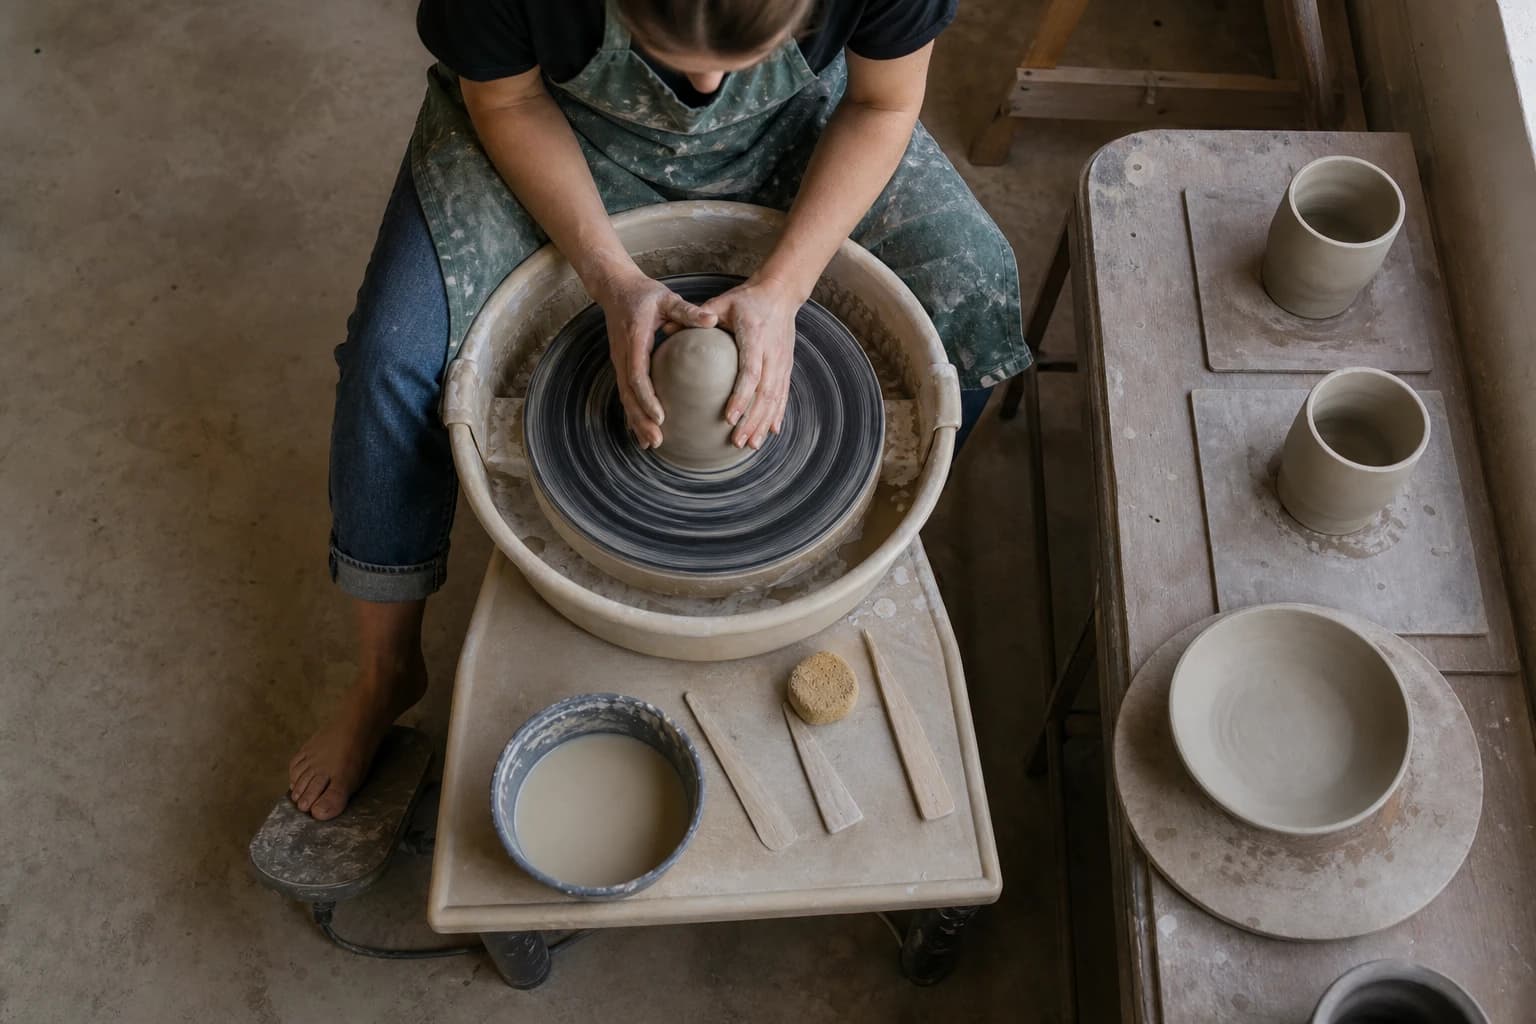
1. Choose the support shape. Match the inside profile to the outside of the pot. A shallow bowl supports a bowl or plate, a cone supports a narrow vessel, and an open cylinder supports a straight-sided form. 2. Throw a low, wide form. Center a lump of clay and pull a stable base with a gently rising wall. Keep the contact area smooth and free of sharp ridges. 3. Create a clear rim. Leave the opening wide enough to see the pot and reach the foot. A narrow opening makes trimming awkward and can concentrate pressure on the vessel. 4. Compress the base. A flat, compressed underside helps the chuck sit on the wheelhead without rocking. Trim the bottom later if the chuck warps or feels uneven after drying. 5. Check the fit immediately. Place a leather-hard test form or the intended pot into the chuck without forcing it. The support should contact broad areas, not just one edge or a small point. 6. Set it aside to dry slowly. Mark the chuck for the pot shapes it fits. Do not use a soft, flexible chuck for forceful trimming, and do not treat an unfired chuck as a durable studio tool.
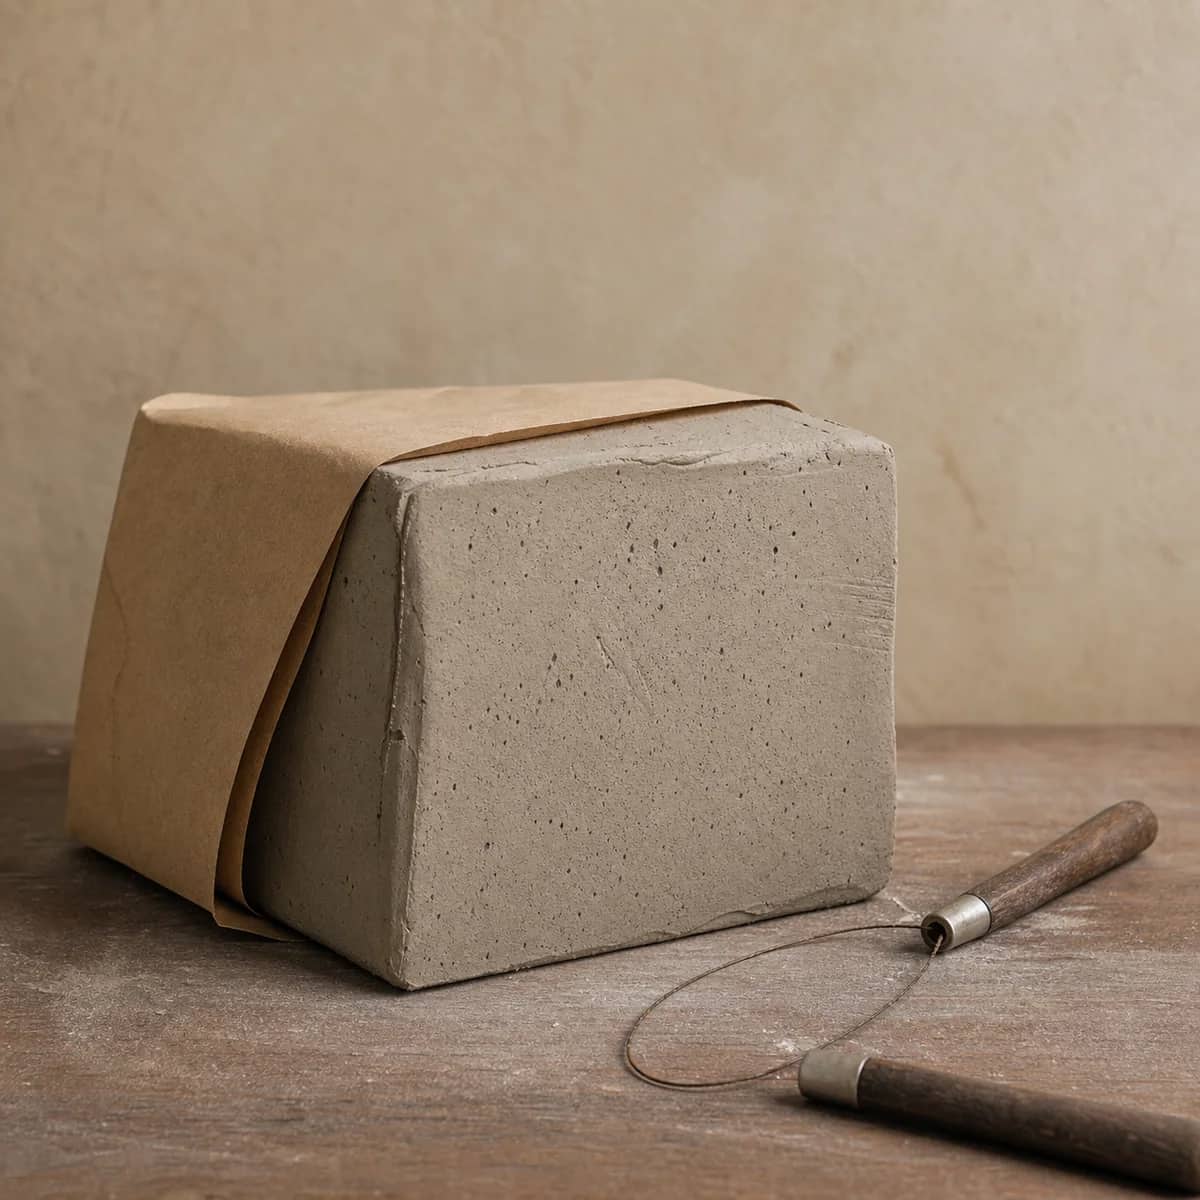
For a repeatable process, make the chuck from a clay body that is compatible with your studio firing plan, then test it with a less important pot. Store clay scraps and test forms so they do not dry out before you can check the fit. These clay storage steps help keep that testing material usable.
Which pottery trimming chuck shape should you choose?
Shallow bowl chuck
Use this for bowls, plates, and rounded forms. The broad interior distributes support across the wall instead of pressing against one small area. A shallow slope also leaves your trimming tool clear around the foot.
Avoid making the curve too deep. A pot can become difficult to remove, especially if suction develops between smooth surfaces. Leave enough open space to lift the pot without levering against the rim.
Cone chuck
A cone suits narrow bottles, vases, and vessels with a small opening. The pot rests against the sloping interior while the chuck supports the outer wall. Make the cone's angle gradual enough that the vessel settles into place without wedging.
The contact area should sit on a stronger section of the pot, not on a thin neck or fragile lip. If the pot rocks, stop and reshape the support rather than pressing harder with the trimming tool.
Open cylinder chuck
An open cylinder works for taller, straighter forms. Its sides can prevent lateral movement while you trim the base. Keep the inside diameter slightly forgiving, since a tight fit can mark the pot and make removal difficult.
This shape is less useful for strongly curved vessels. A cylinder may touch only a narrow band, leaving the rest unsupported.
How do you prevent marks on the pot?
Start with a smooth, clean chuck. Grit, dried clay crumbs, and rough throwing marks can transfer to a leather-hard surface. Before each use, run your fingers over the contact area and remove anything loose.
Use the least padding that solves the problem. A thin, removable layer of soft material can reduce marking, but thick padding may make the pot unstable. Keep padding away from the foot and trimming path, and replace it when it becomes compressed or contaminated with clay.
Do not wedge the pot into place. If the fit is wrong, modify the chuck or choose another shape. A chuck that grips through pressure can distort a soft wall even when the vessel looks centered.
A quick chuck decision test
Before making or buying a chuck, turn the pot upside down and ask three questions:
- Can the rim or wall carry light, even pressure without flexing?
- Does the pot have a stable contact area that can be centered?
- Will the trimming tool reach the foot without hitting the chuck?
If the answer to the first question is no, use a support that contacts the stronger outside wall and avoid pressing on the rim. If the second is no, a chuck may not solve the problem without a separate centering method. If the third is no, make the opening wider or lower the chuck wall.
Secure the work with modest pressure and trim in small passes. For the cutting tools and edge shapes that make those passes easier, see pottery trimming tools. When the chuck itself begins to chip, rock, or leave repeated marks, replace or reshape it rather than compensating with more force.
Keep this nearby while you make, then let the next piece be your own.