TL;DR
The trimming pottery definition is the process of removing excess clay from the underside of a partly dried thrown form, usually when it has reached the leather-hard stage. Trimming reduces weight, refines the base, and can create a foot ring that lifts the vessel slightly above the table.
What is pottery trimming?
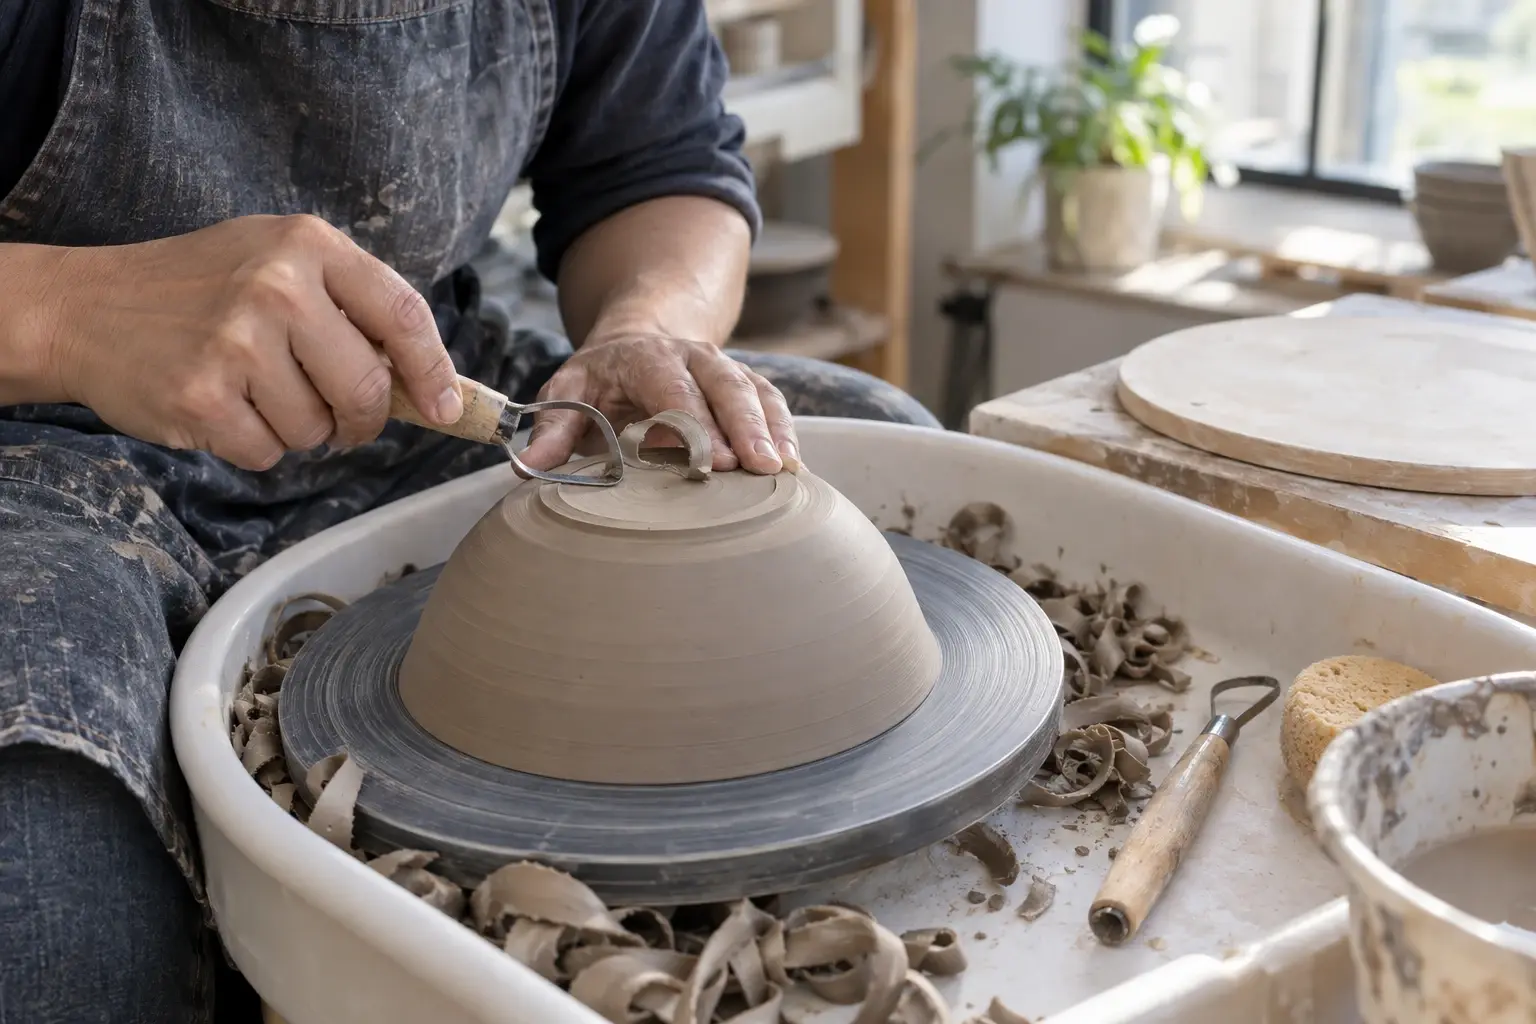
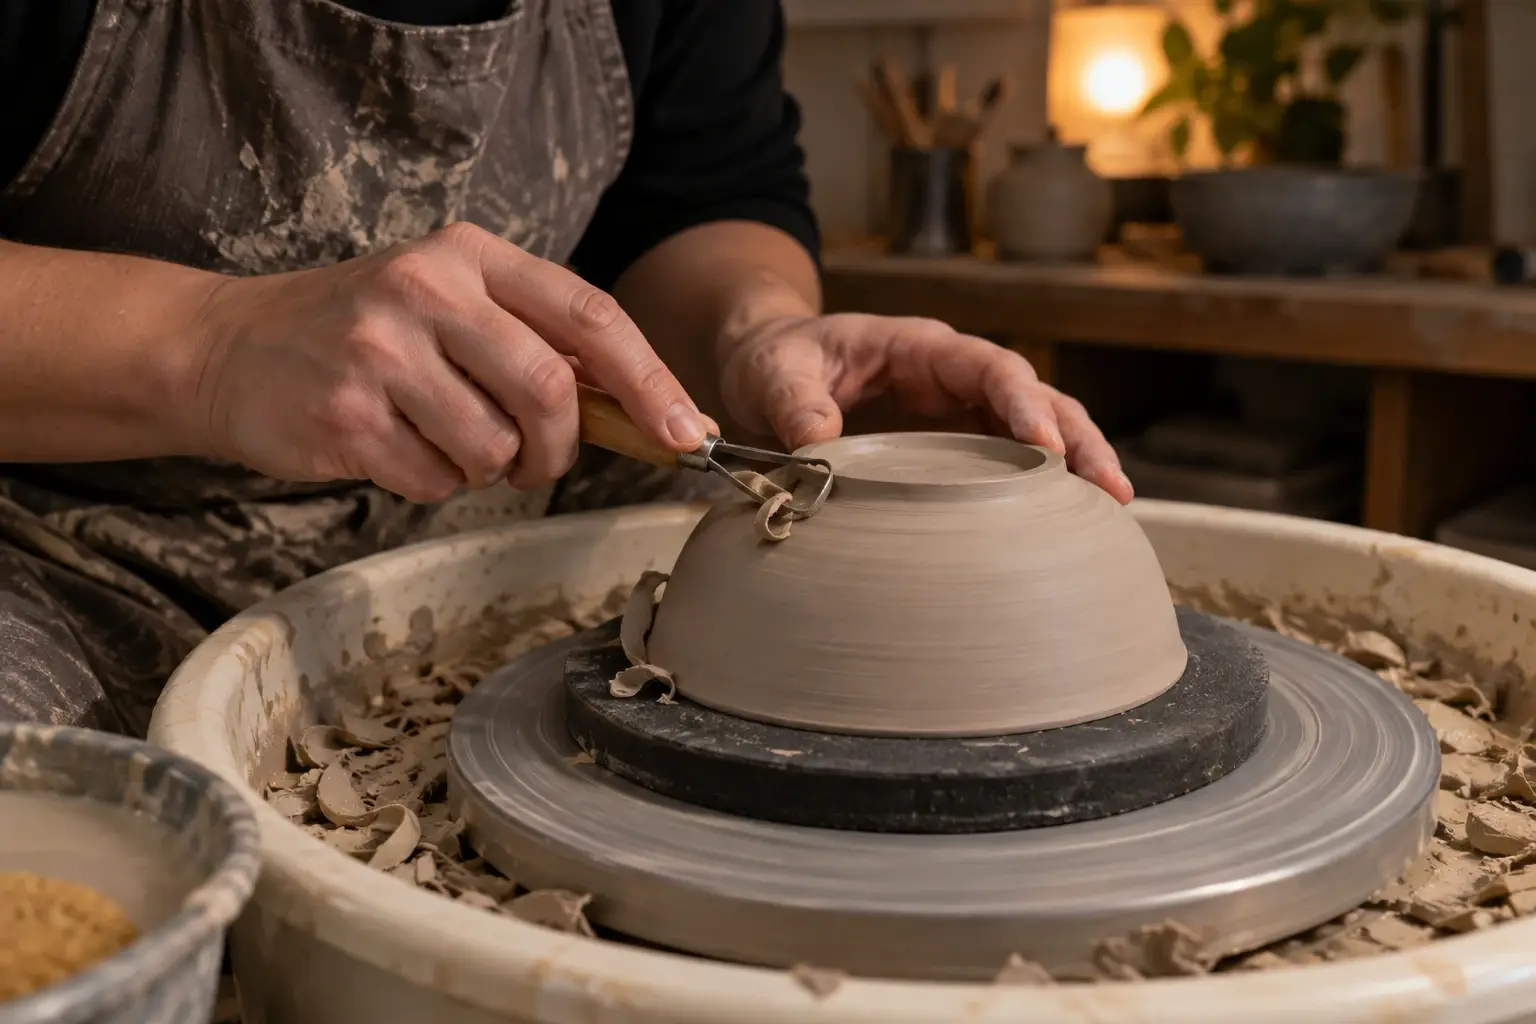
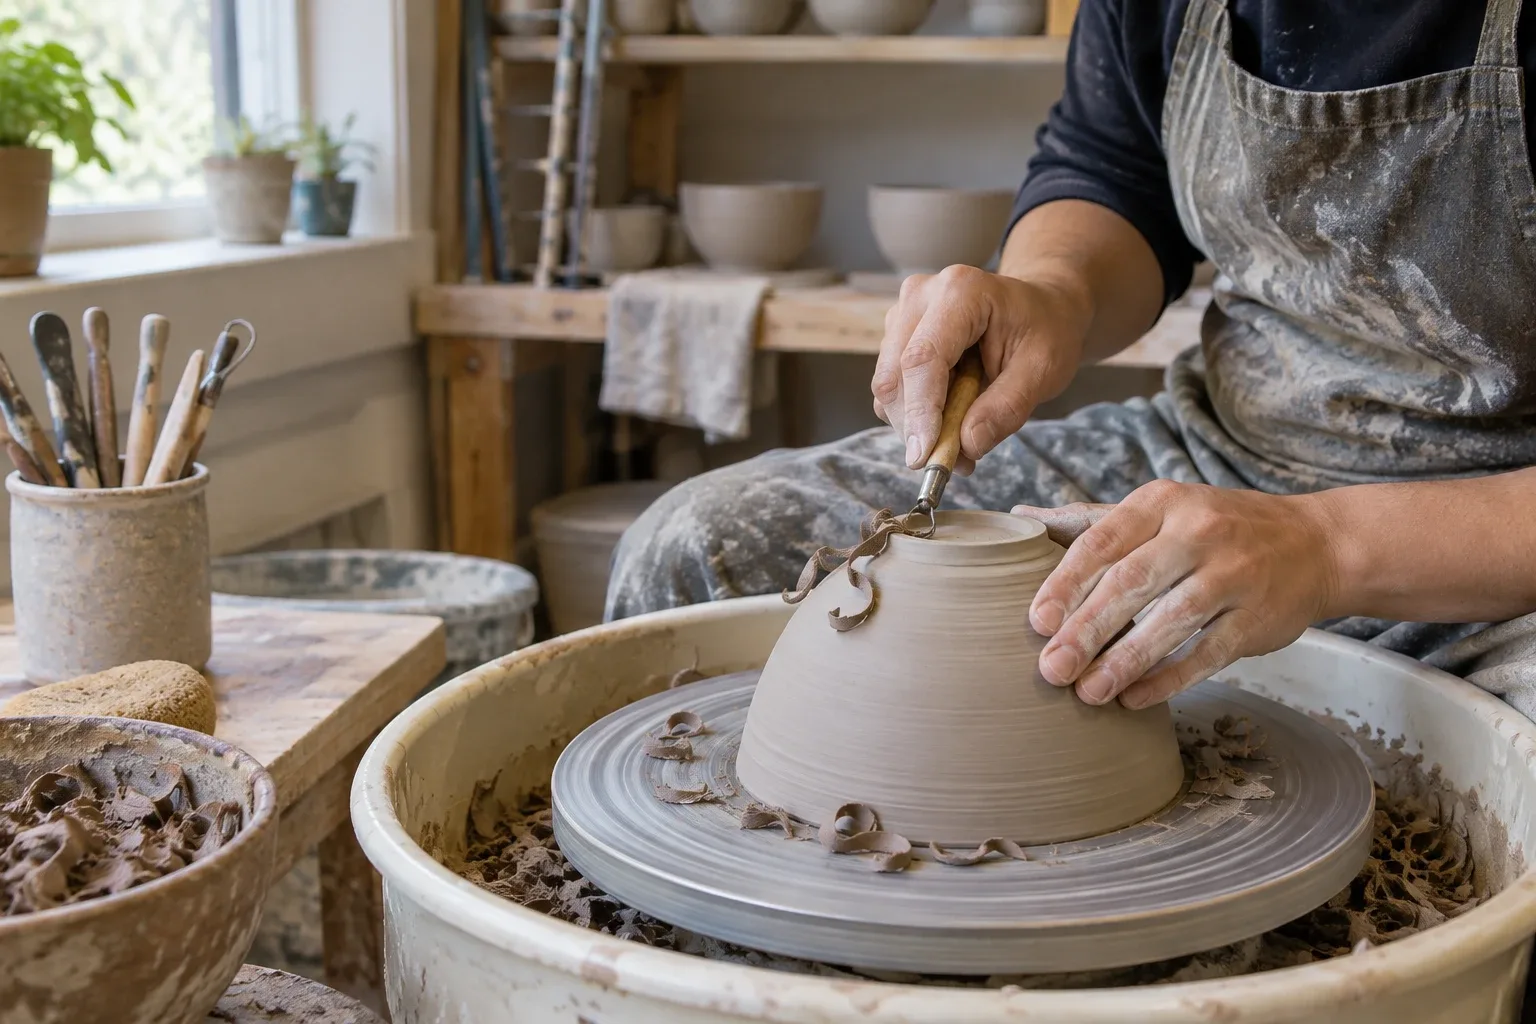
Pottery trimming is a controlled cutting process performed after a piece has been thrown and before it becomes fully dry. The pot is turned upside down and secured on the wheel, then a trimming tool removes clay from the bottom and sometimes reshapes the lower outer wall.
Throwing establishes the main form, but it does not always leave the base at its final thickness or profile. A thrown cylinder, bowl, or mug may have a thick mound of clay underneath. Trimming lets you reduce that excess and make deliberate choices about how the vessel sits.
The process can create several different base styles:
- A foot ring is a raised ring that supports the vessel while leaving the center recessed.
- A flat trimmed base has a broad contact area with little or no raised foot.
- A recessed base removes clay from the center while keeping a defined outer rim.
- A finished natural base keeps much of the thrown underside but receives light cleanup around the edge.
Not every pot needs a dramatic foot ring. A shallow bowl may work best with a low, broad foot, while a mug may need a stable ring that keeps the body from rocking. The form, wall thickness, intended use, and clay body all influence the choice.
When should you trim a thrown pot?
Trim when the clay is leather-hard: firm enough to support the form, but still soft enough for a sharp tool to cut it cleanly. If the clay is too wet, the pot can deform under pressure. If it is too dry, the tool may chatter, create dust, or break the edge instead of making a smooth cut.
Use a simple readiness test before mounting the piece. Press a fingertip lightly against an inconspicuous area near the base. The clay should resist denting, and the piece should hold its shape when lifted carefully. A tool should leave a clean shaving rather than a sticky smear or a crumbly gouge.
Drying speed varies with wall thickness, room conditions, clay body, and how the piece was covered. Do not rely on a fixed number of hours. Check the actual pot instead, and keep pieces covered loosely if they are becoming ready at different rates.
Trim before the pot reaches the dry, brittle stage. If you miss the ideal window, you may be able to refine only a small amount with a suitable tool, but forcing a heavy cut into nearly dry clay increases the chance of chipping or cracking the base.
For a repeatable workflow, mark the throwing date, check one test piece from the batch, and trim the pieces that have the same feel. This is more useful than treating every form as ready on the same day.
How does trimming shape the base and foot?
Begin by deciding what the vessel needs before you switch on the wheel. Look at the profile from the side and imagine where the pot should touch the table. A foot ring should support the weight without making the piece feel top-heavy. A flat base may be more appropriate for a wide platter or a low bowl.
When the pot is upside down, the original throwing marks can help you locate the center. Secure the piece gently and center it before cutting. If the form is delicate, a soft support can reduce hard contact with the rim. A foam bat for trimming pottery may be useful when the shape needs cushioning, but it still needs to hold the piece steadily.
Remove clay in small passes rather than trying to reach the final profile immediately. Start by cleaning the outer edge, then establish the width of the foot or contact area. Cut toward the center only as far as needed. Stop often, turn off the wheel, and check the thickness and symmetry from several angles.
A foot ring is usually built by leaving a raised band near the perimeter while lowering the surrounding clay. The ring can be narrow or broad, tall or shallow. Its job is not simply decoration. It should give the vessel a stable contact point and leave enough clay to resist damage during handling and use.
The underside should not be left sharp. Soften the outer edge with a final light pass, and remove loose burrs before the clay dries. A clean base is easier to finish and less likely to scratch a work surface.
Which trimming tool should you use?
Choose the tool according to the cut, not the name on the handle. A narrow loop can remove clay from a small foot or tight curve. A broader loop can level a larger area. A pointed or angled tool can reach into a recess, while a rigid edge may give more control on a firm, even base.
A practical starter set does not need every available shape. Begin with one medium loop, one smaller loop, and a tool that can clean edges or scrape a broad surface. Compare options in this guide to pottery wheel trimming tools, then choose shapes that match the vessels you actually make.
Keep the wheel speed controlled enough to watch the cut develop. Apply steady pressure and let the edge remove a thin shaving. If the tool jumps, check whether the pot is secure, the clay is ready, or the tool is being pushed too aggressively.
A centering aid can help when a piece is difficult to position by eye. A pottery trimming centering tool is most useful when you need repeatable placement, but it does not replace checking the pot’s stability and profile by hand.
A repeatable trimming checklist
Use this short sequence for each piece:
1. Check readiness. Confirm that the clay is firm, supportive, and still cuts cleanly. 2. Inspect the form. Decide whether the piece needs a foot ring, flat base, or light cleanup. 3. Mark the center if needed. Use existing throwing lines or a gentle reference mark. 4. Secure the pot. Support the rim and body without compressing or distorting them. 5. Center the piece. Rotate the wheel slowly and correct visible wobble before cutting. 6. Remove excess clay gradually. Take shallow passes and pause to inspect the base. 7. Refine the contact area. Make the foot stable, even, and appropriate to the vessel’s scale. 8. Soften sharp edges. Clean loose crumbs and smooth the outer rim of the base. 9. Record the result. Note whether the foot felt too heavy, too narrow, or difficult to center.
For your next batch, change only one variable, such as foot width or trimming stage. Comparing similar pieces makes it easier to see whether the change improved stability, appearance, or handling.
FAQ about trimming pottery
Can you trim pottery after it dries completely?
Fully dry clay is brittle and difficult to cut cleanly. Trim during the leather-hard stage whenever possible. If the piece is already dry, avoid forcing a heavy cut and consider leaving the base as it is.
Do all thrown pots need trimming?
No. Some forms are thrown with a finished base, while others need only a small amount of cleanup. Trim when it improves the form, weight, stability, or surface rather than treating it as a mandatory step.
How much clay should you remove from the base?
Remove only enough to reach the planned profile and contact area. The correct amount depends on the vessel’s size, shape, wall thickness, and clay body. Stop regularly to inspect the base instead of cutting to a preset depth.
Why does a trimmed pot wobble?
Wobbling can come from an uneven foot, an off-center mounting position, a distorted rim, or a base that is not contacting the table evenly. Check the pot on a flat surface after trimming and correct small high spots while the clay is still workable.
Keep this nearby while you make, then let the next piece be your own.