TL;DR
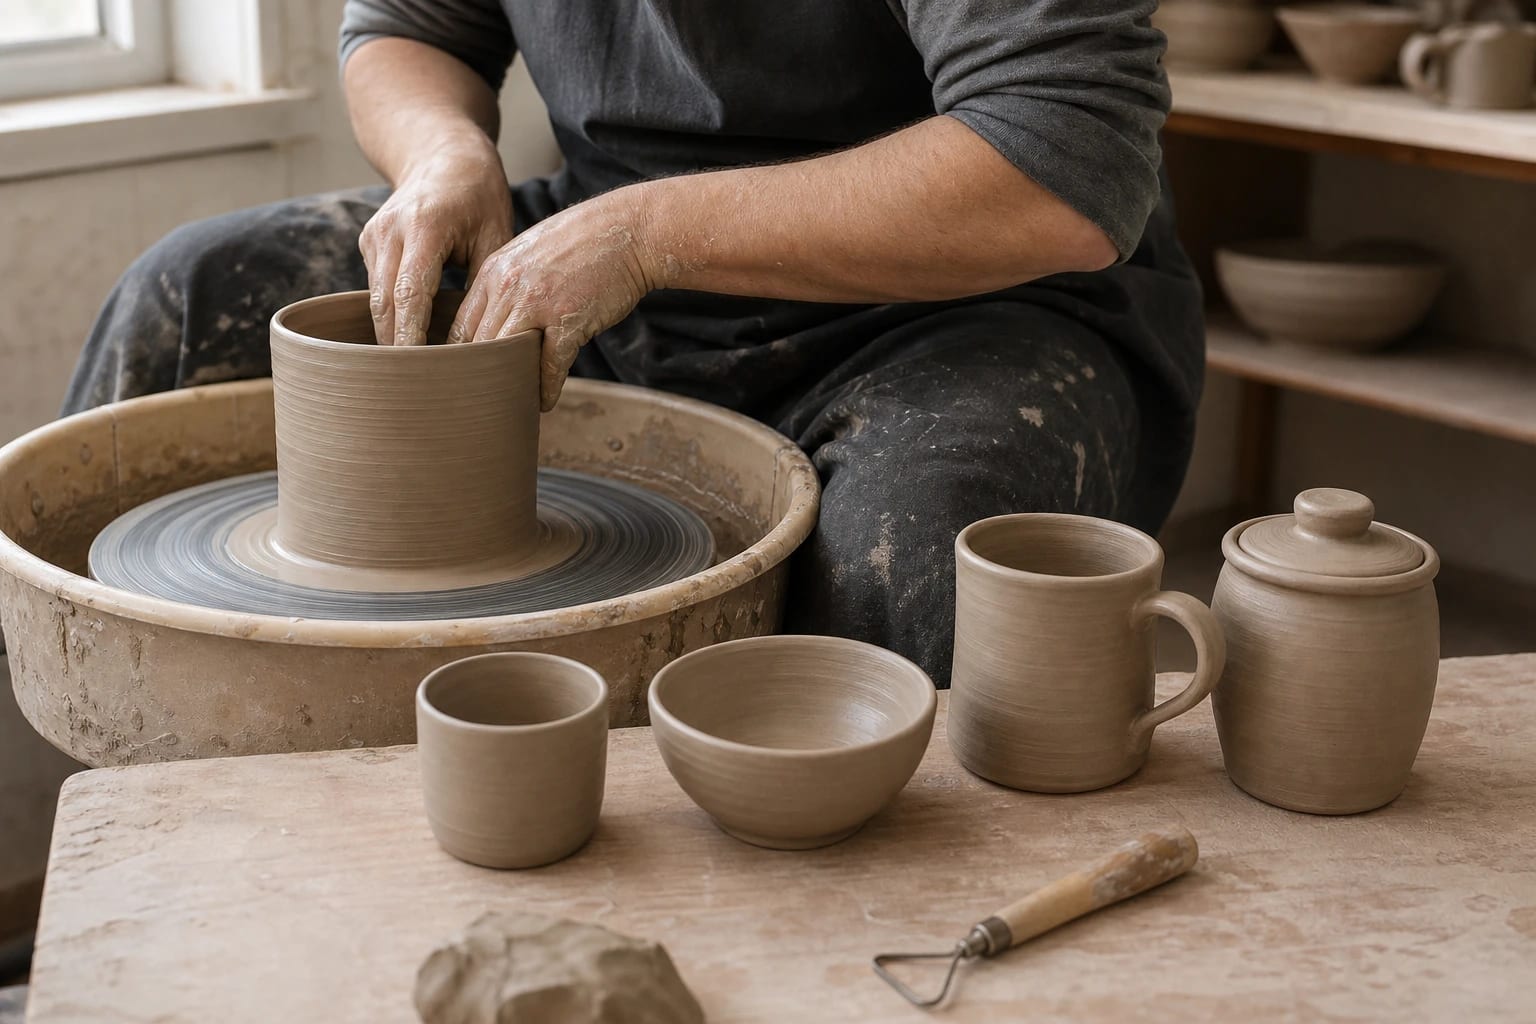
The most useful pottery wheel projects for beginners are simple forms arranged by the skill they teach. Start with open cylinders, then practice shaping cups, bowls, handled mugs, and lidded jars. Repeat each project until you can identify one controllable improvement before moving on.
How should beginners choose pottery wheel projects?
Choose a project by the next physical decision it asks you to make, not just by how attractive the finished piece looks. A cylinder teaches centering, even wall thickness, and controlled pulling. A bowl adds compression and a changing profile. A mug adds attachment and balance. A lidded jar adds accurate sizing and patience during trimming.
Make several versions of one form before changing projects. After each attempt, write down one observation about the rim, wall thickness, base, or shape. Then adjust one action in the next session. This keeps the practice useful instead of producing a shelf of unrelated cylinders with no clear lesson.
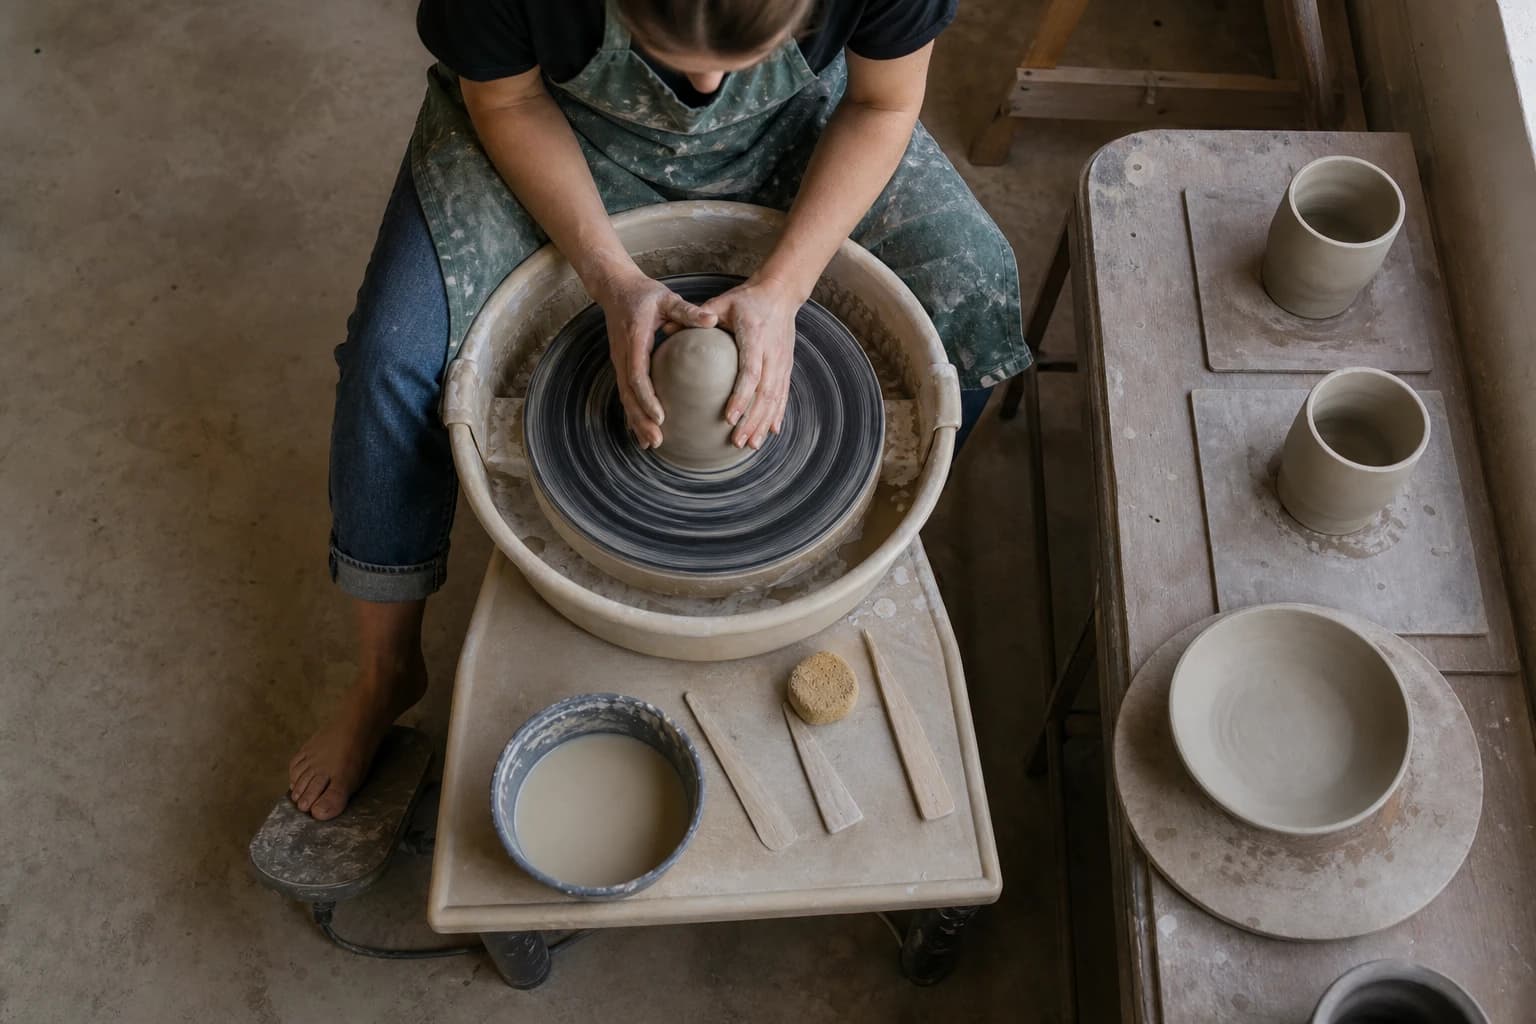
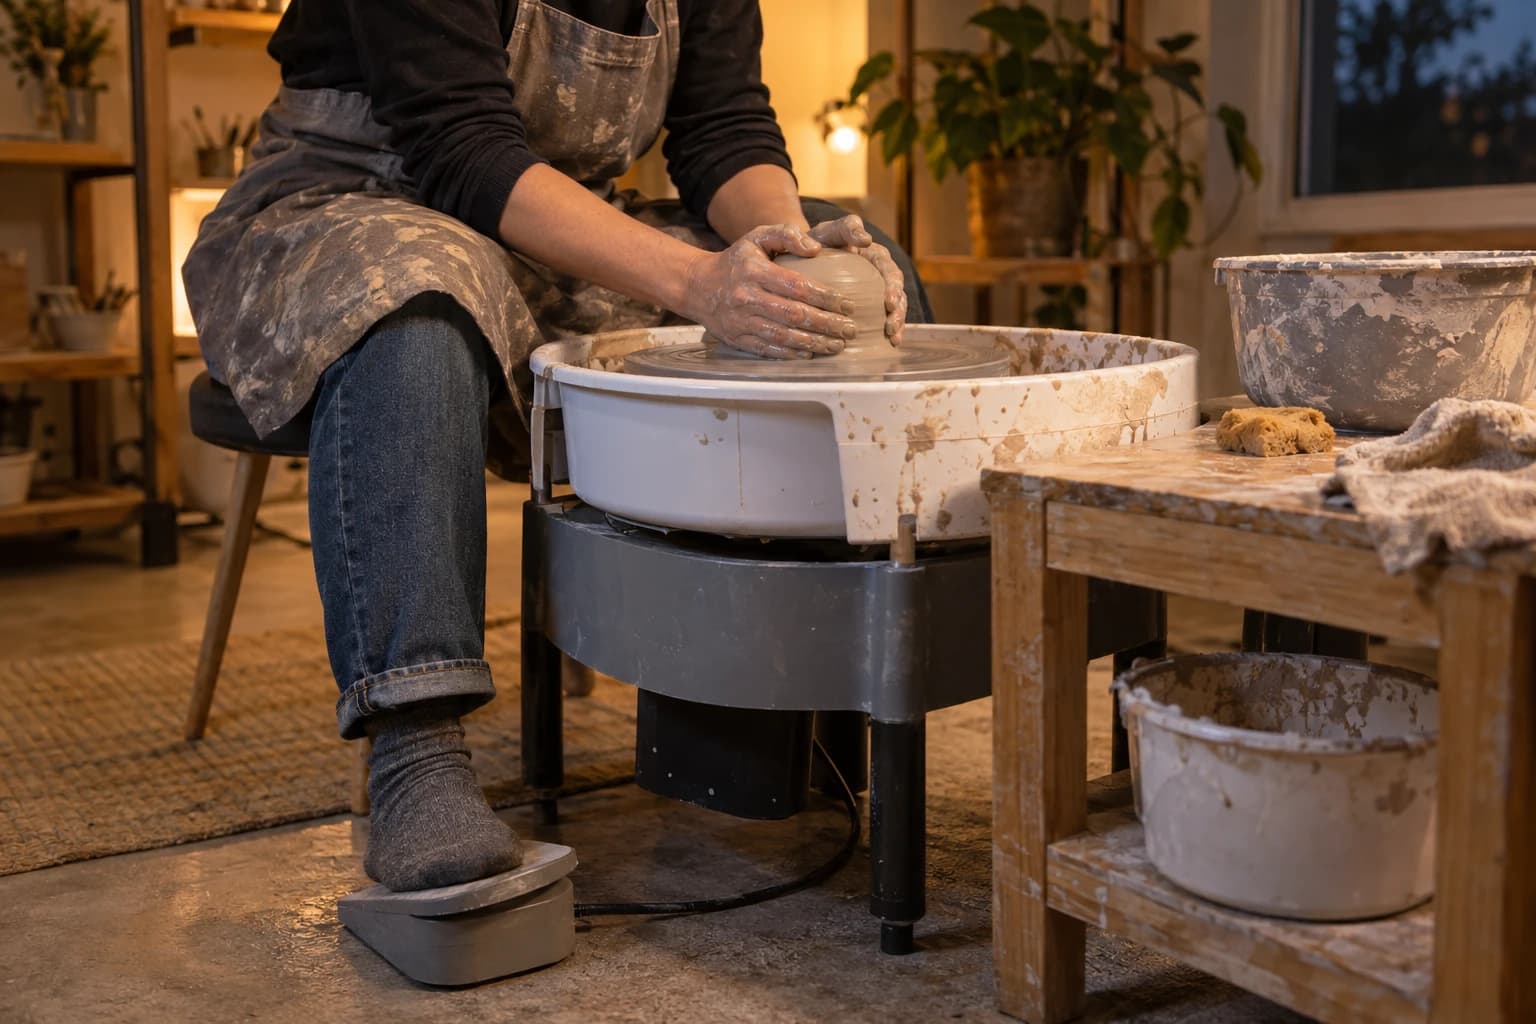
If you are still learning the basic hand positions, the wheel throwing guide for beginners can help you connect each project to the underlying process.
Start with an open cylinder
An open cylinder is the best first project because the shape gives you a clear visual reference. You can see whether the walls lean, flare, narrow, or become uneven as you pull them upward.
Focus on four decisions:
- Center the clay before opening it.
- Leave a deliberate amount of clay for the floor.
- Pull the walls upward with consistent pressure.
- Stop before the rim becomes too thin to control.
Do not judge this project by height alone. A short, even cylinder teaches more than a tall form that collapses or dries with a thick base. Make a few cylinders using the same amount of clay, then compare their wall thickness and rim shape after they become leather-hard.
Your repeatable test is simple: look at the rim from above and the profile from the side. If the rim is oval, the wall thickness changes noticeably, or the base is much heavier than the wall, repeat the project before adding more complexity.
Build control with a small cup
Once you can pull a reasonably even cylinder, turn it into a small cup. The change is modest, but it teaches you to control a profile rather than simply move clay upward.
Begin with mostly vertical walls. Then make one version that gently opens toward the rim and another that narrows slightly. Keep the foot compact and avoid making the rim wider than the base can support. A small cup should remain comfortable to hold after trimming, not just look symmetrical on the wheel.
This project develops:
- Compressing the rim so it stays organized.
- Choosing when to stop pulling and start shaping.
- Maintaining an even transition from floor to wall.
- Seeing how a small change in curve affects the whole form.
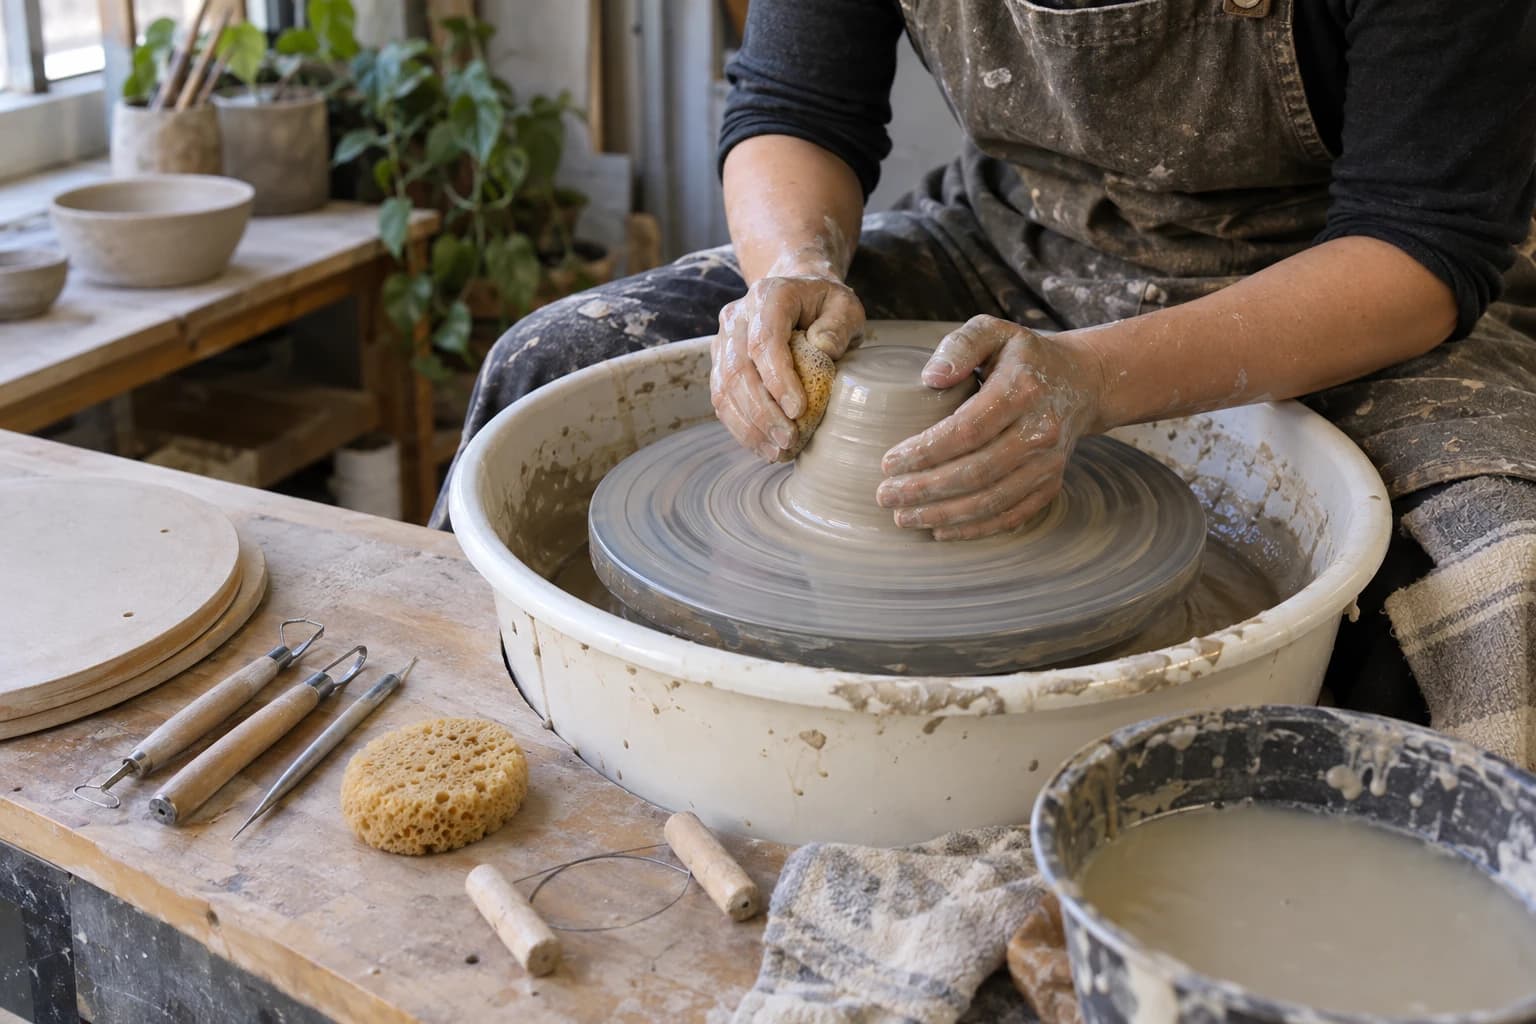
Trim the cup when the clay is firm enough to support the shape. A clean foot gives you a better chance to evaluate the profile. The guide to pottery trimming tools can help you keep the tool choice focused on the job rather than collecting a large set.
What does a bowl teach that a cylinder does not?
A bowl teaches compression, outward movement, and a controlled curve. The walls are no longer expected to stay vertical, so your support hand and shaping hand need to work together as the form widens.
Start with a shallow bowl rather than a deep, narrow one. Open the floor broadly, compress it carefully, and pull the wall outward in small changes. Watch the rim as you shape. If it begins to wave, stop moving the clay and stabilize the form before making another pull.
Try two related versions:
1. A wide, low bowl with a simple curve. 2. A slightly deeper bowl with a narrower opening.
Compare where each form wants to warp or become thick. The goal is not to find a single ideal bowl profile. It is to learn how opening width, wall angle, and rim diameter affect stability and trimming.
A bowl also makes uneven thickness easier to notice. When it is leather-hard, check the wall by looking at the profile and feeling the transition between the floor and side. Mark the area that needs improvement in your notes rather than trying to correct every weakness at once.
Add a handle only after the mug body is reliable
A handled mug is a useful beginner project, but it is better as a later step than a first form. The thrown body must already be stable enough to trim, and the handle must attach without distorting the rim or wall.
Throw a straightforward cup or mug body first. Leave enough room for a comfortable handle attachment, but do not make the wall excessively thin just to reduce weight. After trimming, shape a handle separately or pull one to a consistent thickness. Let the handle firm up until it can hold its shape, then attach it when both joining surfaces are workable.
Check three things before the mug dries:
- The handle has clearance for fingers.
- Both attachments have a broad, well-joined contact area.
- The mug sits without rocking and the rim remains round.
Make the handle modest for your first attempts. Oversized loops create more leverage at the attachments and make proportion harder to judge. Test the empty mug in your hand before the clay becomes too firm to adjust.
Make a lidded jar your measuring project
A lidded jar builds a different kind of control: accuracy between separate pieces. The jar body and lid must be thrown, dried, trimmed, and fitted as a pair. This makes it a good project after cups and bowls, not before them.
Keep the first jar small and use a simple lid style. Throw the body with a clear opening and leave enough material for a stable rim. Make the lid slightly generous while the clay is soft, then refine the fit as both pieces reach the same stage of dryness. The lid should sit securely without forcing the rim out of shape.
Record the measurements that matter to your process:
- Opening diameter
- Rim thickness
- Lid overlap or seating depth
- Foot diameter
- Overall height
These notes turn a failed fit into useful information. If the lid is too tight, do not immediately alter the body and lid in several places. Identify whether the problem came from throwing, trimming, or uneven drying, then change one part of the process next time.
How can you organize a skill-building practice cycle?
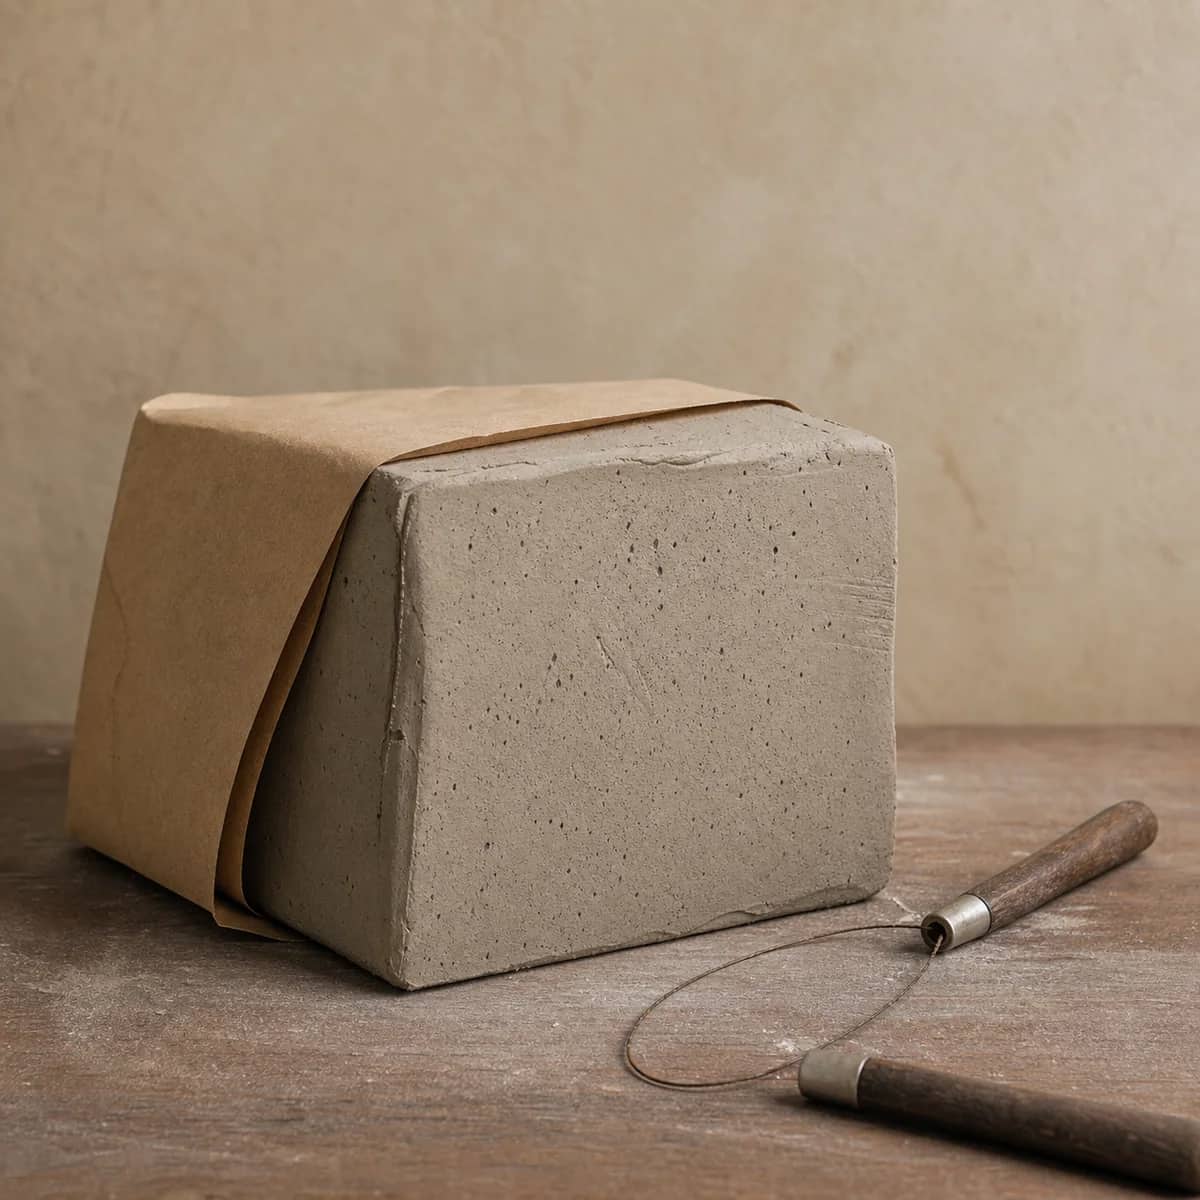
Use a short project cycle instead of choosing a new form every session. For each project, prepare the same clay body and keep the target size similar. This makes your observations easier to compare. If you are deciding which clay to practice with, compare its forming behavior and firing needs in how to choose speckled stoneware clay before committing to a larger supply.
A practical sequence is:
1. Open cylinders for centering and wall control. 2. Small cups for profile and rim decisions. 3. Shallow bowls for compression and outward shaping. 4. Handled mugs for attachments and proportion. 5. Lidded jars for fitting separate parts. 6. A small matching set to test repeatability.
For every project, keep one piece as a reference and note one change for the next attempt. Photograph the forms at the same angle if possible. You do not need a complicated tracking system. A page with the clay amount, project name, one problem, and one next action is enough.
When a form becomes repeatable, make a small set. Matching pieces reveal inconsistencies that a single successful pot can hide. They also show whether your process is dependable enough for more ambitious forms.
FAQ: Pottery wheel projects for beginners
What is the easiest thing to throw on a pottery wheel?
An open cylinder is usually the most useful starting point because its vertical walls make centering, pulling, and thickness easier to observe. Keep it short and even before trying to make it tall.
How many times should I repeat one pottery wheel project?
Repeat it until you can name one controllable improvement and see evidence of that change in the next piece. For some forms this may take several attempts. Move on when the basic process feels understandable, not when every pot is perfect.
Should beginners start with mugs or bowls?
Start with cylinders or simple cups, then try bowls. Add mugs after the body is reliable because handles introduce attachment, timing, and balance problems that can hide weaknesses in the thrown form.
Why do my projects keep cracking or warping?
Look first for uneven wall or floor thickness, a stressed rim, rough attachments, and uneven drying. Change one factor at a time and compare the next piece. Your clay body, drying routine, and firing process also need to be compatible, so follow the clay and kiln manufacturers' instructions for those decisions.
Keep this nearby while you make, then let the next piece be your own.