TL;DR
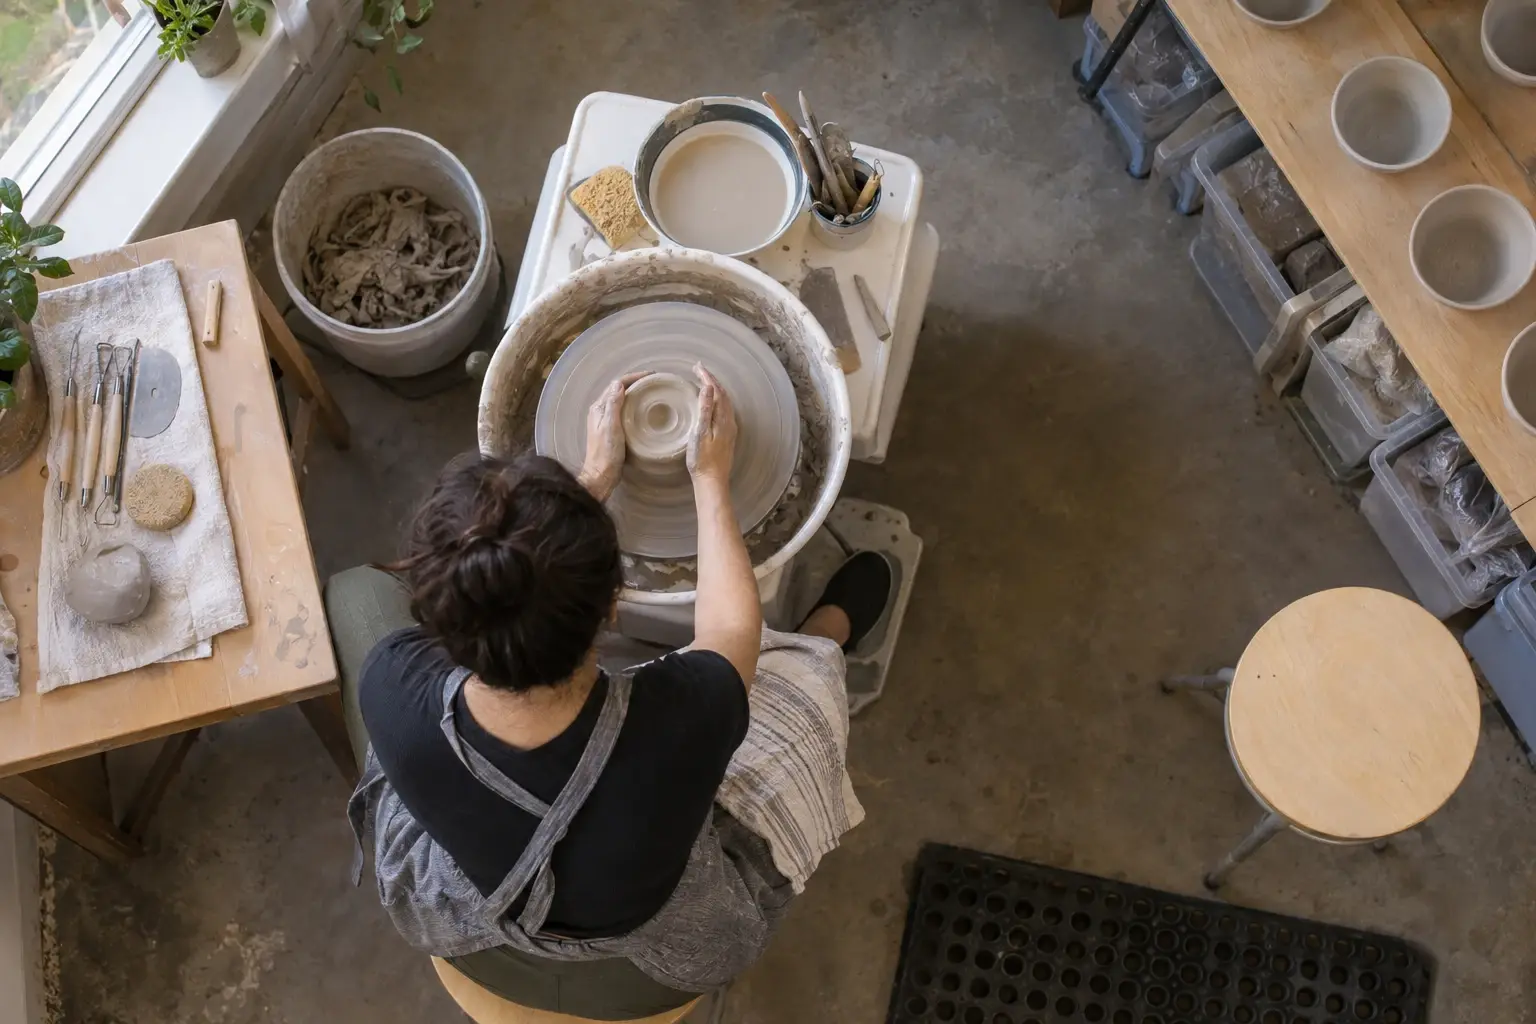
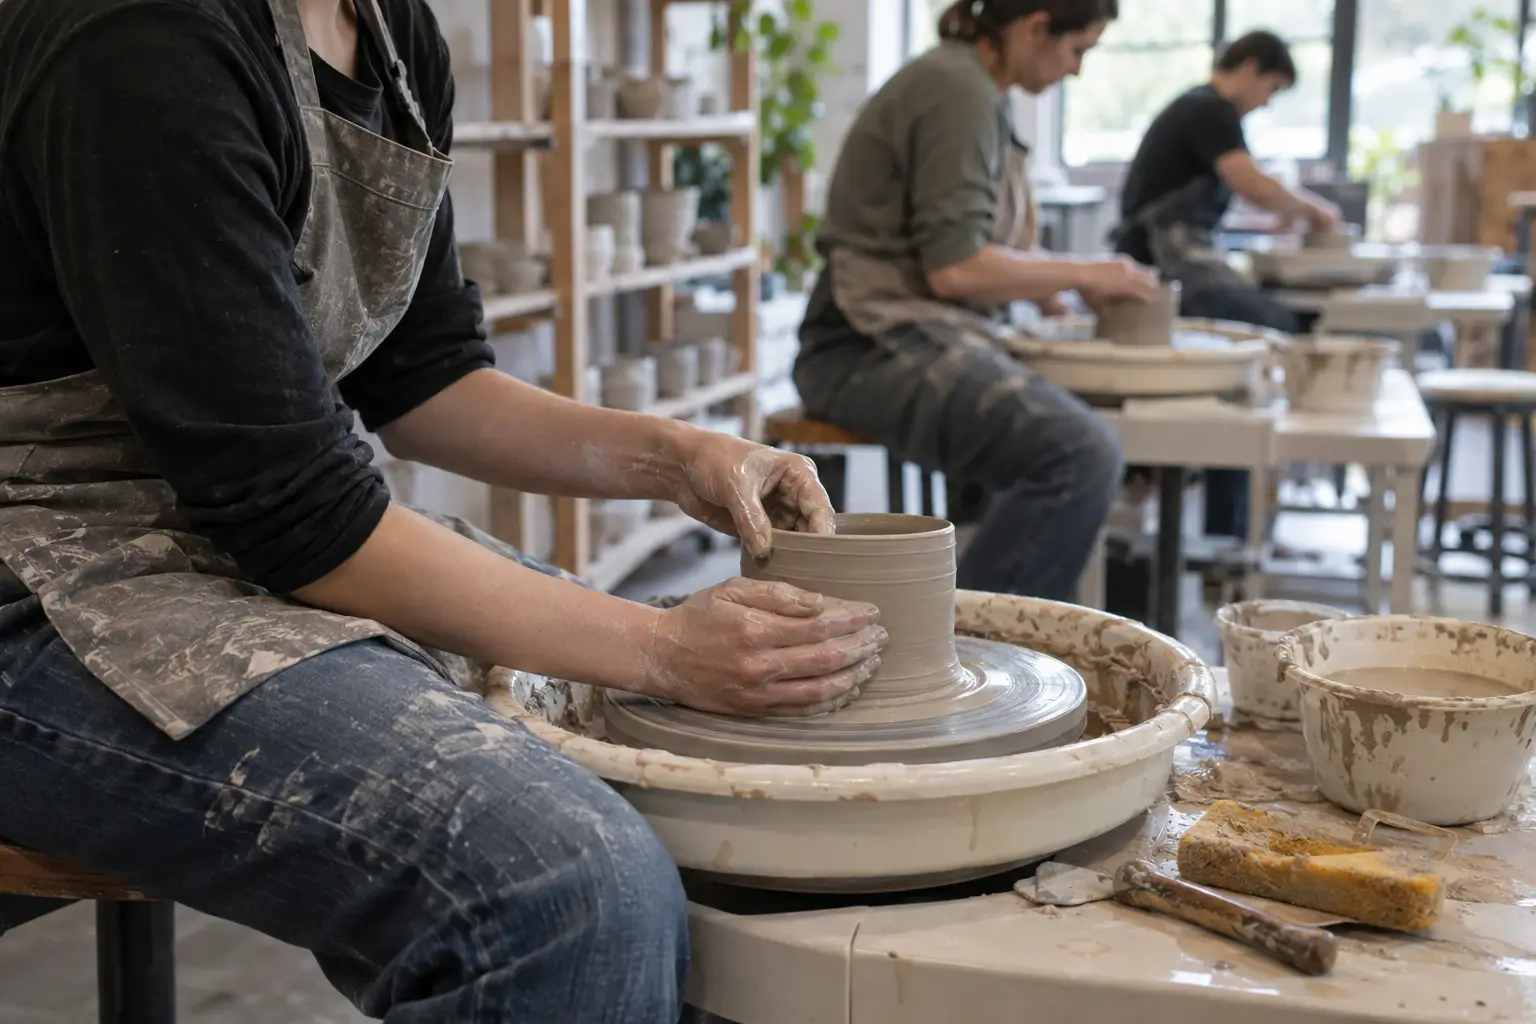
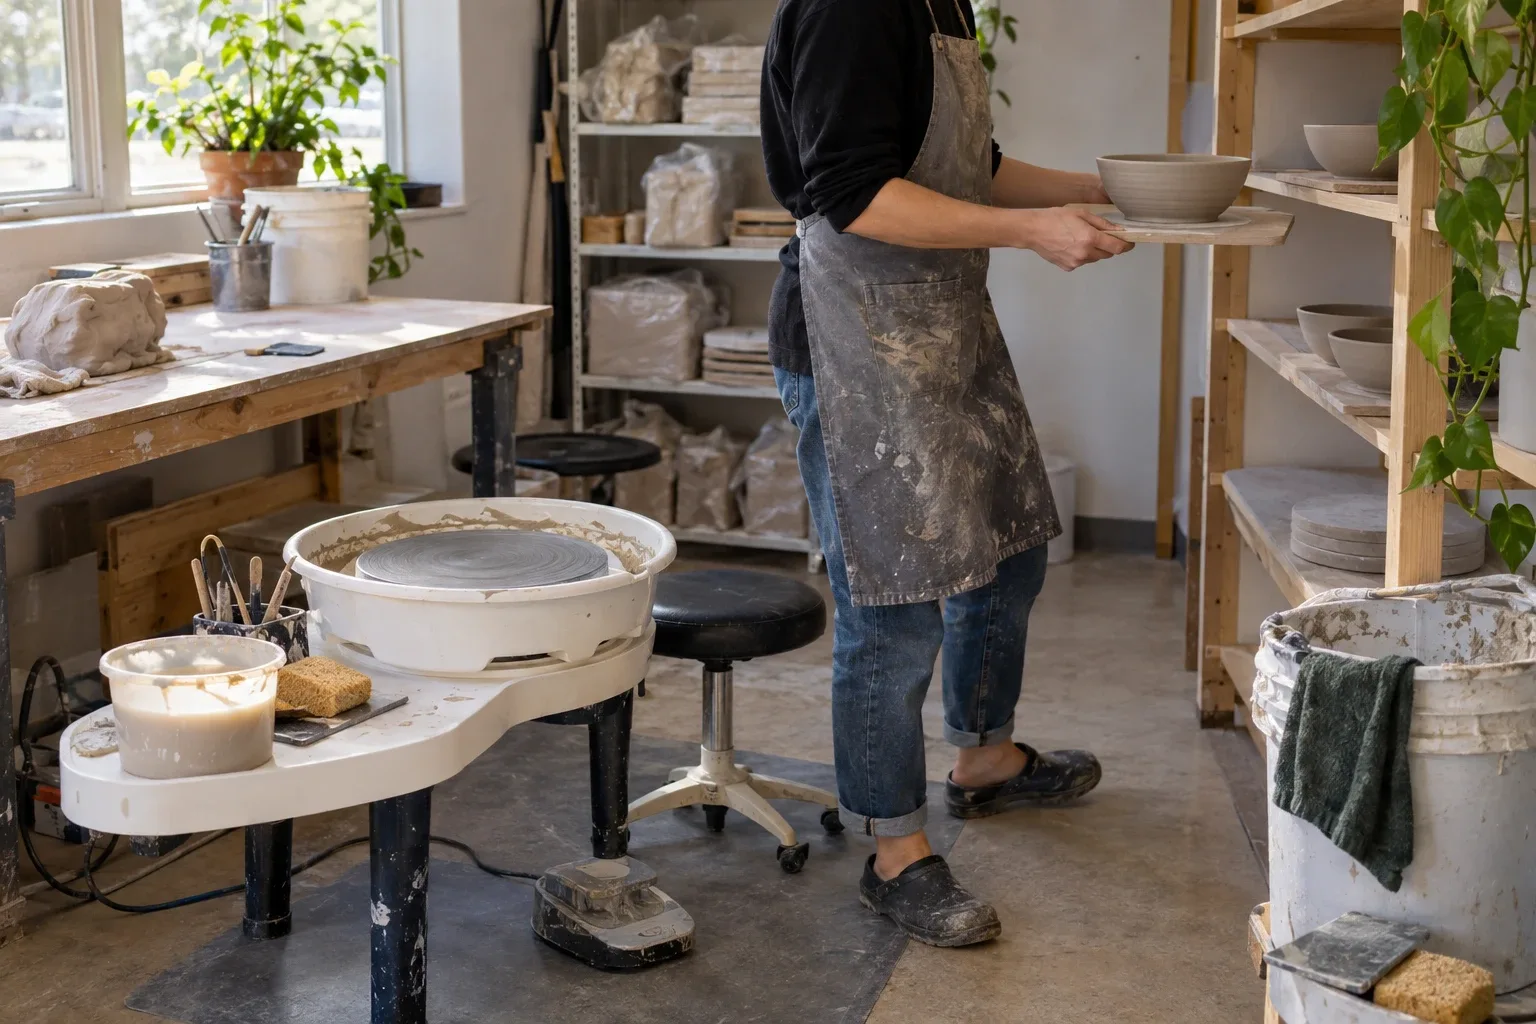
A pottery wheel studio for beginners works best when the wheel is the center of a simple loop: collect clay and tools, throw, set work aside, then clean up without carrying slurry across the room. Give the wheel a washable splash zone, keep clay and finished work in separate areas, and leave enough clear floor space to sit down, stand up, and move a bucket without bumping storage.
Start with a one-way studio workflow
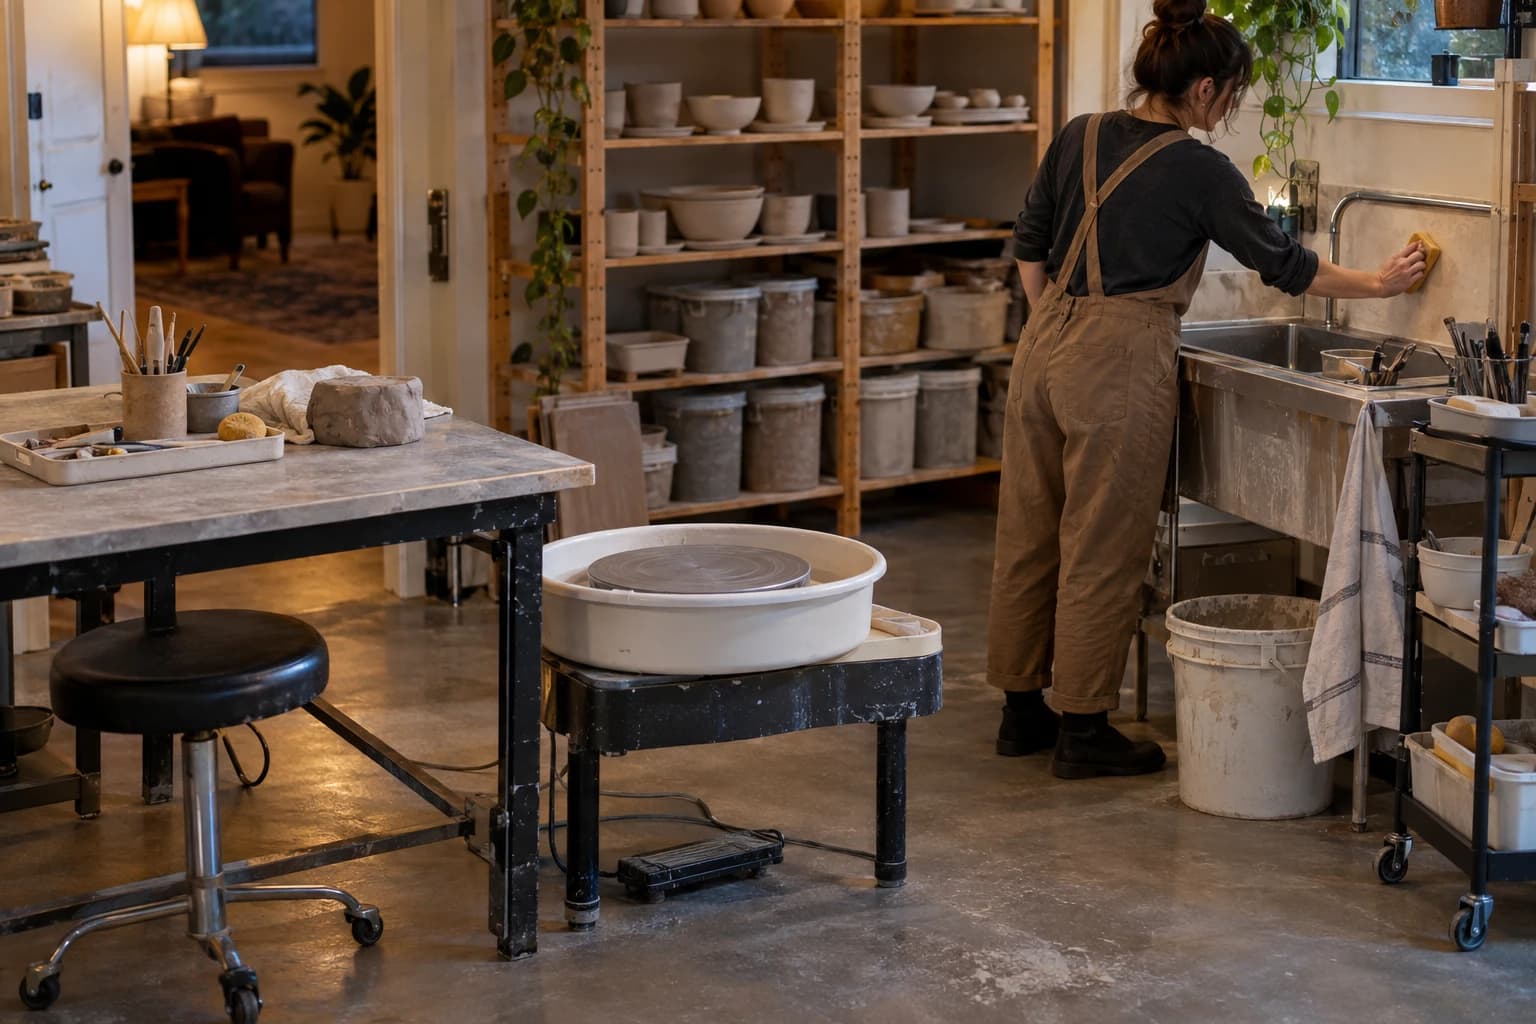
Before buying more furniture or shelving, sketch the path a piece takes through your space. A beginner workspace becomes easier to use when wet, messy tasks stay close together and clean storage stays away from splash and slurry.
Set up these four zones:
1. Throwing zone: wheel, stool, splash pan, water, basic tools, and a small reclaim container. 2. Wet work zone: a nearby table or cart for wedging, handles, joining, and short-term drying. 3. Drying and storage zone: ware boards, covered shelves, clay bags, bats, and tools that need to stay clean. 4. Cleanup zone: buckets, a sponge, a scraper, and a designated place for wiping wheel parts and surfaces.
Keep the route from wheel to drying shelf short. A board or rolling cart beside the wheel can hold fresh pieces without forcing you to cross the room carrying soft clay. If your studio is very small, let one table serve as both wet work and cleanup space, but clear and wipe it before switching tasks.
For a broader room-planning approach, use this home pottery studio setup guide alongside your wheel layout.
Where should the pottery wheel go?
Place the wheel where you can approach it from more than one side and remove the splash pan without shifting other equipment. A corner can save floor space, but avoid pressing the wheel so tightly against a wall that you cannot clean behind or beside it.
Choose a location with a stable, level floor and a nearby surface for your throwing tools. Leave a clear landing spot for the foot pedal and make sure the pedal cable does not cross a walking path. If you share the room with other activities, place the wheel where its splash zone will not overlap with desks, fabric storage, or finished pottery.
Try this placement test before committing:
- Sit at the wheel and mimic your normal throwing posture.
- Reach for water, tools, and clay without twisting far from the seat.
- Stand up, step back, and carry an imaginary ware board to the drying area.
- Remove the splash pan in your mind, then check whether shelves, walls, or tables block the motion.
If any step feels cramped, move the wheel before adding organizers. A little open floor around the wheel is more useful than another bin within arm's reach.
Wheel size, pedal position, and cleanup access also matter when selecting equipment. Compare those practical features in this pottery wheel for beginners guide.
Control splash before it reaches storage
Splash control is mostly a layout decision. Keep water containers, throwing tools, and clay recycling close to the wheel so you are not walking around with muddy hands. Use the wheel's splash pan as intended by its manufacturer, and wipe its edges before lifting it away.
A washable chair mat, sealed floor surface, or removable tray beneath the wheel can make routine cleanup simpler. Choose a surface that lies flat and does not make the wheel or stool unstable. Avoid placing cardboard, loose rugs, or absorbent fabric directly in the throwing area because they can hold damp clay residue and are difficult to wipe clean.
Keep a dedicated towel or sponge for the wheel zone rather than using the same cloth for finished ware or glazing tools. At the end of a session, collect larger clay scraps for reclaim, wipe the wheelhead and nearby surfaces with a damp sponge, and let slurry settle in a bucket rather than washing large amounts of clay down a sink.
Storage should support the next session
Beginner studios often become cluttered because every tool is stored as if it is needed for every project. Keep only your regular throwing tools at the wheel: a wire cutter, sponge, rib, needle tool, trimming tool, and a few bats if you use them. Store specialty tools elsewhere until you need them.
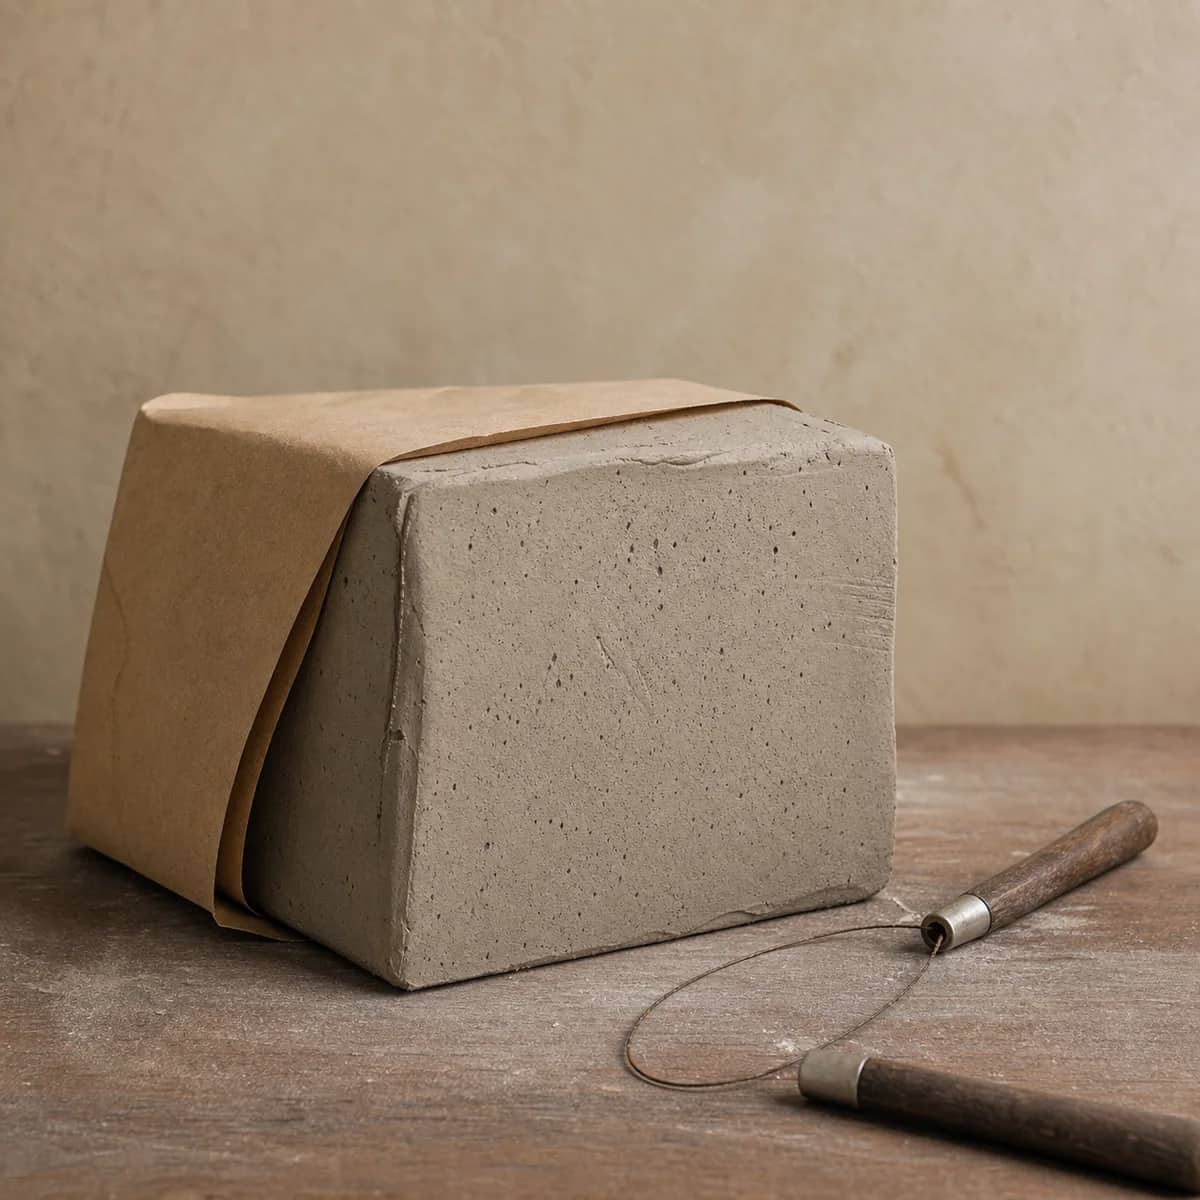
Label clay by body and condition, such as fresh, reclaim, or too dry to use. Keep bags closed between sessions and place them in a bin or on a low shelf where they will not be hit by water from the wheel. Store ware boards flat and ready to grab. A stack of matching boards reduces the temptation to move soft pots one by one.
Separate greenware from active throwing supplies. Freshly thrown pieces need a quiet surface away from wheel vibration, wet splatter, and frequent tool grabbing. A covered shelving unit or a simple shelf with adjustable plastic covering can slow uneven drying while still keeping pieces visible.
Can lighting improve beginner wheel practice?
Yes. Good lighting makes it easier to see wobble, wall thickness changes, tool marks, and wet sheen on the clay. Aim for broad, even light over the wheel and adjacent work table instead of a single bright lamp that creates deep shadows on one side of the pot.
If possible, place a task light so it illuminates the wheelhead without shining directly into your eyes. Check the view from your seated position. You should be able to see the inside of a cylinder and the outside profile without leaning dramatically or moving the lamp mid-process.
Use the same lighting when comparing practice pieces. After throwing, place two or three cylinders side by side on a board and look for a specific change, such as a more even rim, straighter wall, or fewer spiral marks. Record the observation, then change one part of your process in the next session. This makes your setup a tool for learning rather than just a place to make a mess.
Keep kiln planning separate from wheel planning
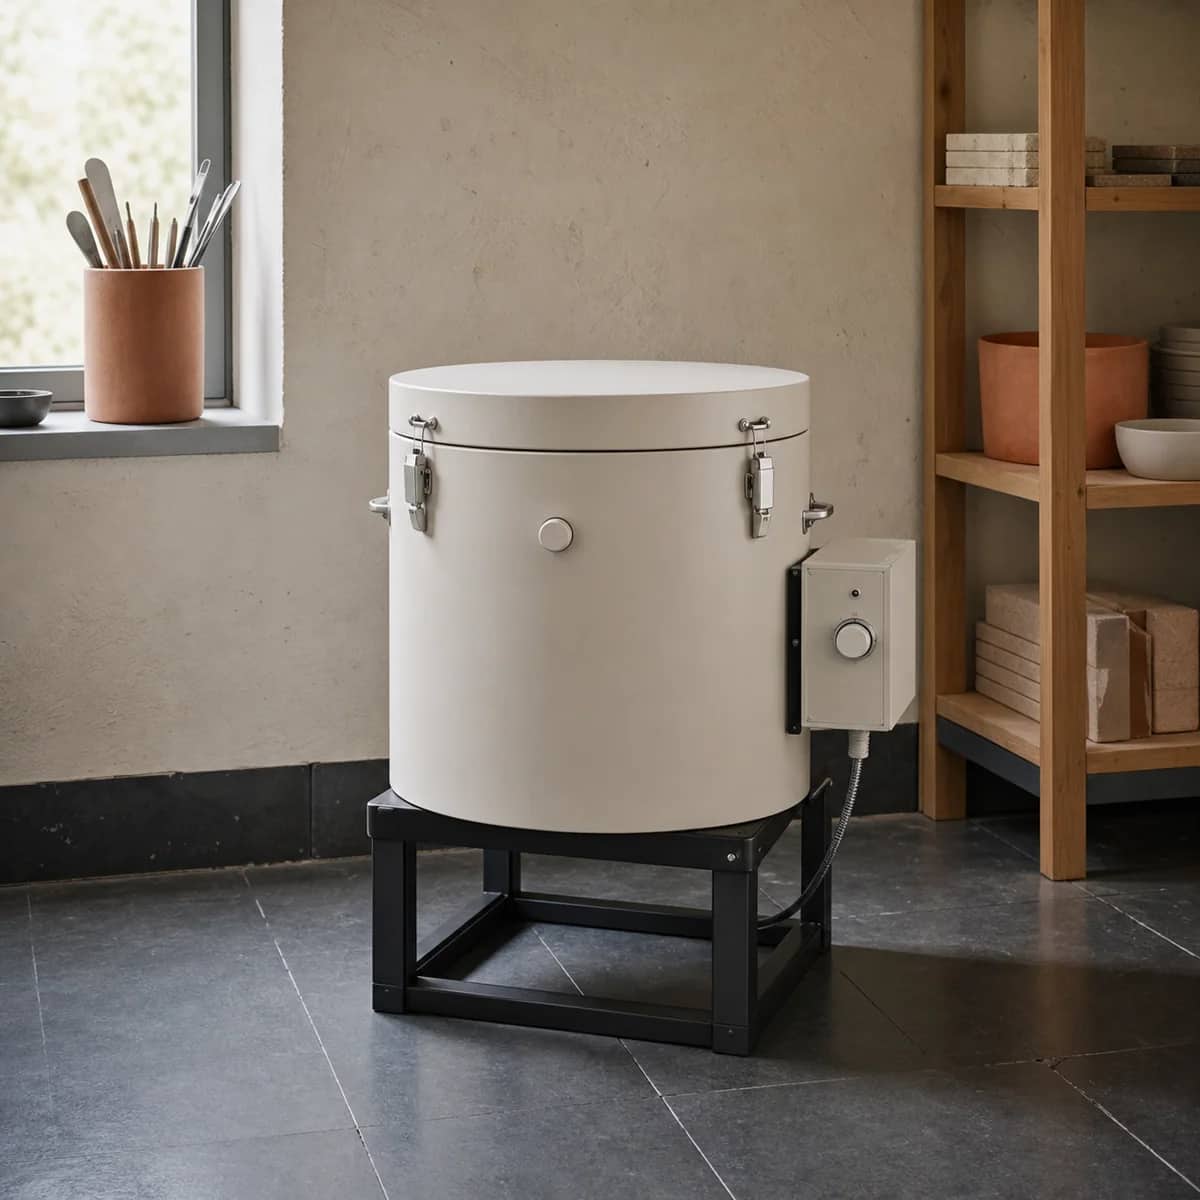
A wheel workspace can be compact, but an electric kiln needs its own placement and installation decisions. Do not treat an open corner beside the wheel as automatic kiln space. Follow the kiln manual for placement, clearance, ventilation, and operating requirements, and have a qualified electrician and local requirements determine electrical questions.
If firing at home is part of your plan, review the workflow and space considerations in this electric pottery kiln for home use guide before choosing a location. Keep kiln loading, glazing, and fired ware storage organized as separate activities from throwing whenever your space allows.
FAQ
Do I need a separate room for a pottery wheel?
No. A dedicated room can be convenient, but a defined wheel zone in a garage, basement, spare room, or shared work area can work when it has stable flooring, cleanable surfaces, practical storage, and a cleanup routine you can maintain.
What should stay within reach of the wheel?
Keep water, your few most-used throwing tools, a sponge, wire cutter, rib, clay scraps container, and a place for finished pieces nearby. Put extra tools and unopened clay farther away so the wheel area stays clear.
How often should I reset the wheel area?
Reset it after each throwing session. Remove scraps, wipe down the wheel and splash pan, return tools, and clear the path to drying storage. A short reset prevents the next session from starting with hardened clay and missing tools.
Can I put shelving directly behind my wheel?
You can if the shelf does not block cleanup or catch frequent splash. Use it for closed containers or less-used items, not for greenware, open tools, or porous materials that are hard to wipe clean.
Keep this nearby while you make, then let the next piece be your own.