TL;DR
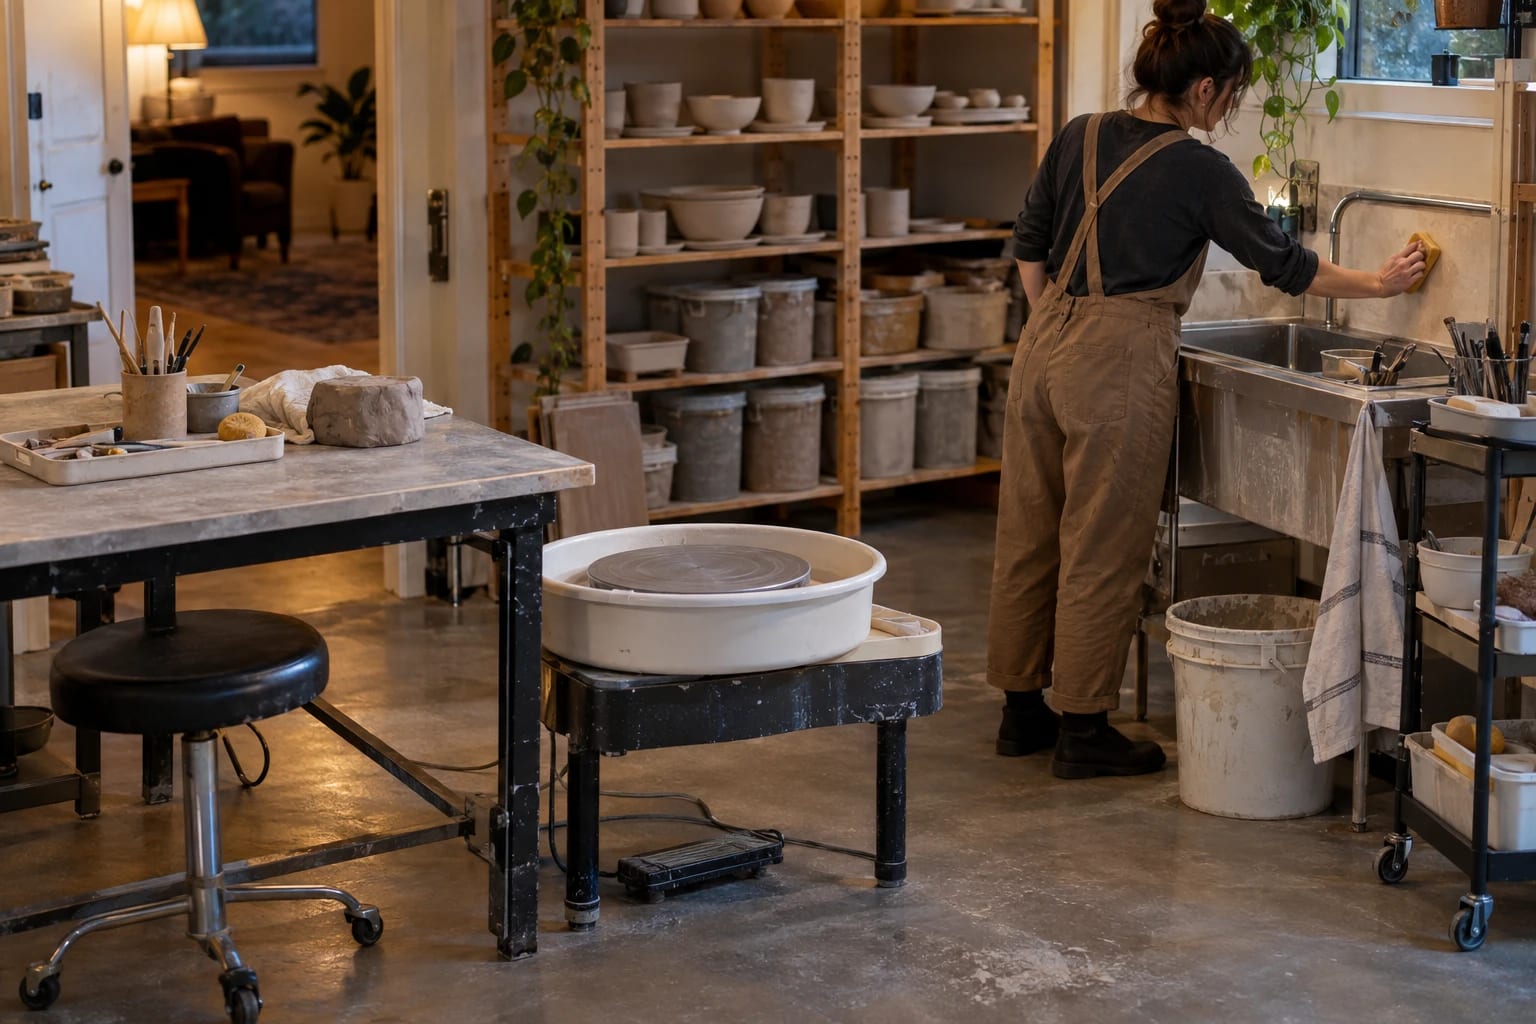
A workable home pottery studio setup starts with three zones: forming, cleanup, and storage. Put the wheel near water and washable surfaces, keep clay and tools organized at arm's reach, and treat any kiln as a separate equipment decision governed by its manual and local electrical requirements.
Before buying equipment, measure the room, mark door swings and walking paths, and sketch where clay, water, drying work, and finished pieces will move. A smaller studio that supports a repeatable workflow is usually more useful than a crowded room full of equipment.
What should a compact home pottery studio include?
Start with the work you actually plan to do. A beginner who mainly handbuilds needs a sturdy table, storage, drying boards, tools, and a reliable cleanup area. Someone who throws regularly also needs a wheel position that leaves room for a stool, splash pan, reclaim bucket, and movement around the wheel.
Use this basic zone plan:
- Forming zone: wheel, worktable, stool, bats, boards, and frequently used tools.
- Wet cleanup zone: sink or wash station, clay-trapping approach, buckets, sponges, and washable surfaces.
- Dry storage zone: sealed clay containers, tools, bats, greenware shelves, and finished work.
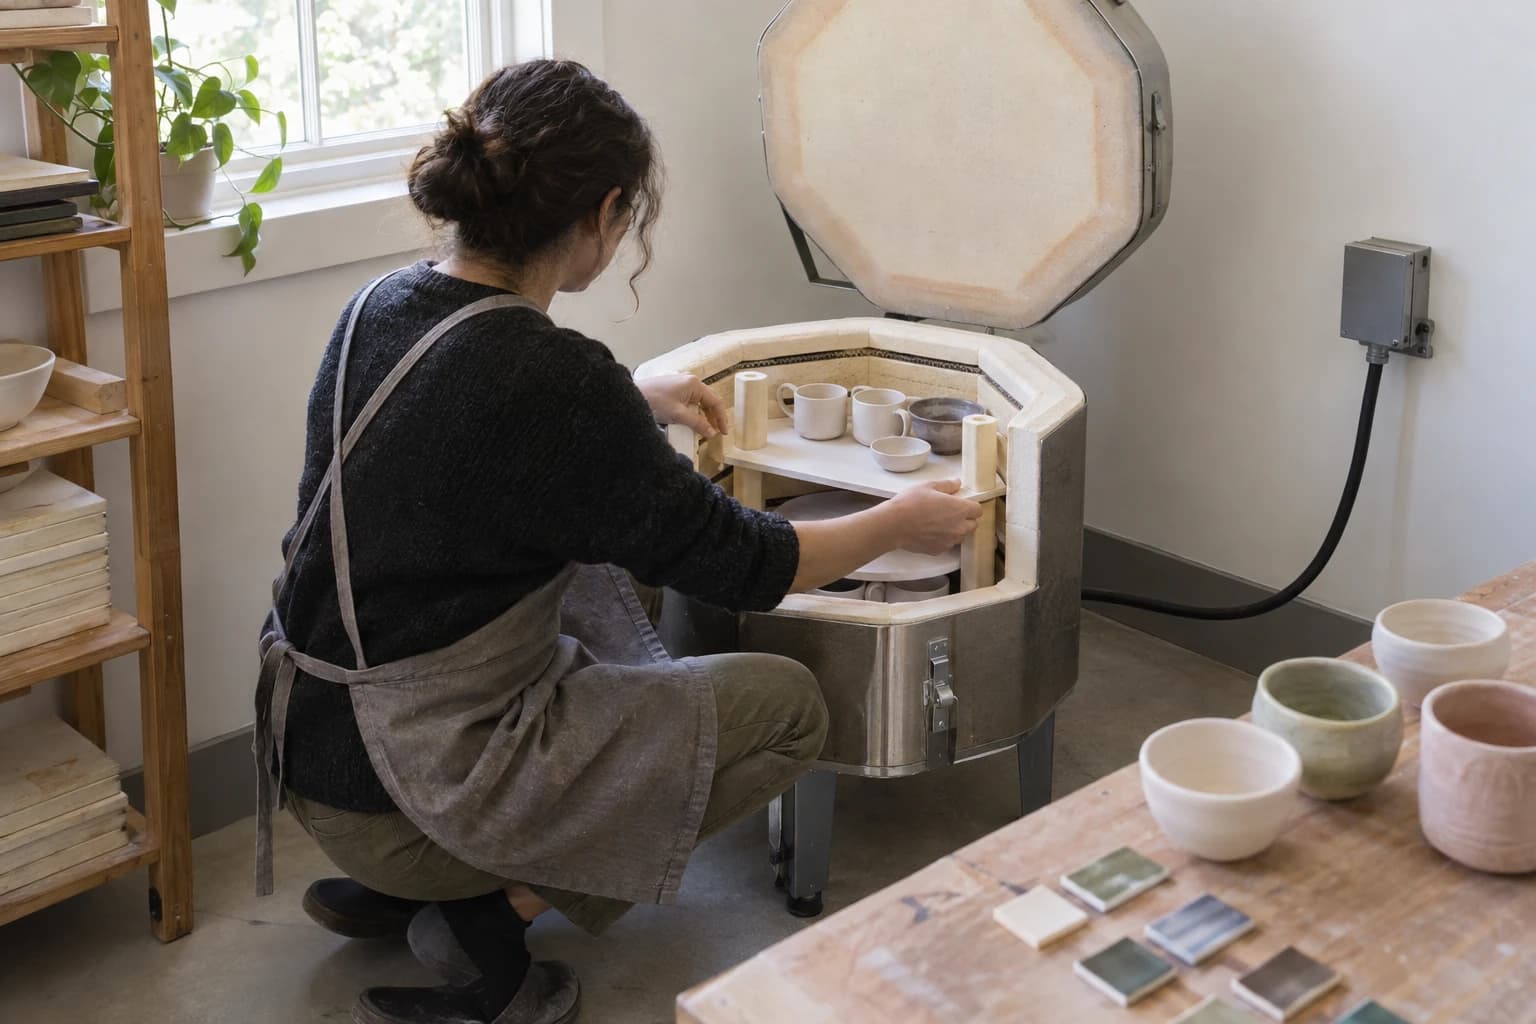
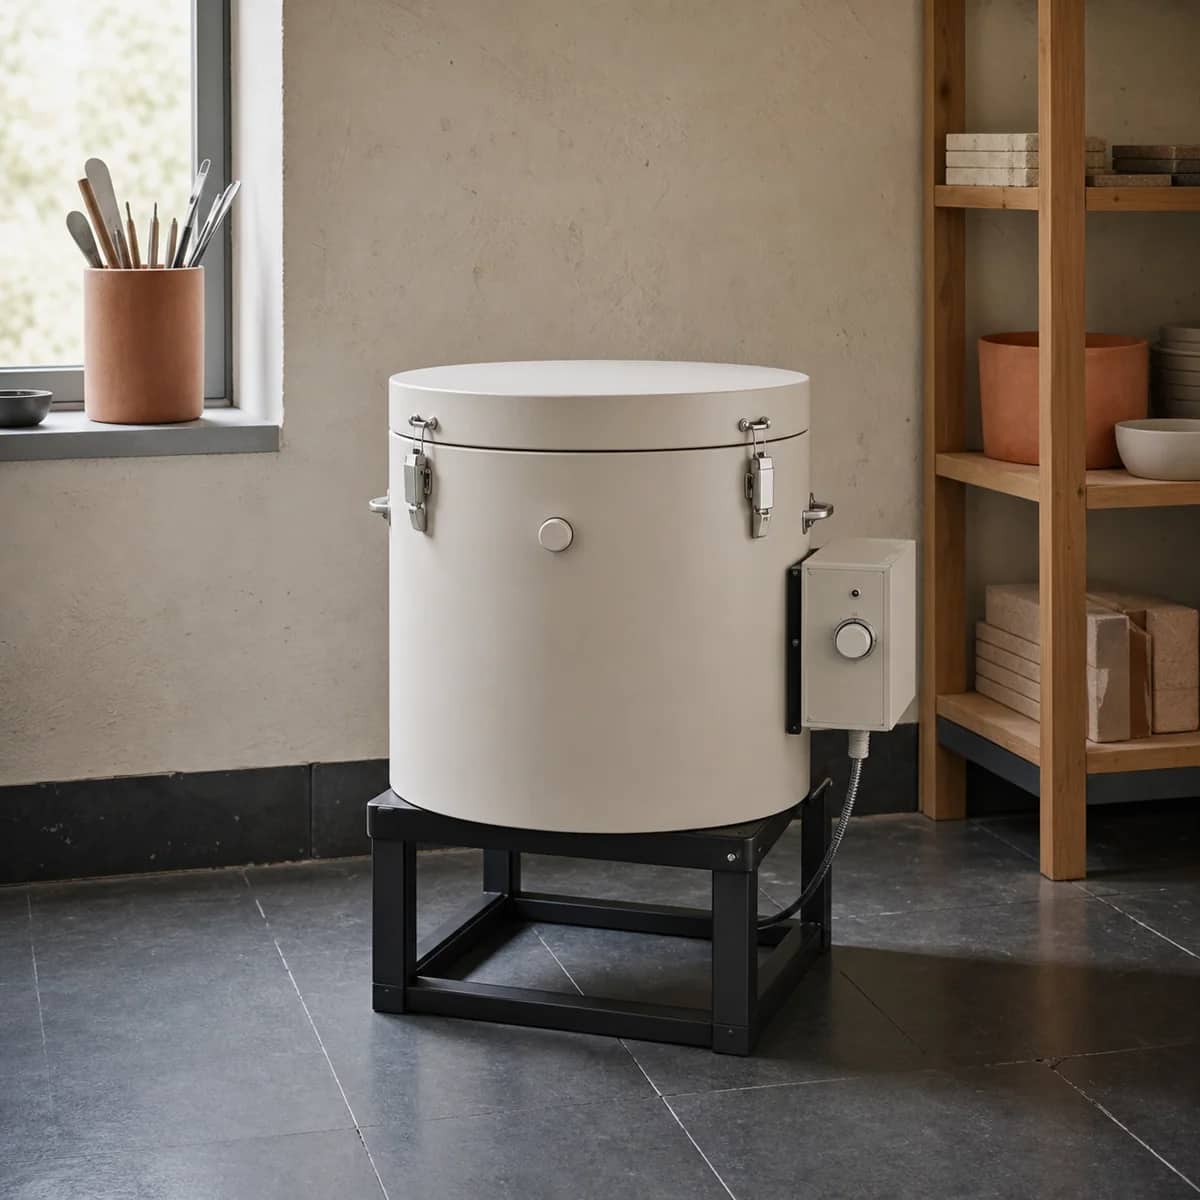
- Firing zone: kiln location, approved ventilation approach, clearance, and electrical access determined by the equipment manual and local requirements.
Keep the forming zone and dry storage close enough to reduce carrying, but do not let shelves become part of the main walking route. A simple studio map can reveal problems before you assemble anything. Draw the room to scale, add every fixed feature, then place the largest equipment first.
For a broader room-and-equipment planning reference, compare your sketch with this guide to setting up a home pottery studio space and equipment.
Where should the wheel, table, and storage go?
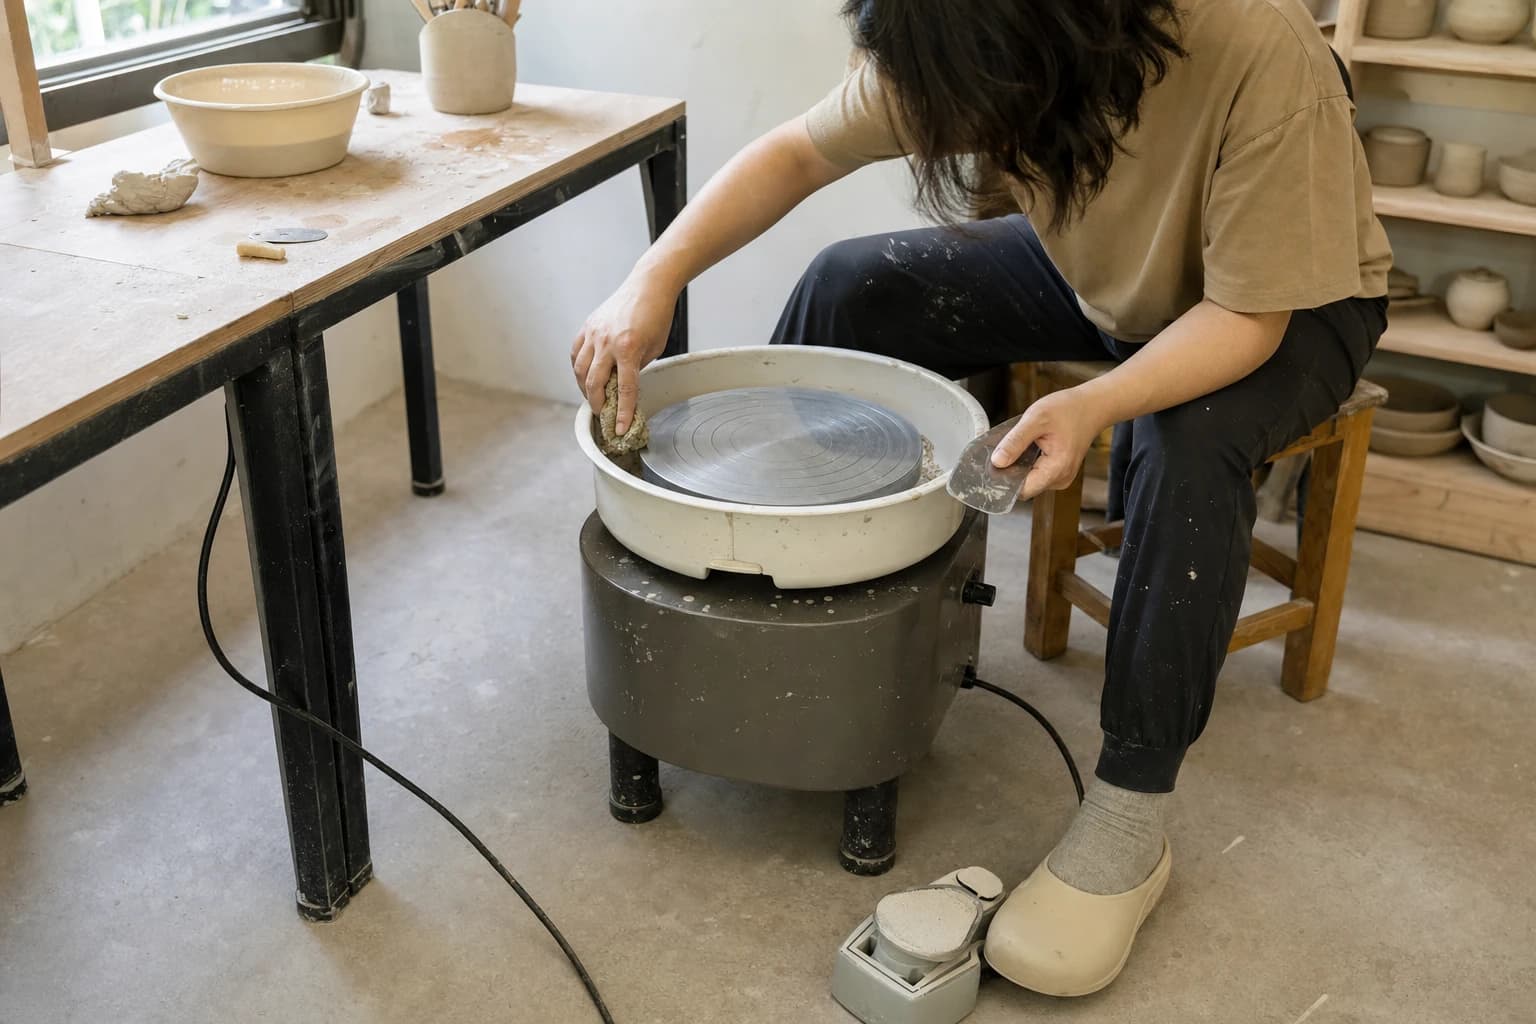
Place the wheel where you can sit comfortably, reach tools without twisting, and remove a bat or finished piece without crossing the main path. Leave enough working room for your stool and for cleaning around the splash pan. A corner can save floor space, but a completely tight corner may make maintenance and moving the wheel awkward.
Put the main worktable near the wheel if you throw, or make it the center of the room if you handbuild. The table should be stable, easy to wipe, and large enough for the forms you make. Test the height with a scrap board and a lump of clay before committing to a permanent setup. If your shoulders rise or your wrists bend sharply, adjust the table or your sitting position.
Use storage according to frequency:
- Keep daily tools in an open tray or shallow drawer near the work surface.
- Store bats, boards, ribs, and molds vertically when possible.
- Put backup supplies and rarely used tools higher or farther away.
- Give each clay body its own labeled, sealed container.
- Keep greenware on level shelves where pieces will not be bumped during routine work.
A narrow rolling cart can connect zones without permanently filling the floor. Check that its wheels lock or that it can be parked securely before using it for wet work or greenware.
How do you plan water, cleanup, and clay dust?
Cleanup should be designed before the first throwing session. Clay residue can settle on floors, shelves, tools, and nearby household surfaces, so choose washable finishes and keep dry sweeping out of the routine. Wipe surfaces with a damp method suited to the material, collect slurry in a designated container, and keep clay waste out of household drains unless your local setup specifically permits it.
A dedicated rinse bucket can make a small studio more flexible when a sink is not close to the wheel. Use separate containers for heavy clay residue and cleaner water, label them, and let solids settle before disposal according to local rules. Clean sponges, ribs, bats, and splash pans in a way that limits the amount of clay entering plumbing.
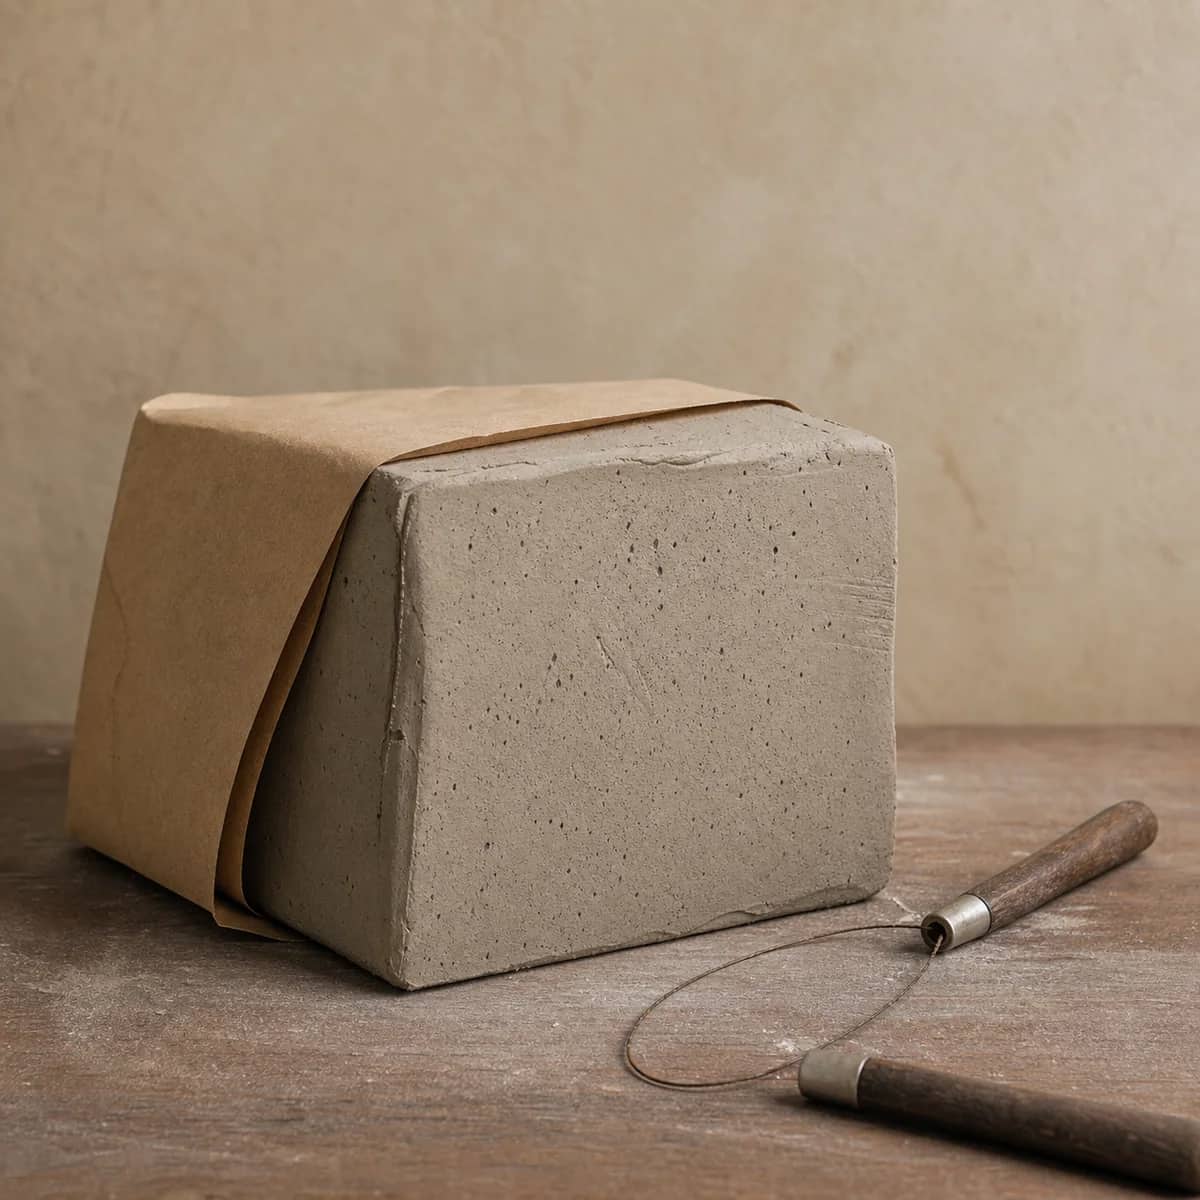
Plan storage for wet clay as carefully as storage for tools. A sealed container, clear label, and simple moisture check help prevent different clay bodies from being mixed. For more detail on keeping clay workable and organized, see how to store clay at home.
Ventilation is a separate question from ordinary cleanup. If you install an electric kiln, follow the kiln manual for placement and ventilation, and check local electrical and building requirements. Do not improvise wiring or assume a household outlet is suitable. A qualified electrician must decide electrical work. This overview of electric kiln ventilation for a home studio can help you identify the questions to ask before installation.
Should a home studio include a kiln?
Not necessarily. Many beginners can start by making work at home and arranging firing through a community studio, class, or local firing service. This reduces the initial space and utility decisions while you learn which clay bodies, forms, and firing frequency fit your practice.
If you plan to add a kiln, decide the location before buying one. Check the room, access route, surrounding materials, ventilation plan, and electrical supply with the manual and local requirements in hand. The kiln must also fit your workflow: a location that is technically possible but difficult to load, inspect, or keep clear may become a daily obstacle.
Compare usable chamber size with the work you make rather than choosing by exterior dimensions alone. Small test loads, mugs, tiles, and small sculptures may have different space needs. Read the manual for the specific kiln, and ask a qualified electrician about the electrical installation. General planning guidance is available in how to choose a pottery electric kiln for a home or small studio.
A repeatable home pottery studio setup test
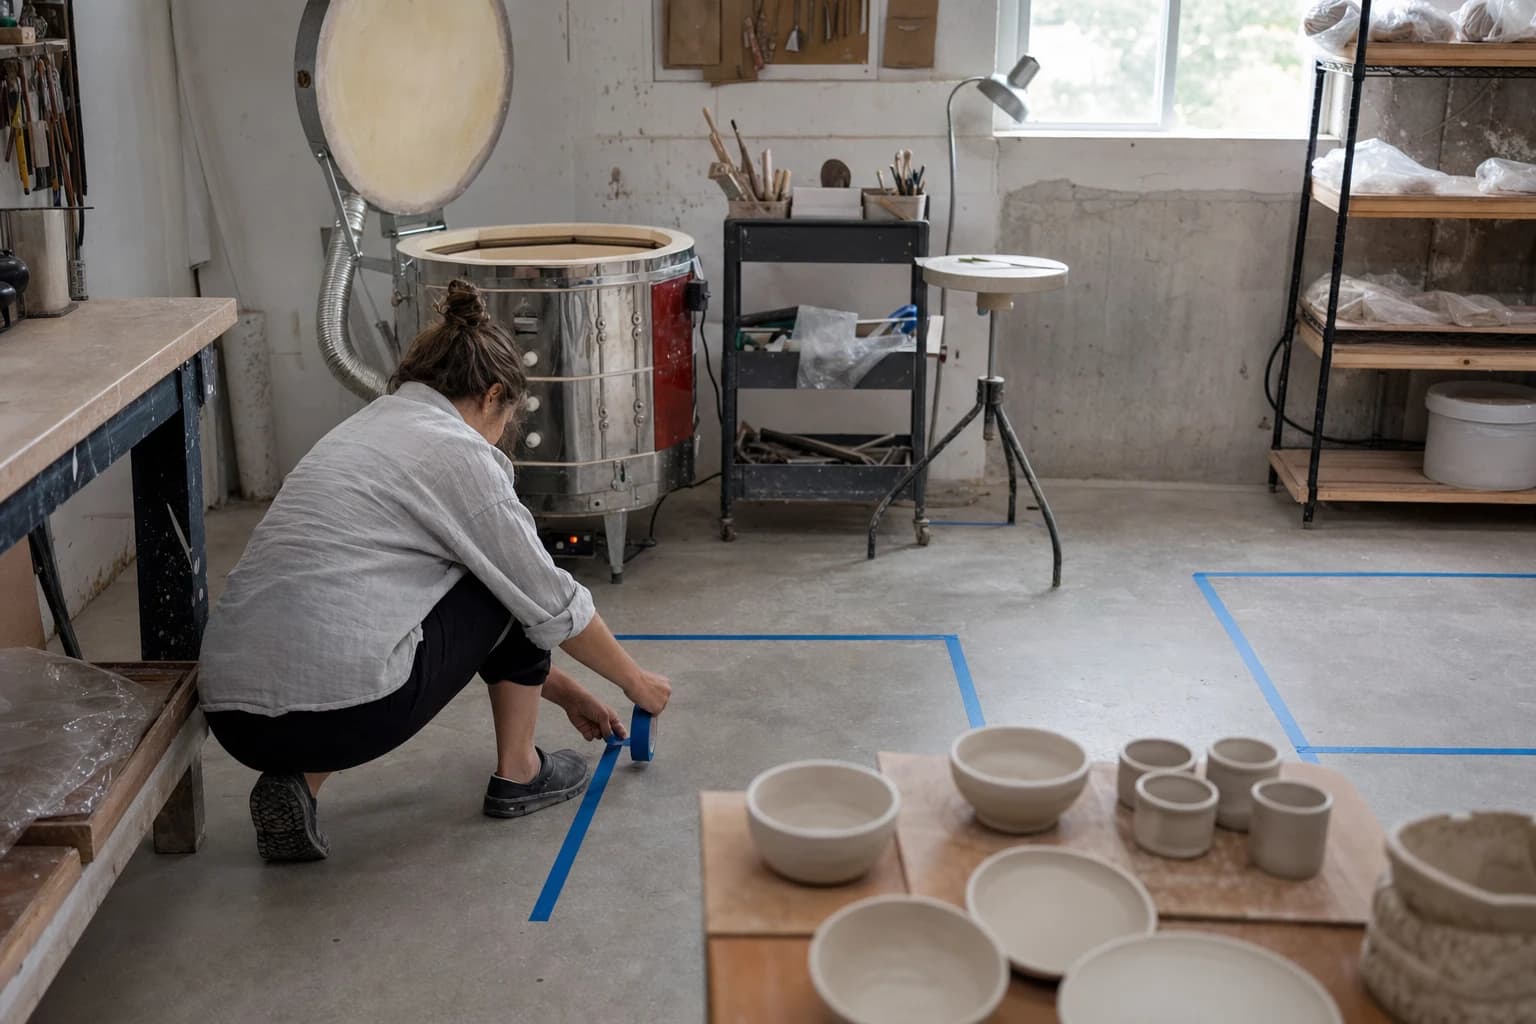
Before drilling, buying shelves, or moving heavy equipment, run a temporary version of the room for one or two making sessions. Use painter's tape to mark equipment footprints and cardboard boxes to represent shelves.
Test the workflow in this order:
1. Bring clay from storage to the wheel or table. 2. Make a piece and place it on a board. 3. Move the board to a drying shelf without crossing the main path. 4. Clean tools, splash pan, and work surfaces. 5. Put tools and clay back where they belong. 6. Walk around the room while carrying a board or bucket.
Record every unnecessary step, collision, reach, and surface that is difficult to clean. Move only one item at a time and repeat the test. This turns layout planning into an observation rather than a guess. If the same problem appears twice, change the layout before purchasing more storage.
Beginner checklist for the room
Use this checklist before treating the studio as finished:
- Measure the room, doors, windows, fixed shelves, and utility points.
- Mark the wheel, table, storage, cleanup, drying, and kiln areas.
- Keep a clear route between the work zones.
- Store clay by type in sealed, labeled containers.
- Keep greenware level and protected from accidental contact.
- Choose surfaces that can be wiped with a damp method.
- Plan clay slurry collection before using a sink for cleanup.
- Test tool storage during an actual making session.
- Confirm kiln placement, ventilation, and electrical requirements from the manual and local rules.
- Ask a qualified electrician about electrical work instead of altering wiring yourself.
FAQ
Can I set up a pottery studio in one room?
Yes, if the room supports separate forming, cleanup, storage, and drying functions. Use labeled containers, mobile storage, and a cleanup routine to keep wet clay work from spreading into the entire room.
Do I need a pottery wheel to start?
No. Handbuilding can require less equipment and may fit a compact setup more easily. Add a wheel when the forms and practice you want justify its floor space and cleanup needs.
Is a kiln essential for a home pottery studio?
No. You can make work at home and arrange firing elsewhere. If you add an electric kiln, let the specific manual, local electrical requirements, and a qualified electrician determine the installation details.
What should I buy first?
Start with the equipment that supports your main process: a stable work surface, basic tools, clay storage, drying boards, and a practical cleanup system. Delay specialized equipment until your workflow shows a clear need.
Keep this nearby while you make, then let the next piece be your own.