TL;DR
Unusual ceramic glaze techniques are worth trying once your clay, glaze thickness, and firing schedule are already repeatable. Start with small test tiles for mishima, bubble effects, crawling, or crystalline surfaces, and treat crawling and run-prone effects as the highest risks to kiln shelves. Change one variable at a time, keep the underside clean, and use the kiln and glaze manufacturer's instructions for firing and cleanup decisions.
Which unusual ceramic glaze techniques are worth trying first?
The best first experiment is not necessarily the most dramatic surface. It is the technique that gives you a clear observation without putting a full batch at risk.
| Technique | What creates the effect | Control level | Main failure concern | |---|---|---:|---| | Mishima or inlay | Contrasting material pressed into carved lines | High | Uneven carving or proud inlay | | Bubble glaze | Bubbles, foam, or a textured application | Medium | Thick, fragile glaze or unexpected running | | Crawling | A glaze that pulls apart during firing | Low | Bare patches and loose glaze on the shelf | | Crystalline surface | Crystal growth during a controlled firing cycle | Low | Drips, movement, and difficult cleanup | | Wax or paper resist variation | Controlled breaks in an applied layer | Medium | Blurred edges or exposed clay in the wrong place |
For a first round, choose mishima or a resist variation. They create unusual contrast while leaving more of the result in your hands. Bubble, crawling, and crystalline effects belong later, after you can identify whether a defect came from application, drying, glaze fit, or firing.
If you are still building a dependable base process, compare these experiments with established methods such as layering, brushing, dipping, and wax resist. The goal is to know your normal result before you deliberately disrupt it.
Mishima gives you unusual contrast with a manageable test
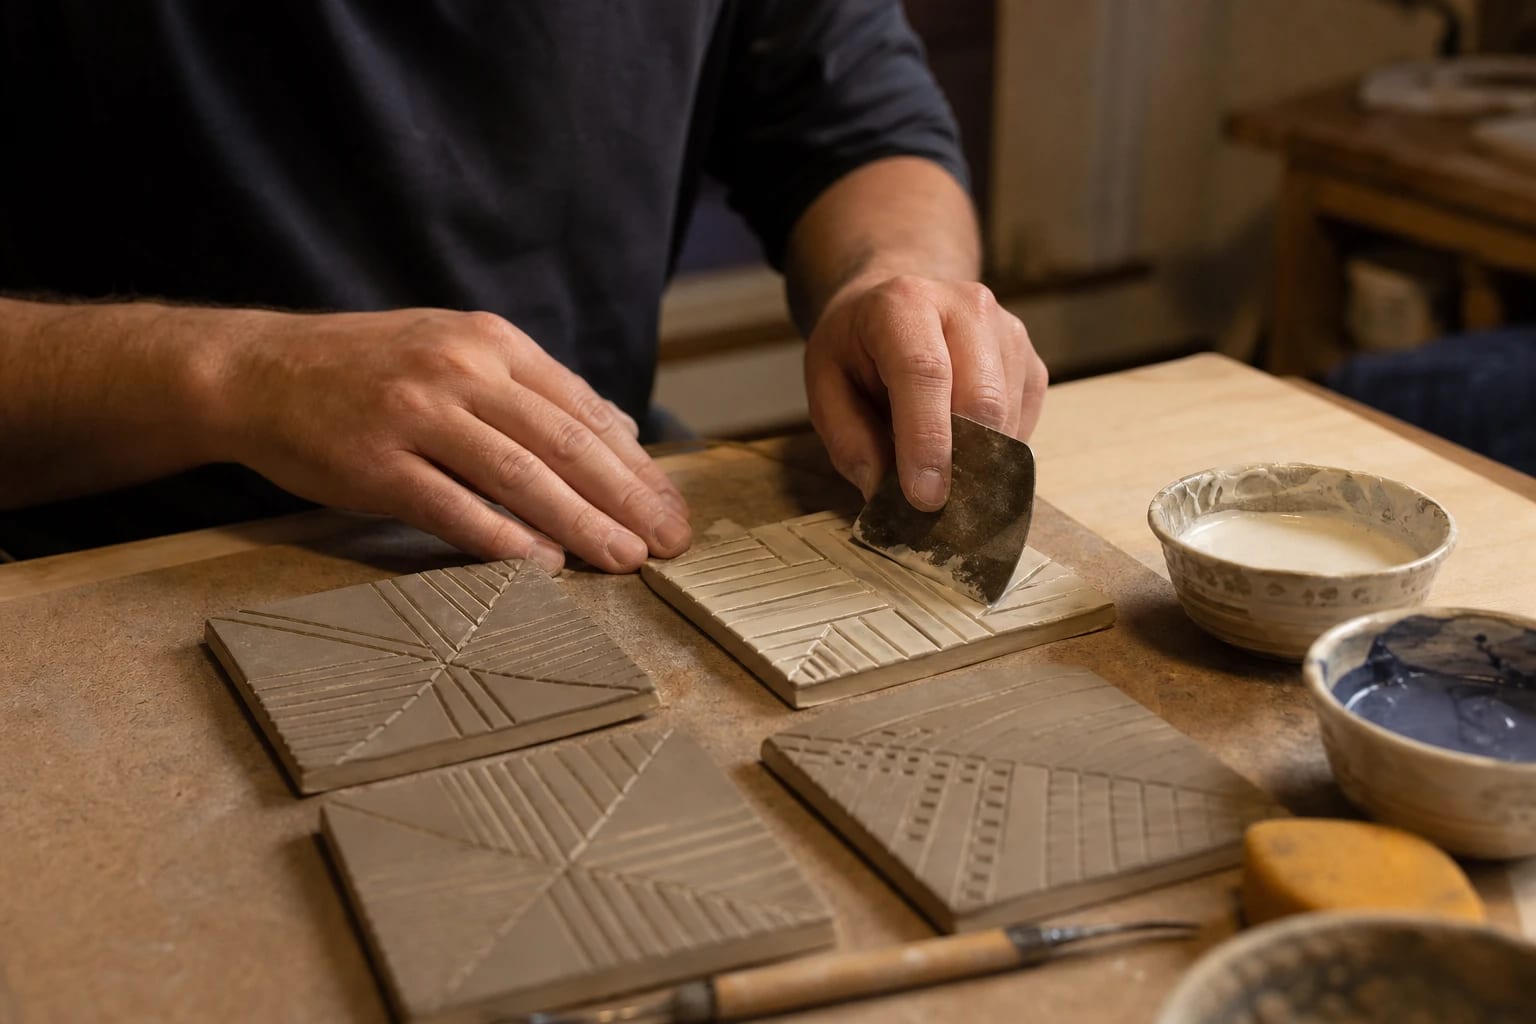
Mishima, or ceramic inlay, starts with carved lines in leather-hard clay. You press a contrasting slip or underglaze into the cuts, allow the surface to firm, then scrape or compress away the excess. The finished design comes from the difference between the inlaid material and the surrounding clay.
This technique is useful when you want a graphic surface without relying on a glaze that moves unpredictably. Try it on a flat tile, small plate, or the outside of a simple cylinder. Keep the carved lines shallow and consistent. Deep cuts can weaken a thin wall, while shallow cuts may disappear during scraping or later glazing.
A repeatable test looks like this:
1. Make several identical tiles from the same clay body. 2. Carve the same pattern at two or three depths. 3. Use one inlay material across all tiles. 4. Leave one tile with only the inlay and add a transparent glaze to the others. 5. Compare line sharpness, color change, and surface fit after firing.
Mishima is not risk-free. Inlay that remains raised can change the way a later glaze gathers, and a thick coating can flake or move. Keep the underside and edges free of excess material.
Bubble and foam effects reward small-scale testing
Bubble effects can be made by introducing air into a glaze mixture or by applying a deliberately textured layer. The attraction is a pitted, cellular, or foamy surface that looks unlike a standard dipped glaze. The problem is that the same texture can become rough, weak, or much more active than expected after firing.
Use a test tile with a shallow catch area and mark the glaze thickness. Test a thin, medium, and heavier application rather than covering a finished vessel immediately. Photograph or sketch the wet application before firing so you can compare the result with the process.
Avoid treating a bubble effect as a functional interior surface until you understand its fired texture. Pits and sharp high points are difficult to clean and may not suit cups, bowls, or serving surfaces. A controlled exterior panel, sculptural form, or decorative tile is a safer starting point.
Why is crawling glaze harder to control?
Crawling happens when a glaze layer pulls into separate islands during firing, leaving areas of bare clay. It can produce an intentionally dry, broken surface, but it is one of the less forgiving techniques because detached glaze may move onto the kiln shelf.
Common process variables include a dusty bisque surface, an overly thick application, poor adhesion, incompatible layers, or a glaze that shrinks differently from the surface beneath it. Do not assume the visual pattern alone tells you which variable caused the result.
Test crawling on small, shallow pieces first. Apply the same glaze at different thicknesses, and keep one tile carefully cleaned before glazing. If one test crawls while another does not, record the preparation and application differences. If the glaze flakes, sheds, or appears loose before firing, stop and consult the glaze instructions rather than loading a finished pot.
For shelf protection, keep every test on a catch tile or kiln-safe support chosen according to the kiln and glaze instructions. Do not rely on kiln wash as permission to load a glaze that may run or shed. Inspect shelves after the firing and follow the kiln manual for cleaning and maintenance.
Crystalline glazes need a separate firing plan
Crystalline surfaces are formed when crystals develop within a glaze during a carefully managed heat-work and cooling process. The results can be striking, but the process is less forgiving than ordinary glaze firing. Crystal growth, glaze thickness, cooling behavior, and the shape of the pot all affect the outcome.
The most important design decision is where the glaze is allowed to go. A crystalline glaze can move beyond the original application area, so pieces often need a deliberate catch surface or a form designed to contain the glaze. A flat shelf is a poor place to discover that your run was larger than expected.
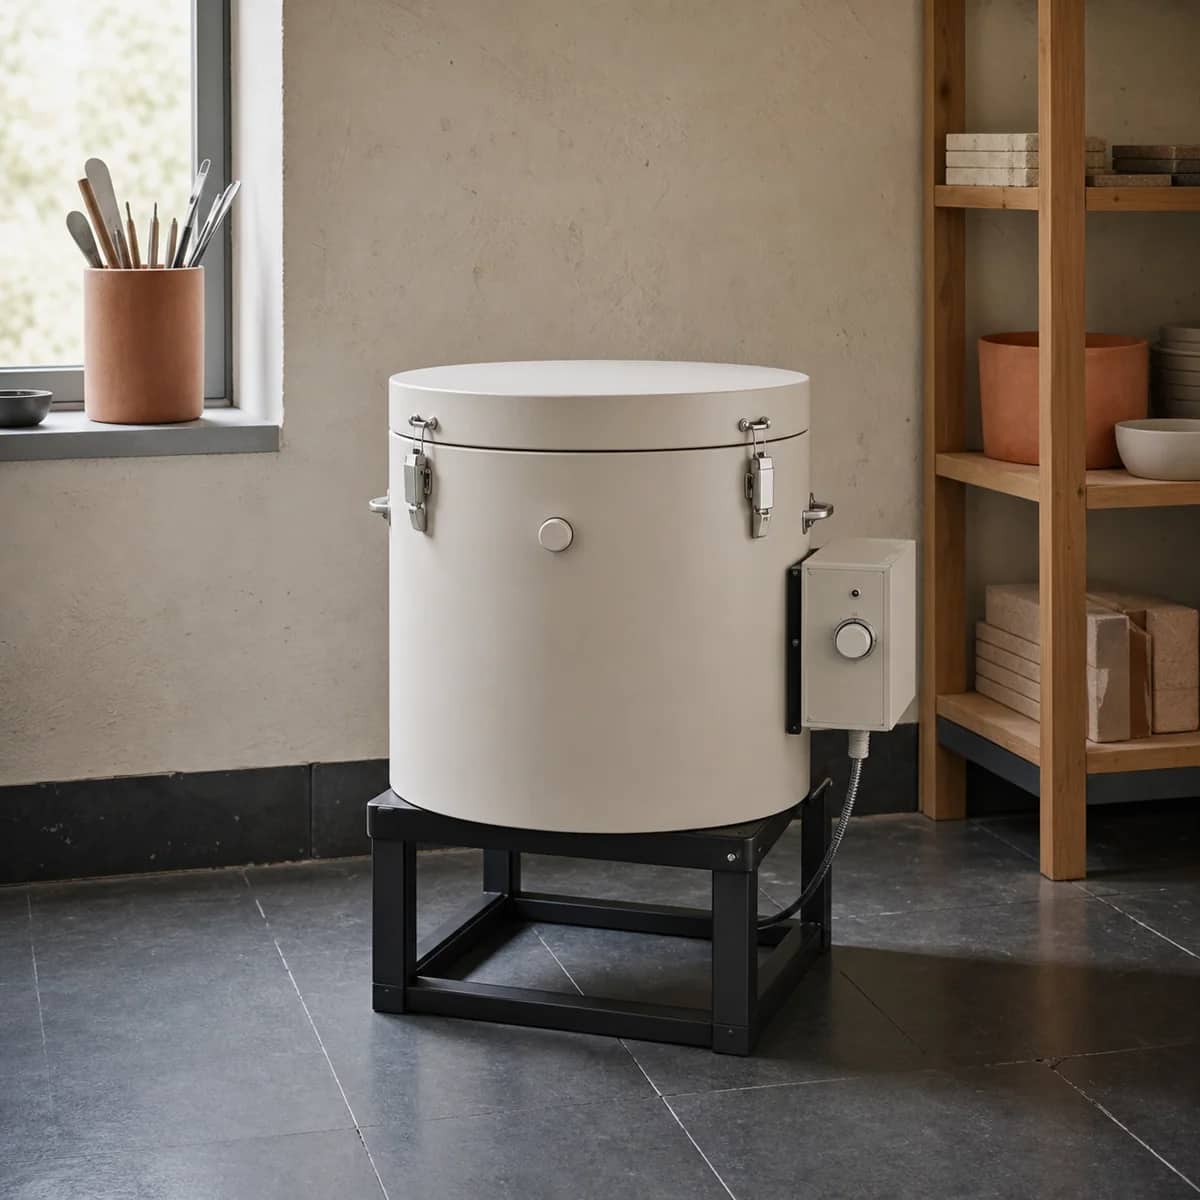
Before attempting this technique, read the glaze recipe or product instructions alongside your kiln manual. Firing schedules, holds, cooling stages, and placement are not interchangeable assumptions. A kiln firing schedule should be treated as a controlled experiment, not a universal recipe.
How do you keep an unusual glaze test from damaging a shelf?
Use this pre-firing checklist for any glaze described as running, crawling, foaming, crystalline, or experimental:
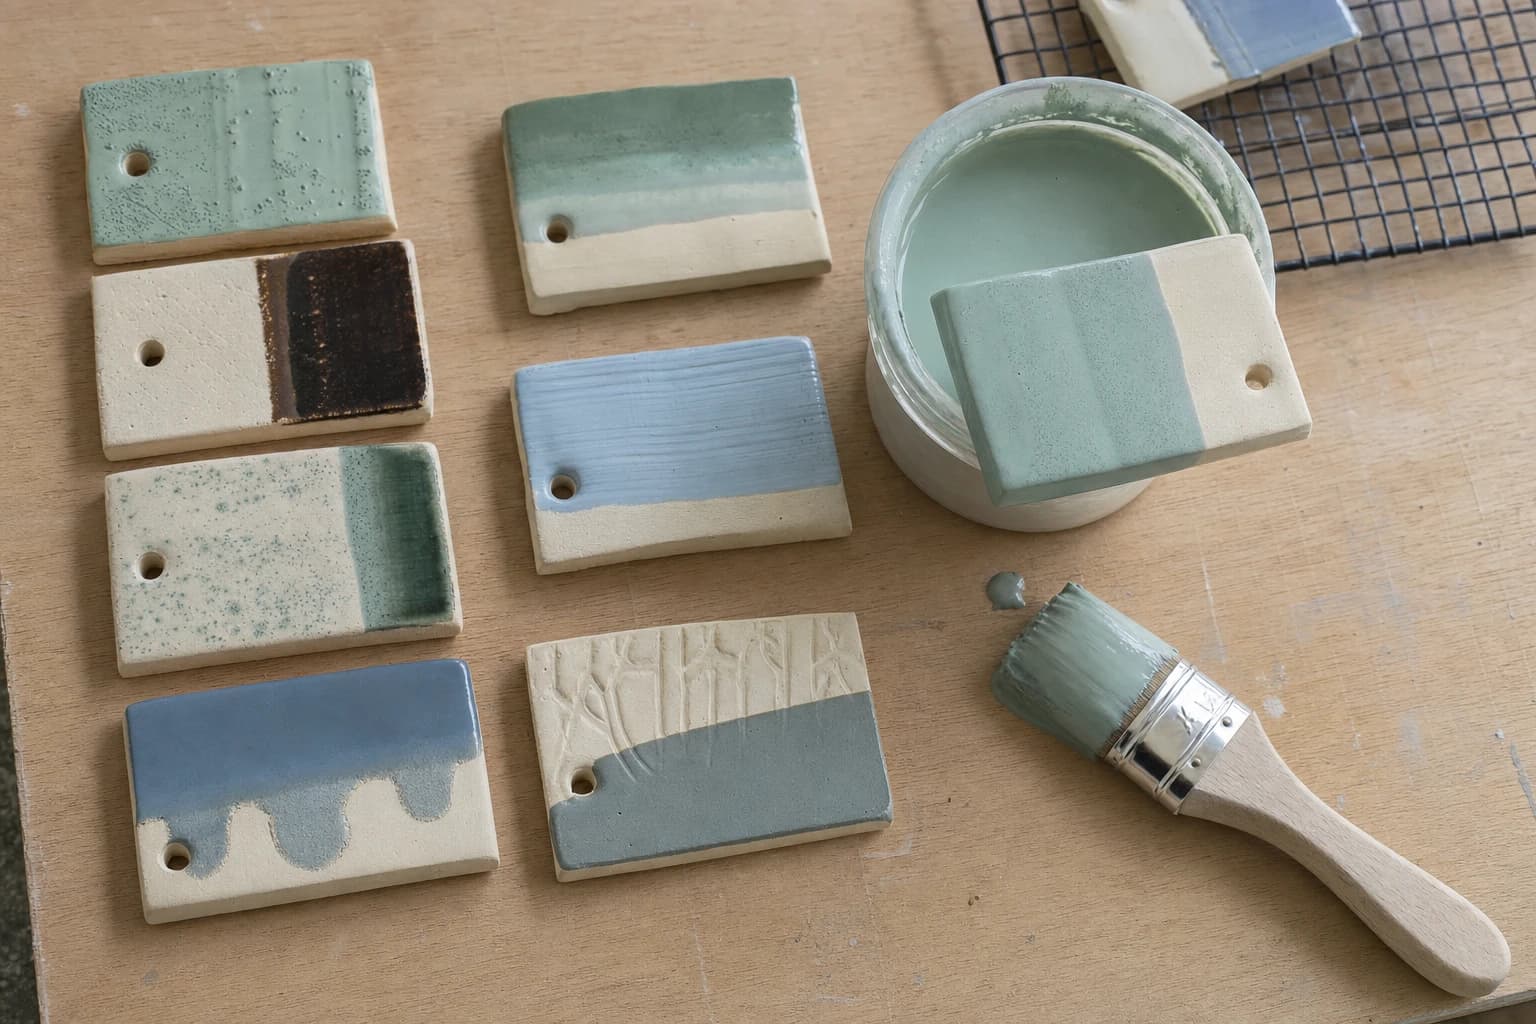
- Test on a small tile before using a finished pot.
- Write the clay body, glaze name, application method, and thickness on the test record.
- Keep glaze away from the foot and any surface that touches a shelf.
- Use a catch tile, setter, or other support only when it is appropriate for the form and firing instructions.
- Leave space around experimental pieces so a problem is easier to inspect.
- Load the test where you can find it quickly after firing.
- Check the shelf, underside, and nearby pieces before unloading everything.
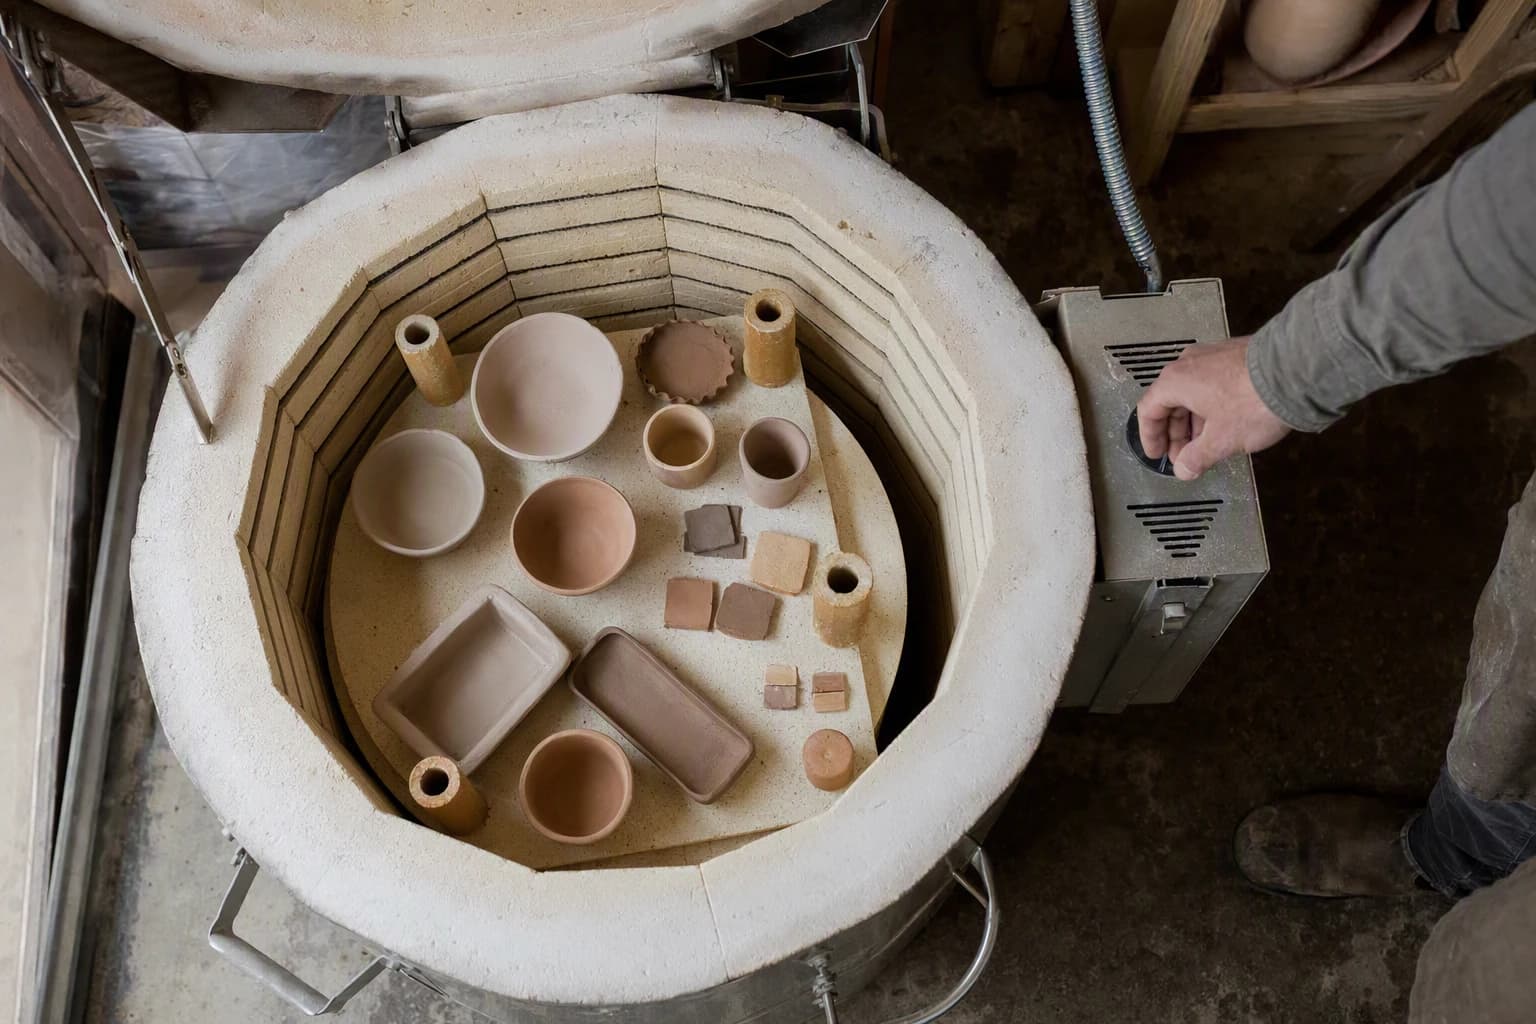
Witness cones and a written firing log can help separate a glaze problem from a heat-work problem. Reading a kiln temperature cone chart is useful when the fired result seems too glossy, too dry, overfired, or underfired. Follow the kiln manual for loading, operating, and inspecting the kiln, and ask a qualified electrician or local authority about electrical and installation requirements.
Build a repeatable test before making a full batch
Make a small matrix instead of one dramatic test. Use several tiles from the same clay body, label each tile, and vary only one factor: application thickness, surface preparation, glaze combination, or firing schedule. Keep the other factors stable.
After firing, inspect four things:
1. Surface: Is it smooth, rough, pitted, matte, glossy, or loose? 2. Edges: Did the glaze stop where you expected, or did it move? 3. Fit: Are there cracks, shivering, flaking, or other signs of a poor match? 4. Process: Can you explain the result from your notes?
If you cannot connect the result to a recorded variable, repeat the test before changing the glaze recipe. That extra round is cheaper than guessing on a full kiln load. Once one version behaves consistently, use it on a small group of related forms rather than every piece in the kiln.
FAQ
Which unusual glaze technique is safest for a beginner?
Mishima or a carefully planned resist variation is usually easier to contain than crawling or crystalline effects. Still, test tiles are necessary because clay bodies, glaze products, and firing conditions differ.
Can I put a crawling glaze directly on a kiln shelf?
Do not place a potentially loose or runny glaze directly on an unprotected shelf. Use a test setup appropriate to the glaze and kiln instructions, keep the foot clean, and inspect the shelf after firing.
Why did my unusual glaze look different from the test tile?
Application thickness, tile shape, clay body, placement, heat-work, and cooling can all change the result. Compare your notes and firing record before changing several variables at once.
Should unusual glazes be used on functional ware?
Not automatically. Rough, pitted, crawling, or unstable surfaces may be difficult to clean or unsuitable for food-contact areas. Start with decorative surfaces until the fired result and the glaze manufacturer's intended use are clear.
Keep this nearby while you make, then let the next piece be your own.