TL;DR
An electric kiln for pottery at home works best when the kiln, room, electrical supply, ventilation plan, and firing routine all fit together before installation. Start with the kiln manual, confirm what your space can accommodate, and have a qualified electrician and local requirements decide any electrical work.
The most useful buying question is not “What is the biggest kiln I can fit?” It is “What kiln size and firing rhythm can my home studio support without turning every firing into a workaround?”
Can I use an electric kiln for pottery at home?
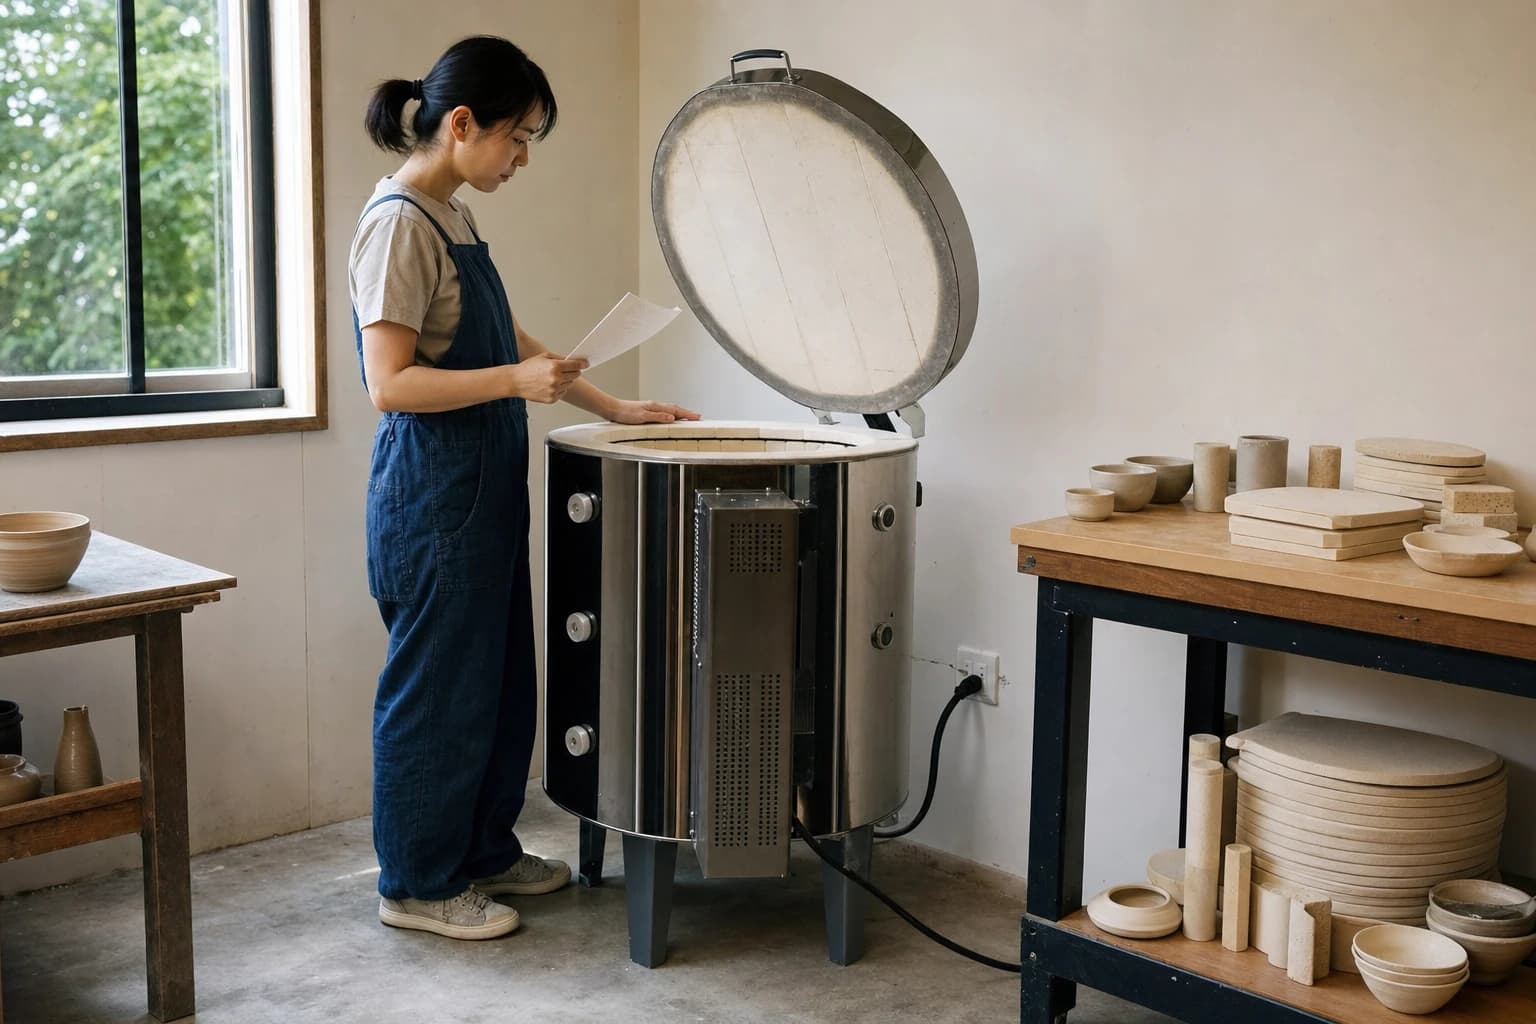
Yes, if the proposed location, equipment requirements, and local rules align. A garage, outbuilding, or dedicated work area may offer a more workable starting point than a room that also serves as living space, but the correct choice depends on the kiln manual, clearances, ventilation route, electrical capacity, and your local requirements.
Do not choose a kiln based on floor space alone. A kiln needs room for loading, unloading, shelf storage, and access for routine inspection. You also need a path for moving greenware and glazed work without carrying fragile pieces through crowded areas.
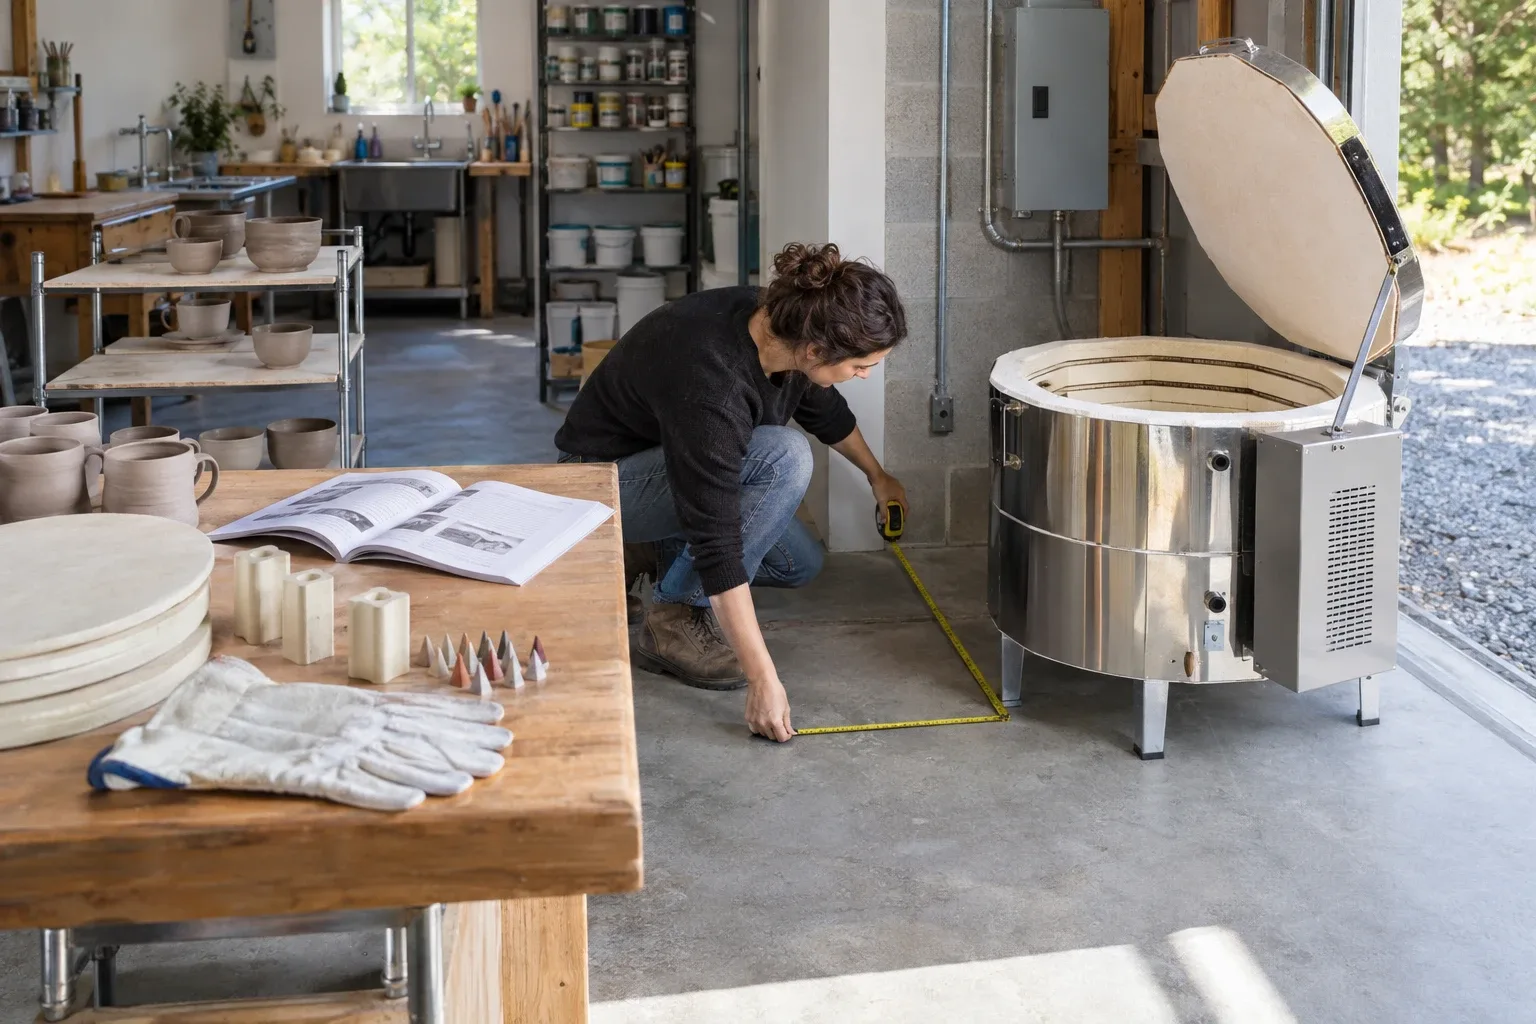
Before comparing models, sketch the whole firing zone on paper:
- Mark the kiln footprint and the clearances specified by its manual.
- Leave a direct approach for loading shelves and handling posts.
- Identify where ventilation equipment could route outdoors, if required by the manual or your installation plan.
- Reserve a nearby surface for kiln furniture, cones, firing notes, and clean gloves.
- Keep clay reclaim, wet cleanup, and glaze mixing away from the firing zone.
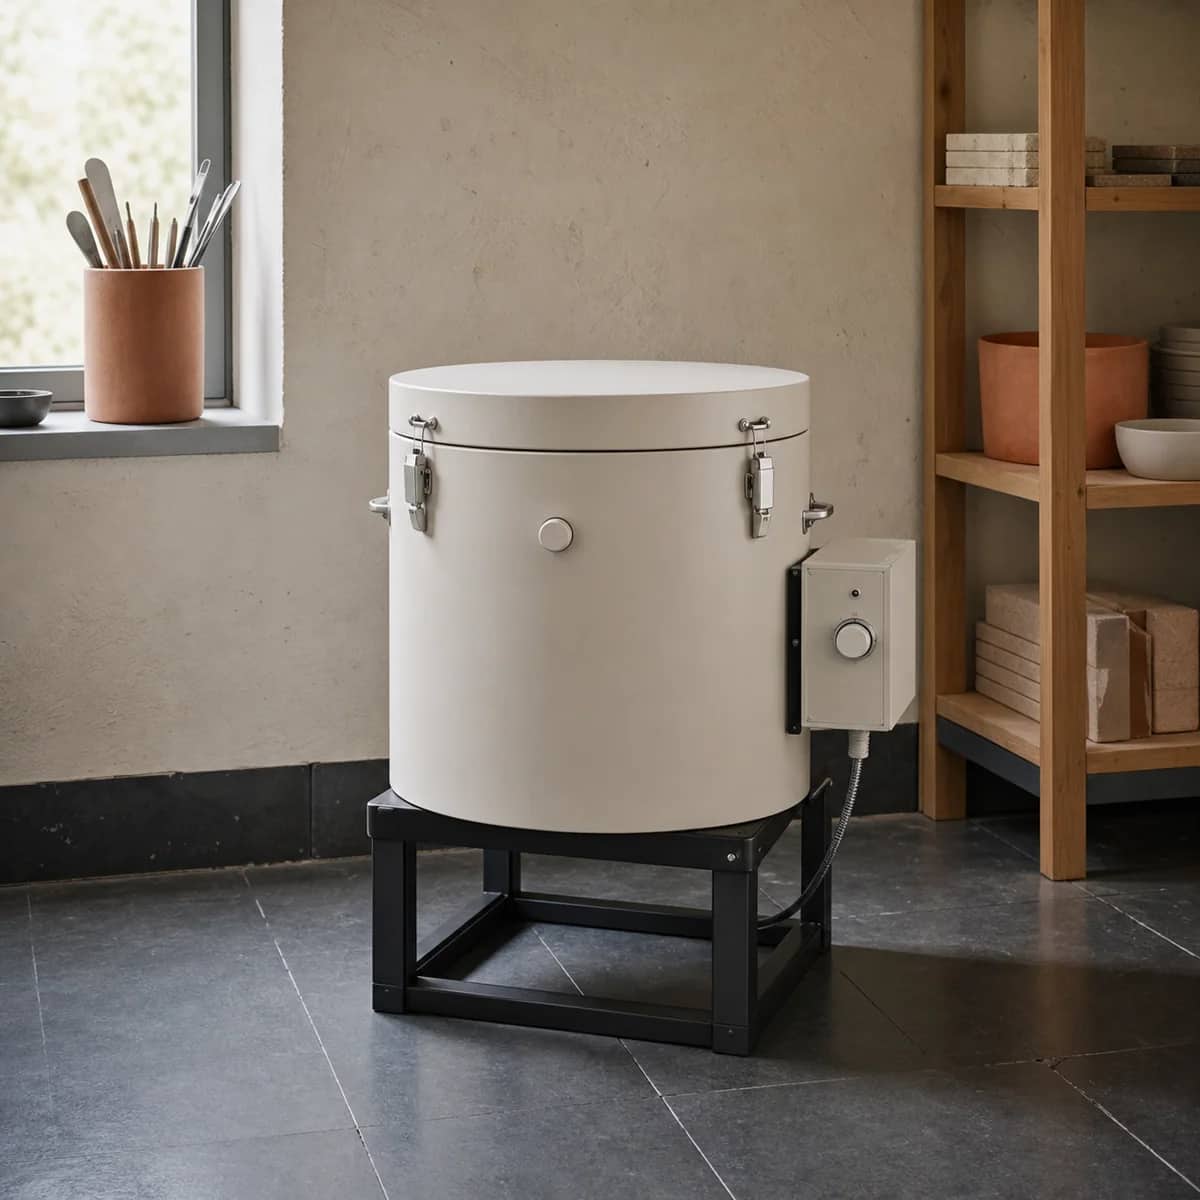
This small layout test reveals whether a compact kiln is genuinely practical or simply easier to place. A small electric kiln for pottery can reduce batch size, but it still needs a complete and workable installation plan.
Match kiln capacity to your actual making rhythm
Capacity is a workflow decision. A larger chamber can reduce the number of firings when you make sets, taller vessels, or several pieces at once. It can also leave you waiting longer to accumulate enough compatible work for a load. A smaller chamber can make testing and frequent small batches easier, but it may limit the size of your forms and require more frequent loading.
Use a simple two-week studio audit before choosing a size. During two normal making weeks, write down:
1. The number and approximate size of pieces you finish. 2. Which pieces need bisque versus glaze firing. 3. Whether your clay bodies and glazes can share the same firing. 4. How many test tiles, samples, or replacements you usually need. 5. Where completed work would wait safely for the next firing.
Then picture those pieces as shelf space, not as a vague pile. If you mainly make mugs and small bowls, shelf diameter and stacking flexibility may matter more than kiln height. If you make tall vases or sculpture, usable interior height and loading access may control the decision.
A compact kiln can be the better home choice when it supports your usual forms and lets you fire a manageable load without storing too much unfinished work. For a narrower comparison, see electric mini kiln for pottery.
Power and placement need professional confirmation
Treat electrical capacity as a go or no-go item, not a detail to solve after purchase. Read the exact kiln manual for its requirements, then have a qualified electrician assess the proposed installation and any local electrical requirements. Do not rely on an outlet that looks similar to the one shown in a product listing or photo.
Placement should also make ordinary firing tasks easier. You should be able to load the kiln without twisting around stored materials, see the controls clearly, and keep the area orderly during cooling. Avoid turning the kiln area into overflow storage. Boxes, packing material, tools, and unfinished projects make it harder to maintain the clearances and access the equipment manual calls for.
A practical home-studio setup separates three zones:
- Making zone: wheel, handbuilding table, clay, and tools.
- Drying and glazing zone: ware boards, glazing supplies, and labeled test pieces.
- Firing zone: kiln, kiln furniture, firing records, and only the items needed for kiln operation.
This separation also helps you diagnose problems. If a glaze result changes, you can review the clay, glaze, loading, and firing notes rather than wondering whether multiple studio changes happened at once.
How should home kiln ventilation be planned?
Ventilation should be designed around the kiln manual, the room, the proposed route outdoors, and local requirements. It is not an accessory to decide on after the kiln arrives. A workable plan considers where air enters the room, where it exits, how ducting would be routed, and whether the layout remains practical for loading and maintenance.
Compare the available approaches before committing to a location. A system that looks compact on paper may be difficult to route cleanly from your actual firing zone. Your kiln manufacturer, installation instructions, a qualified electrician, and local requirements should guide the final decision.
For a more focused planning process, read kiln ventilation system for a home pottery studio. Keep the decision tied to the specific kiln and room rather than copying another potter’s arrangement.
Build a repeatable firing routine before the first load
A home kiln becomes easier to manage when you use the same short routine for every firing. This is not about making every result identical. It is about knowing what changed when a result differs.
Keep a firing log beside the kiln. Record the clay body, glaze or surface treatment, target cone, program used, witness cones if you use them, load notes, and anything unusual about the work. Photograph test tiles and label them with enough information to connect the surface to the firing record.
Before loading, inspect each piece for practical issues: work should be dry as required for the firing stage, glaze should be kept clear of surfaces that contact shelves, and pieces should be arranged so you can load them without forcing a tight fit. Follow the kiln and glaze instructions for the firing process, including loading, programming, and cooling.
Notice the result before changing the process. Record what the surface, fit, and color look like after firing, then change one decision at a time in the next sample. That gives you useful comparisons instead of a pile of uncertain variables.
The right home kiln is the one your studio can support
The best choice is often the kiln that fits your normal workflow with the fewest compromises. A slightly smaller kiln in a well-planned firing zone can be more useful than a larger one that creates electrical, ventilation, storage, or loading problems.
Use this final readiness check before purchasing:
- I have read the manual for the exact kiln I am considering.
- The proposed location meets the manual’s space and placement requirements.
- A qualified electrician can assess the electrical installation.
- I have a ventilation plan that suits the kiln, room, and local requirements.
- The chamber fits the forms and batch sizes I realistically make.
- I have space for kiln furniture, work-in-progress, and firing records.
- I can maintain a clear, organized firing zone.
If one answer is uncertain, resolve that constraint first. The electric pottery kiln for home use guide can help you compare the broader fit questions before you narrow the field.
FAQ
Is a small electric kiln easier to use at home?
A smaller kiln can be easier to place and may suit frequent test loads or small batches. It is only easier overall when its chamber fits your work and its electrical, placement, and ventilation requirements fit the studio.
Should I buy a kiln before arranging electrical work?
Start by reviewing the manual for the exact kiln and having a qualified electrician assess the proposed installation. That prevents you from choosing based on assumptions about your existing electrical setup.
How do I avoid wasting loads in a home studio?
Group work by compatible clay and glaze firing needs, keep a labeled waiting area, and use a firing log. Test tiles and witness cones can help you evaluate a firing without changing several variables at once.
Can I place a pottery kiln wherever there is an empty corner?
No. The location must work with the kiln manual, required clearances, ventilation plan, access for loading and maintenance, electrical assessment, and local requirements.
Keep this nearby while you make, then let the next piece be your own.