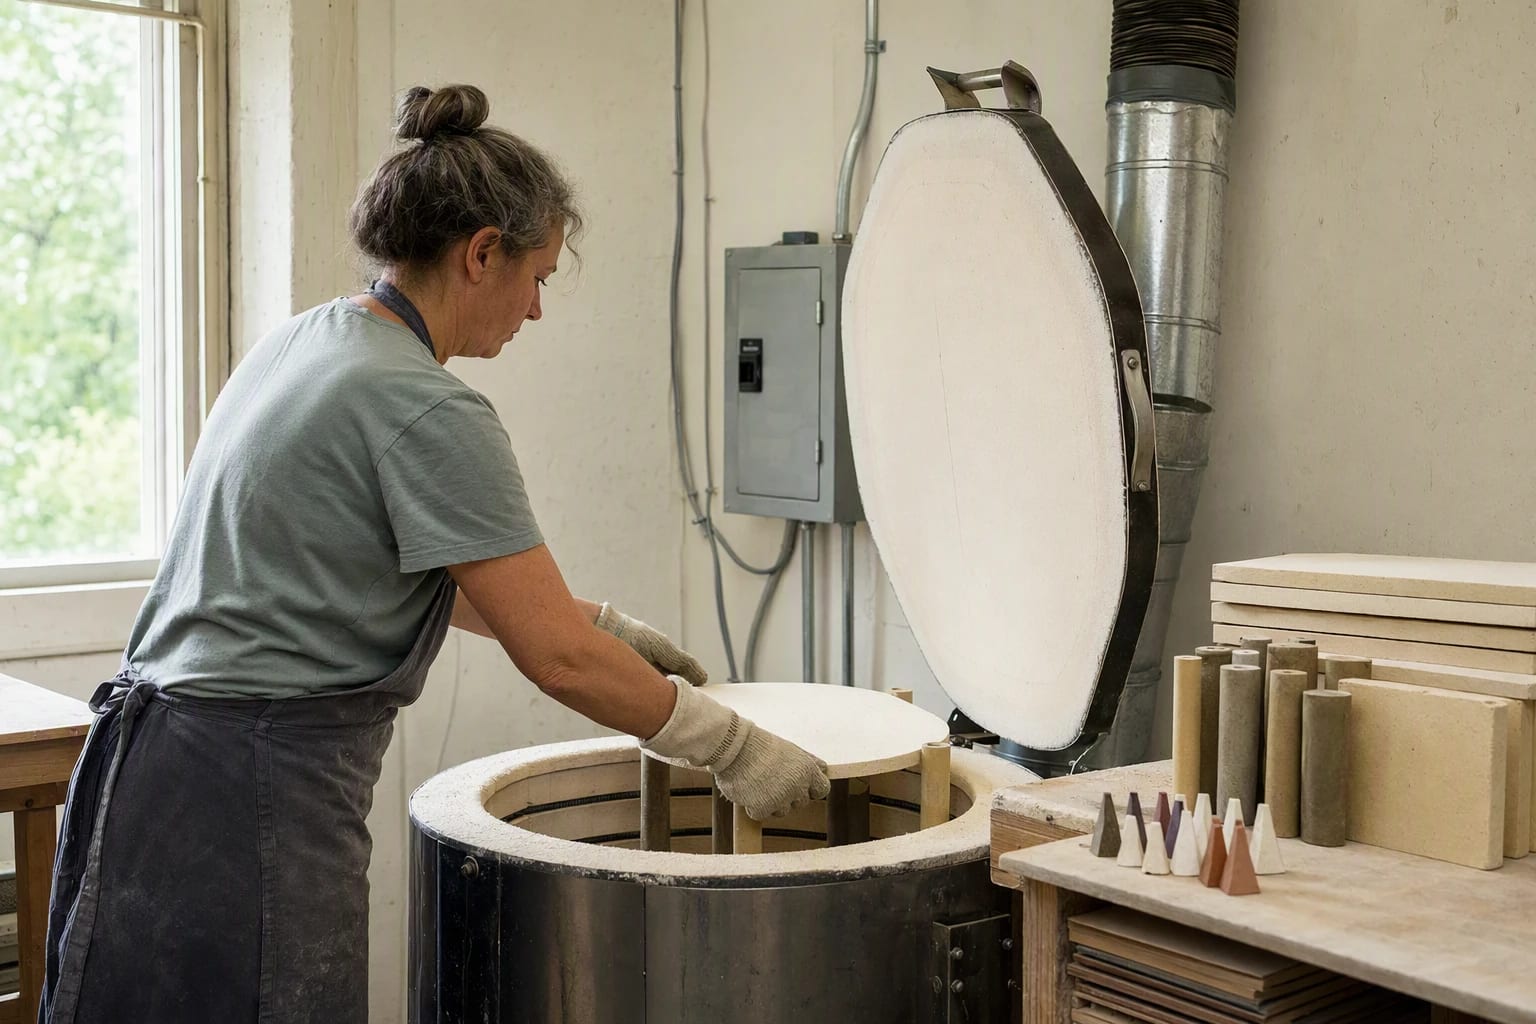
TL;DR
A pottery kiln's purchase price is usually the smallest part of first-year spending. Electrical work, a ventilation setup, shelves and posts, furniture, and a first set of glazes can rival the kiln itself. Plan for the full setup, then think of ongoing cost per firing in terms of electricity, element wear, and maintenance rather than a single flat number.
You budgeted for a kiln. The room is the other half
The most common budgeting mistake is treating a kiln like a wheel: one purchase, plug it in, done. A kiln is closer to installing a small appliance than buying one. Before you compare models, walk through the space where it will live and list what that space needs: a suitable circuit, clearance from walls and combustibles, a ventilation path, and a level, heat-tolerant floor surface.
The room often decides the kiln more than the kiln decides the room. A chamber you can afford may not fit the circuit you have, and a kiln that fits the circuit may need more clearance than your corner allows. Our guide to choosing an electric pottery kiln as a beginner covers matching capacity to your forms and supply; do that before spending anything.
Electrical work: the cost you cannot skip
Most studio kilns beyond the smallest tabletop models want a dedicated circuit, and many home studios need an electrician to add one or confirm an existing one. Costs here vary widely by region, panel capacity, and how far the wire must run, so get a quote before you buy rather than after.
Two rules keep this simple and safe:
- Match the kiln's electrical requirements, listed in the manual, to what your space can supply. Never guess.
- Anything involving the panel, new circuits, or wiring is a job for a qualified electrician who follows your local electrical code. A kiln repair guide can tell you where DIY ends; the kiln repair and when to call an electrician article draws that line clearly.
If rewiring would be expensive, a kiln that runs on a standard household-style circuit limits your options but may still suit a beginner making small work. That trade-off, smaller chamber versus cheaper installation, is usually the single biggest cost decision.
Ventilation, furniture, and the setup checklist
Firing drives off water and burns out organics, and those fumes need somewhere to go. Ventilation options range from simply siting the kiln near a workable exhaust path to a downdraft vent kit. What you spend depends on your room and duct route; the electric kiln ventilation guide compares placement, downdraft and hood systems, and duct routing so you can price the realistic option for your space.
Use this checklist to build a first-year budget beyond the kiln's sticker price:
- Electrical work: electrician quote for the circuit your kiln requires.
- Ventilation: vent kit, ducting, or hood, plus any installation labor.
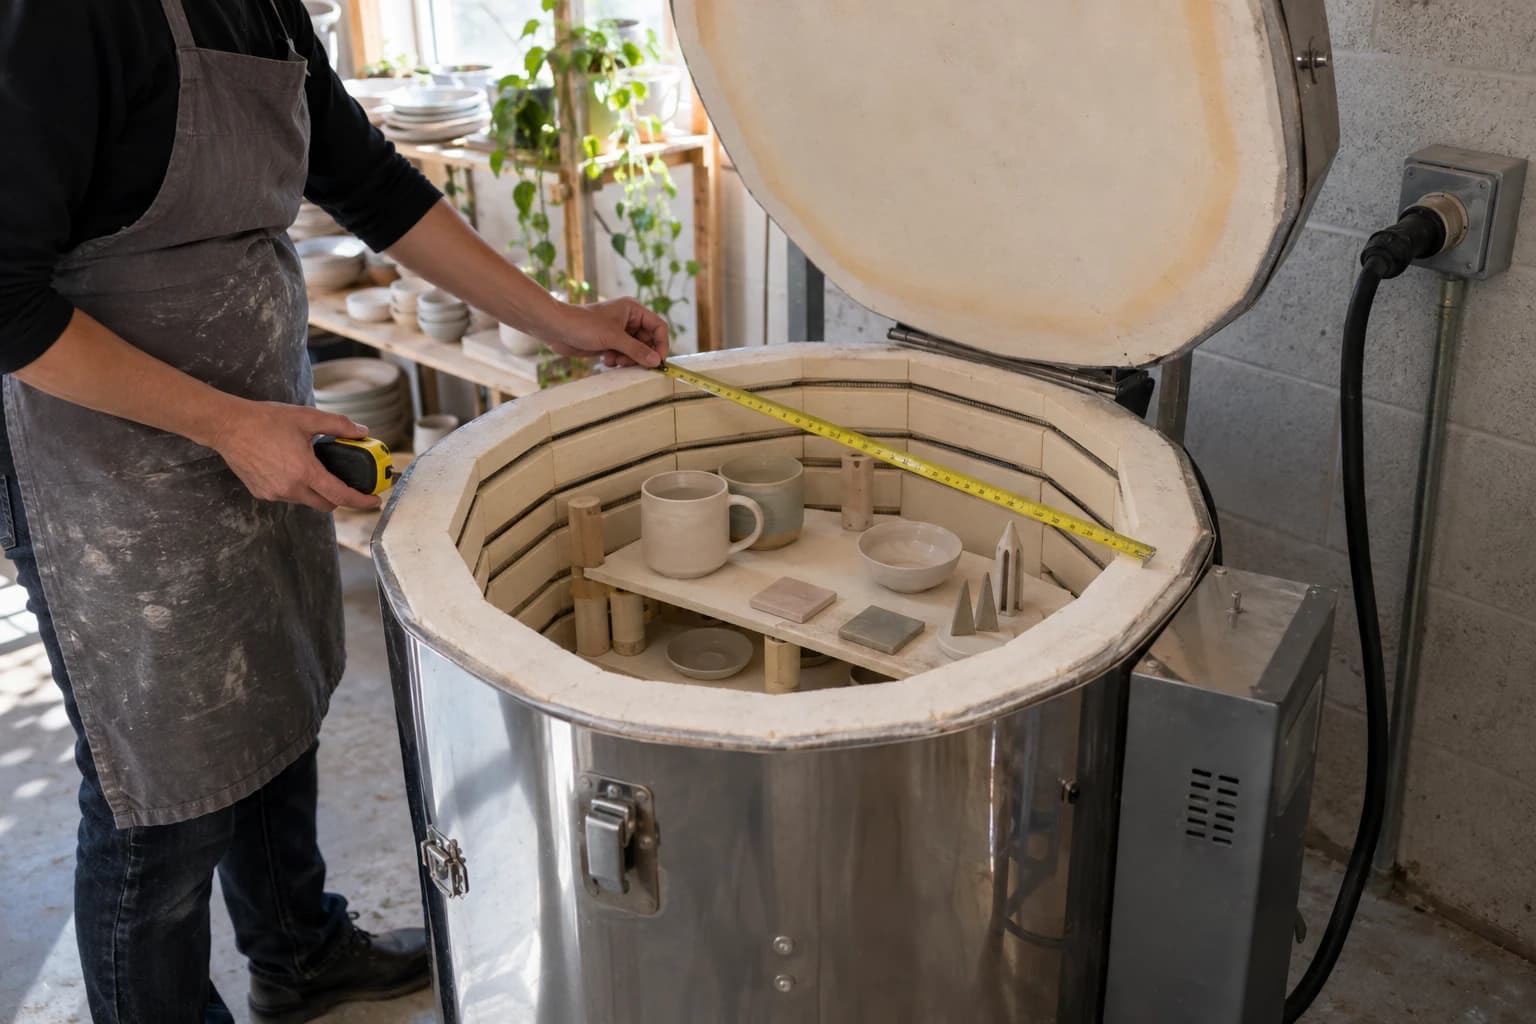
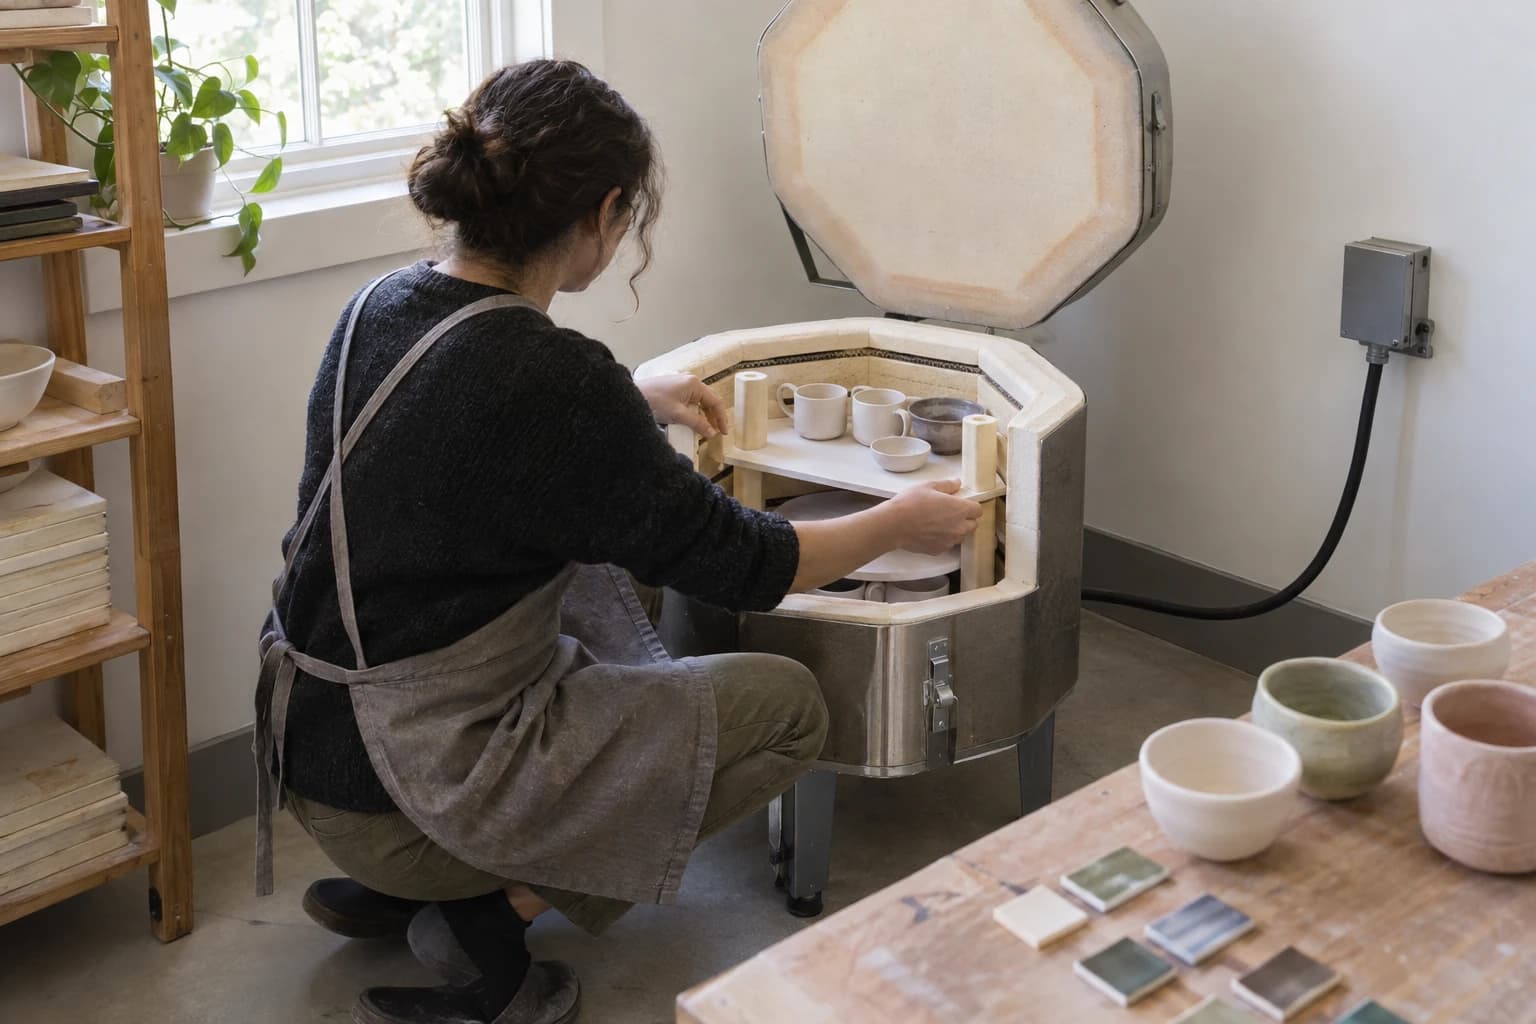
- Kiln furniture: shelves, posts, and stilts. Budget at least two full layers of shelving so you can stack a load; one shelf means half the capacity.
- Small items: kiln wash, a pyrometric cone starter set or witness cones, gloves, and a sturdy work surface near the kiln.
- Clay and glazes: test tiles before production. One cone-checked test firing on an affordable body like a speckled stoneware clay tells you more than any spec sheet.
- Safety basics: a smoke detector appropriate for the room and a clear, unobstructed path around the kiln. Follow the manual's clearance instructions exactly.
Add these up and the kiln itself is often less than half of the first-year total.
What does it cost to fire a kiln once?
Cost per firing has three parts:
1. Electricity. A kiln draws significant power while elements are on, so a firing can cost a noticeable amount on your utility bill. You can estimate it yourself: multiply your kiln's power rating by the hours the elements are actually on, then apply your local electricity rate. A slower schedule with long soaks costs more than a fast one; our article on setting a kiln firing schedule explains why holds and ramp speeds change firing time. 2. Element wear. Elements age with every firing, especially at higher temperatures. Replacement elements are a routine, planned expense, not a surprise failure. Ask what replacement sets cost for any model you are considering before you buy it. 3. Consumables and maintenance. Kiln wash, thermocouples that eventually drift and get replaced, contactors, and occasional brick patches. None of these are frequent, but budgeting a small amount per firing for upkeep keeps repairs from feeling like a crisis.
A practical habit: after each firing, jot down the schedule used and any wear you noticed. After ten firings you will have a rough real cost per load for your own schedule, which is worth far more than any generic estimate.
New versus used: where the savings are real and where they are not
A used kiln can cut the purchase price substantially, and older kilns are often mechanically simple to maintain. But savings can evaporate. Check the condition of elements, bricks, thermocouple, and cord before buying, and confirm replacement parts are still available for that model. A cheap kiln that needs a full element set, new furniture, and an electrician's visit is no longer cheap. If you buy used, treat the first firing as a supervised test: stand nearby, watch the controller, and confirm it reaches temperature and shuts off as programmed.
Ways to reduce cost without cutting corners
- Fire full loads. A half-empty kiln costs nearly as much to run as a full one. Making enough work to fill a chamber, or sharing firings with a studio mate, lowers your cost per piece more than anything else.
- Bisque and glaze efficiently. Group work so you are not firing for two test tiles.
- Buy furniture once. Measure your chamber and order shelves and posts to fit your planned stacking pattern, so you avoid re-buying the wrong sizes.
- Maintain instead of replace. Vacuuming debris from the chamber between firings and inspecting elements catches small problems early.
FAQ
Is a cheap kiln a false economy? Sometimes. Small, lower-priced kilns are genuinely useful for beginners making small work. It becomes a false economy when the chamber is too small for what you actually make, or when the model's replacement parts are scarce. Match the kiln to your workflow first, as covered in our beginner kiln guide, then compare prices within that fit.
Do I really need an electrician, or can I just plug it in? Only the manual can answer that. Some kilns are designed for ordinary household-style circuits; most larger studio kilns are not. Check the kiln's listed electrical requirements and have a qualified electrician confirm your supply. Never adapt outlets or cords to make a connection fit.
How much should I set aside for maintenance each year? It varies with how often you fire and to what temperature. A workable approach is to price replacement elements and a thermocouple for your model, then divide by how many firings you expect those parts to last. Setting that small amount aside per firing turns wear items into planned purchases.
What is the single best first purchase after the kiln itself? Shelves and posts, enough for two layers. They effectively double your capacity per firing and directly reduce your cost per piece.
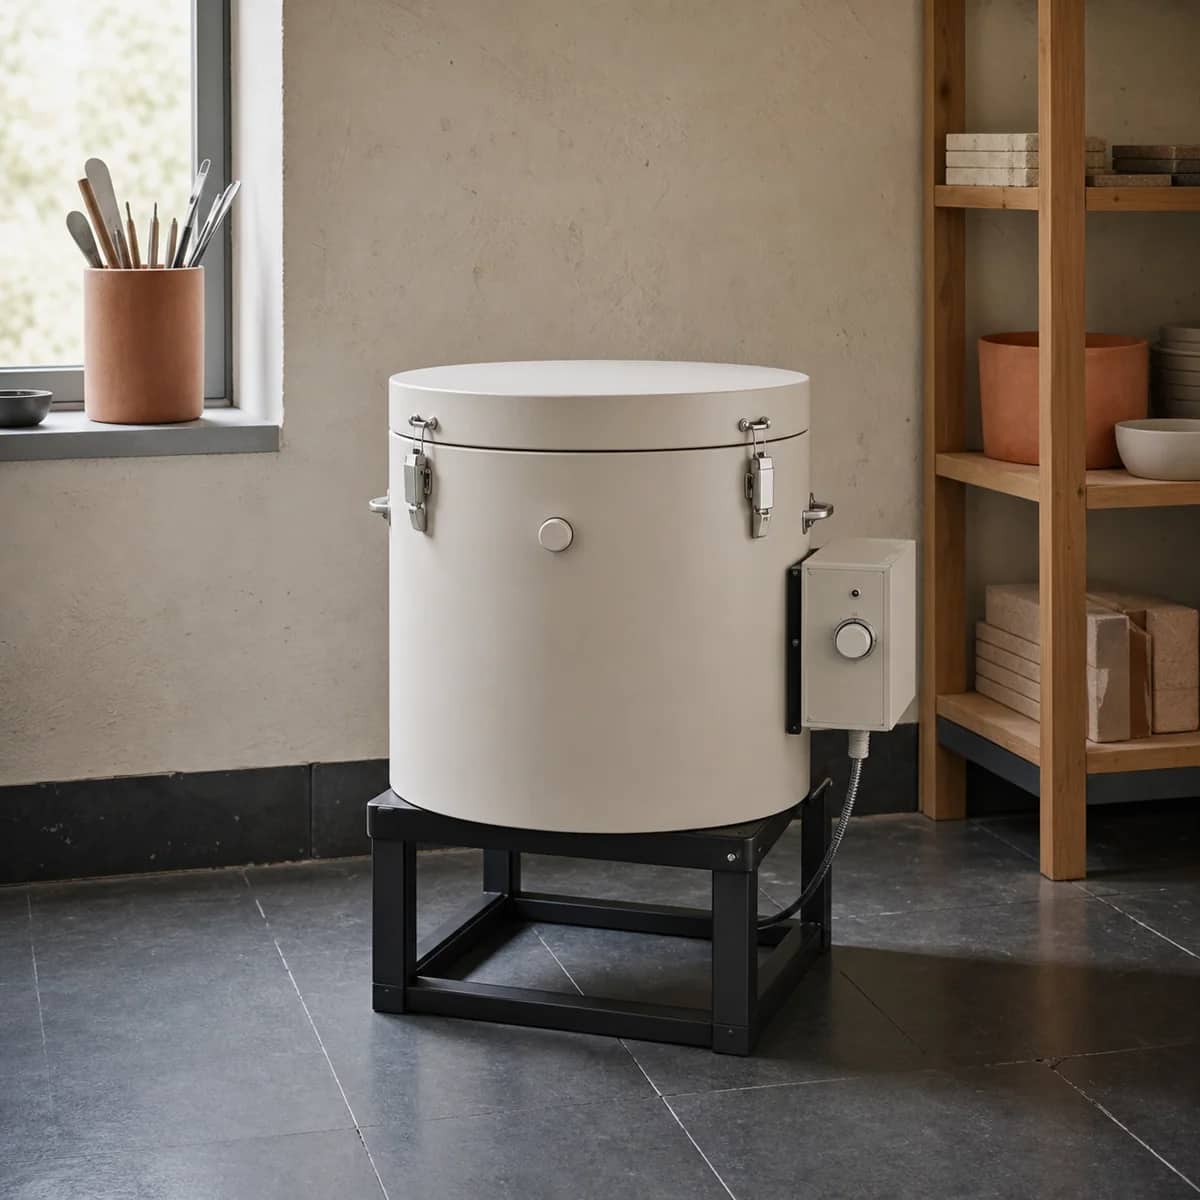
Compare total first-year cost, not sticker price, when you evaluate any kiln, including models like our studio electric kiln. The right question is not "how much does it cost" but "what does the whole setup, and each firing, cost me."
Keep this nearby while you make, then let the next piece be your own.