TL;DR
When you can center clay but are unsure what to make next, choose simple pottery wheel ideas for beginners that isolate one new movement at a time. Repeat each form in a small batch, compare the results while they are still fresh, and move on only when you can identify what changed from one pot to the next.
Which pottery wheel ideas for beginners build the next skill?
Start with forms that are useful as practice pieces, not ambitious projects that require many unfamiliar steps at once. A short progression gives each throwing session a clear purpose and makes mistakes easier to read.
1. Straight-sided cups teach even wall thickness and controlled pulls. Throw low, open forms with no handle. Focus on keeping the base compressed and the rim level. 2. Narrow-necked bud vases introduce collaring. Begin with a cylinder, then use steady outside support and light inward pressure near the upper third to narrow the opening. 3. Small bowls teach how to open outward without thinning the floor too much. Shape the curve gradually rather than pushing the clay into a wide bowl in one move. 4. Rounded jars without lids develop fuller belly shapes and a clean transition from base to wall. They also show whether your clay is being stretched evenly. 5. Closed forms such as simple pinch-top bottles teach timing. You need to shape the lower body before the opening becomes too small to reach comfortably.
These are not five projects to finish in one session. They are practice forms that reveal a different part of your throwing process.
A form ladder makes progress easier to see
Use one clay body for a short run of practice. Changing clay, wheel setup, tools, and form goals all at once makes it difficult to know why a pot behaved differently.
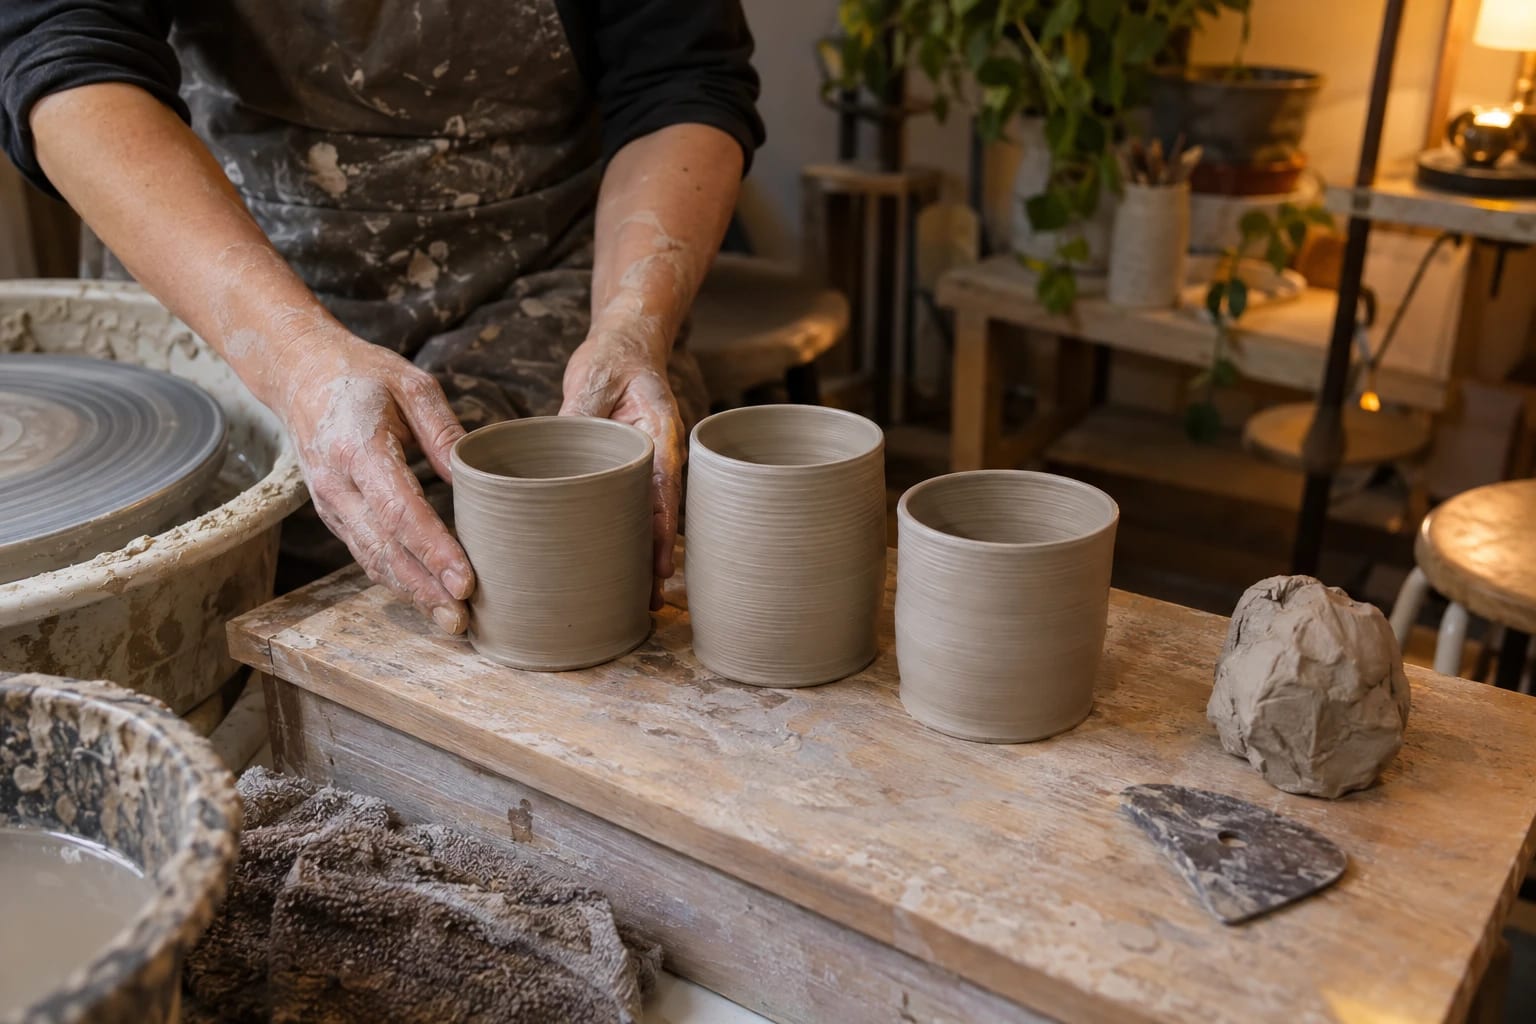
For each session, choose one form and make three versions from similar-sized clay balls. Give every version one narrow target. For example:
- Cup one: keep the rim level.
- Cup two: pull the walls evenly from bottom to top.
- Cup three: create a slightly cleaner outside profile.
Do not try to correct every weakness in the same pot. If a cup has a thick base, a wavy rim, and uneven walls, pick the issue that most limits the form and address that in the next attempt.
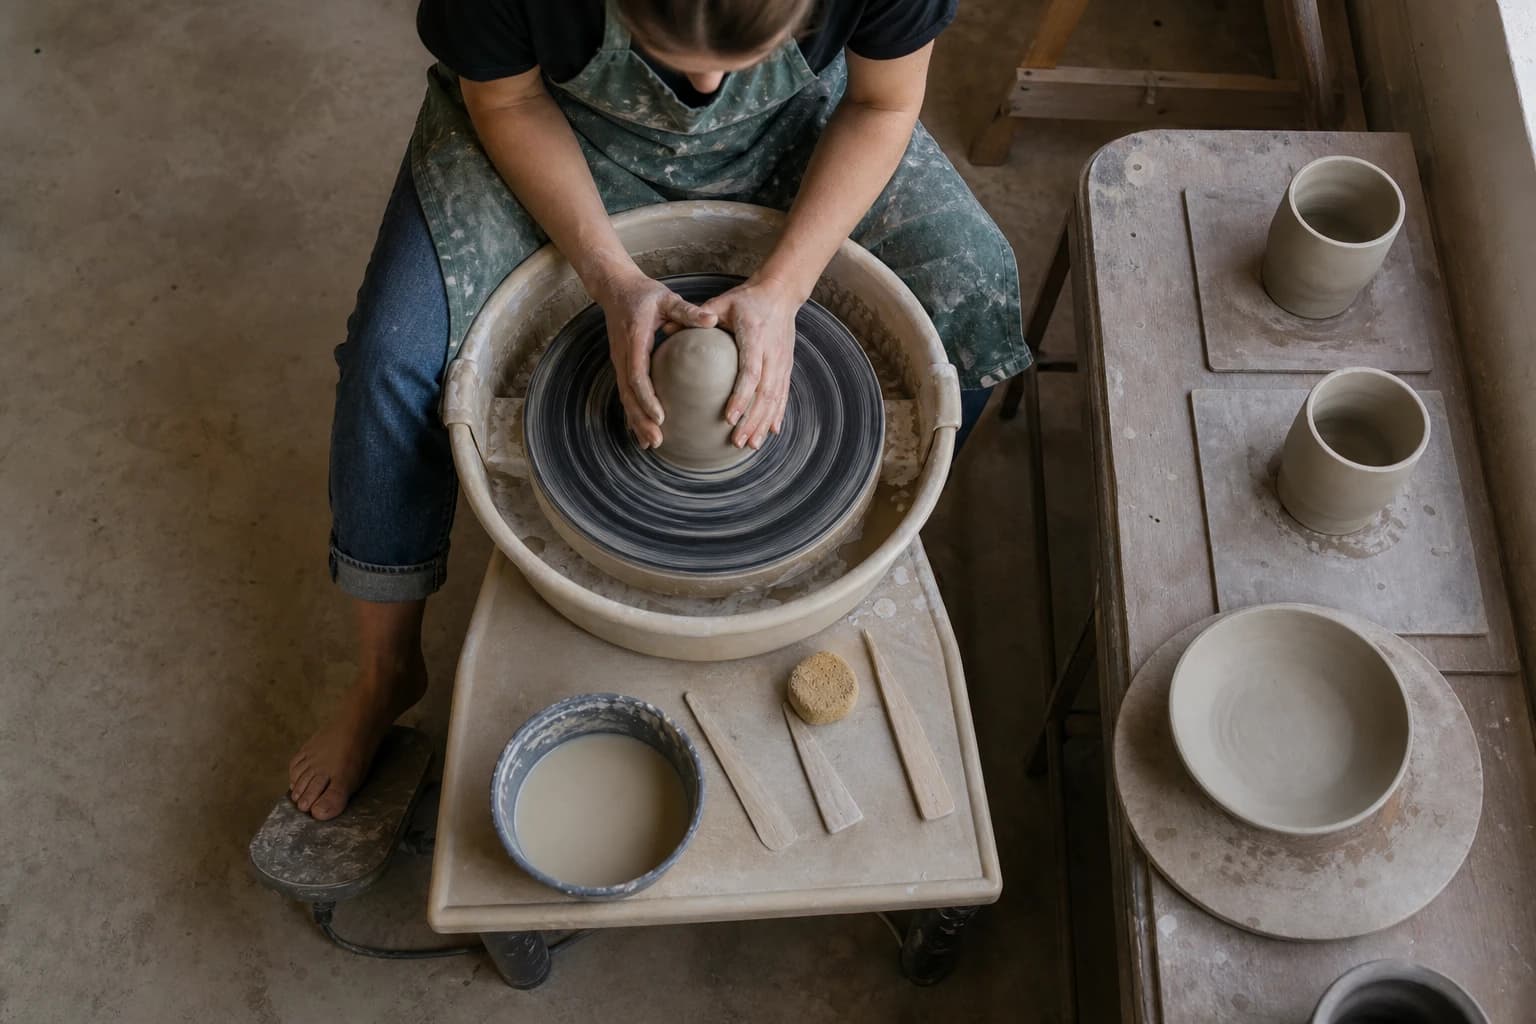
This approach is different from simply making more pots. You are building a reference set. Place the three pieces together on a ware board and look at their height, width, rim shape, and visible throwing lines before they become too dry to compare.
How do you choose the right form for today's practice?
Choose the form that matches the point where your throwing breaks down. A pot that collapses near the rim calls for a cylinder or vase drill, not a complex bowl. A bowl with a thick, heavy center calls for opening and compression practice before you attempt wider forms.
Use this quick decision guide:
| If you notice this problem | Practice this form | Focus on one change | |---|---|---| | Walls become uneven during pulls | Straight-sided cup | Keep your inside and outside hands aligned | | Rims wobble or become too thin | Low cup | Leave more clay near the rim before the final pull | | Forms spread wider than planned | Narrow vase | Slow down before collaring and support the wall | | Bowl floors feel thick | Small bowl | Open gradually and compress the curve of the floor | | A form feels heavy after drying | Rounded jar | Plan a foot area that can be refined later |
Reliable wheel control also depends on a stable workspace and a wheel that lets you work at a manageable speed. If your equipment is part of the frustration, compare the practical factors in a beginner pottery wheel before assuming the form itself is the problem.
Keep the first version deliberately plain
A plain practice pot gives you more information than a decorated one. Skip handles, altered rims, carved surfaces, and complicated attachments until the basic thrown form is repeatable. Those additions can be valuable later, but they can hide whether the thrown wall, rim, or base was successful.
For example, a simple cup can tell you whether you are pulling too hard at the top. A handled mug may distract you from that same issue because the handle becomes the obvious feature. Similarly, an untrimmed bowl can reveal a thick foot area, while a heavily decorated bowl makes the underlying shape harder to judge.
When you are ready to refine the bottom, wait until the clay is appropriate for trimming. A clear guide to when clay is ready for pottery trimming can help you avoid trying to correct a foot before the form can support that work.
Build a practice shelf, not a pile of random pots
Set aside one shelf or board for current practice forms. Keep pieces from the same exercise together, even if some are not worth keeping long term. A warped rim, thick base, or uneven profile can be more useful as a teaching sample than a pot you immediately recycle.
Use a simple note beside each batch:
- Form practiced
- One target for the session
- What changed between attempts
- One adjustment to try next time
For instance, you might write: “Bud vase, opening narrowed too quickly. Next session, leave the upper wall thicker before collaring.” That note gives the next practice session a starting point without turning the process into a long record-keeping task.
After trimming, compare the weight and foot shape of similar forms. The tools you use matter less than a consistent approach, but knowing the job of each pottery trimming tool can make it easier to choose a tool that removes clay cleanly without overworking the foot.
Progress comes from repeating one decision
The goal is not to make every form perfectly symmetrical. The goal is to notice cause and effect. If your third bowl has a smoother curve because you opened more slowly, repeat that choice. If the third vase loses height because you used too much water, test a more restrained approach in the next batch.
Keep a form in your rotation until you can make it with a predictable general shape. Then introduce the next skill. A cup can become a slightly taller cup. A bowl can become a wider bowl. A vase can become a narrower-necked vase. Small changes preserve the lesson while giving you a new challenge.
FAQ
How long should I practice one pottery wheel form?
Practice one form until you can describe what you are trying to improve and make a few attempts that show that improvement. Move on when the basic shape feels predictable, not when every pot looks identical.
Should beginners make mugs right after learning to center?
Mugs are possible, but they combine throwing, handle making, attachment, and cleanup. Plain cups are often a better first step because they let you focus on the thrown form before adding a second process.
What should I do with unsuccessful practice pots?
Recycle clay that is still workable when the form does not teach you anything new. Keep a few representative pieces long enough to compare them with later attempts, especially when you are trying to diagnose a repeated issue.
Keep this nearby while you make, then let the next piece be your own.